Envision a risk-free area where you can examine WordPress, try out themes, and make changes to plugins without disturbing the functions of your online website. That is what installing WordPress on XAMPP provides! By setting up a local environment, you have the liberty of creating and adjusting your website. Installing WordPress in localhost XAMPP enables you to build a development environment directly on your computer. If you’re planning to develop your first WordPress website and test out various theme options or a coding professional is refining a project, installing XAMPP WordPress is a total game-changer.
In this tutorial, we’ll take you through the process of installing WordPress on XAMPP, from downloading the required files to setting up your website. By the end, you’ll have a clear idea of how to install XAMPP and WordPress, resolve common problems, and streamline your local environment for hassle-free development. Let’s get started!
Table Of Content
The XAMPP and WordPress Connection
To put it briefly, XAMPP works as a local server solution for WordPress and allows you to create a completely operational web server environment on your computer system. Using XAMPP, you can install, test, and manage different tools and services, replicating a web hosting environment.
Key Features of XAMPP:
- It is a cross-platform tool compatible with Windows, Mac, and Linux.
- XAMPP is itself an ‘Apache’ type server, but you can get more types (like Nginx).
- MySQL or MariaDB is available for holding your website’s information.
- XAMPP makes use of the PHP interpreter for it to figure out how to handle your website’s files.
It is always beneficial to download and install WordPress in localhost XAMPP because it allows you to develop your website in a stress-free environment. This indicates that you’re not required to worry about different elements like server resources and security threats to your incomplete website or unintentional visitors.
All in all, a local host is best for building and developing your WordPress website.
Before we dive in and start setting up the installation, it is worthwhile to note the benefits of installing XAMPP and WordPress vs actual web hosting. WordPress installation on local servers, for example, XAMPP, allows developers or designers who are beginners to build and test their websites without needing live hosting. Let us go slowly through the benefits.
Why Choose Localhost XAMPP Over WordPress Hosting?
Adding WordPress to XAMPP instead of a live web hosting server offers several benefits:
- No Hosting Costs: You don’t have to pay for web hosting during the processes of designing and developing your website.
- Faster Development: Compared to online servers, local setups are much faster, allowing seamless testing.
- No Downtime Risks: You can try things out freely without the risk of wrecking a live website.
- Ideal for Testing: Test new premium WordPress themes, plugins, and updates before putting them online.
- Better Performance: No requirement for an internet connection guarantees an uninterrupted workflow.
Installing WordPress locally using XAMPP gives you absolute control over your development environment and is therefore highly recommended for both beginners and experienced developers alike. Let us thus proceed to the step-by-step installation process!
Step 1: Download and Install XAMPP
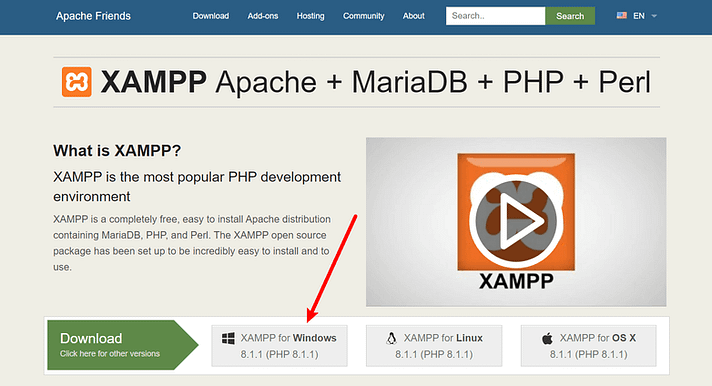
Now, the first thing you must do to install WordPress locally is to download and install the XAMPP software. The Windows installer file can be downloaded at Apache Friends. This is a huge file, almost 110 MB, so hold on for perhaps about a minute or so, depending on how fast your connection is.
After downloading the XAMPP software, simply run or double-click on the downloaded file so as to launch the XAMPP installer. If antivirus software is running, an alert like this will appear:
Clicking “Yes” would take you further. Depending on your Windows configuration, you might get a prompt regarding User Account Control (UAC). Just continue through that prompt as well. Once you have gone through all the prompts, the standard installer screen should appear:
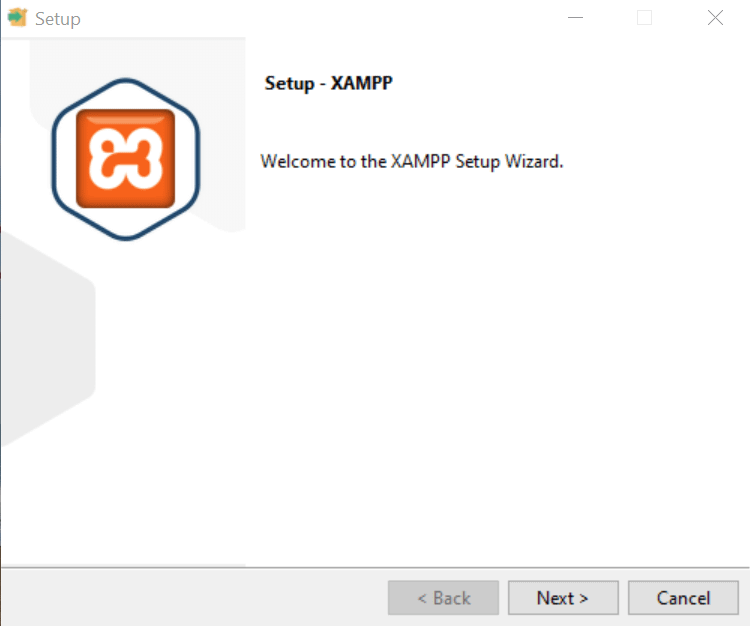
Click Next to move forward.
On the next screen, you will choose the components you want to install. You do not need all components to install XAMPP and WordPress; you will also need the following components:
- MySQL
- PHPMyAdmin
Of course, other components prove useful; for example, suppose you want to send/debug transactional email. In that case, it is wise to have installed all email types of components; however, it’s totally up to you.
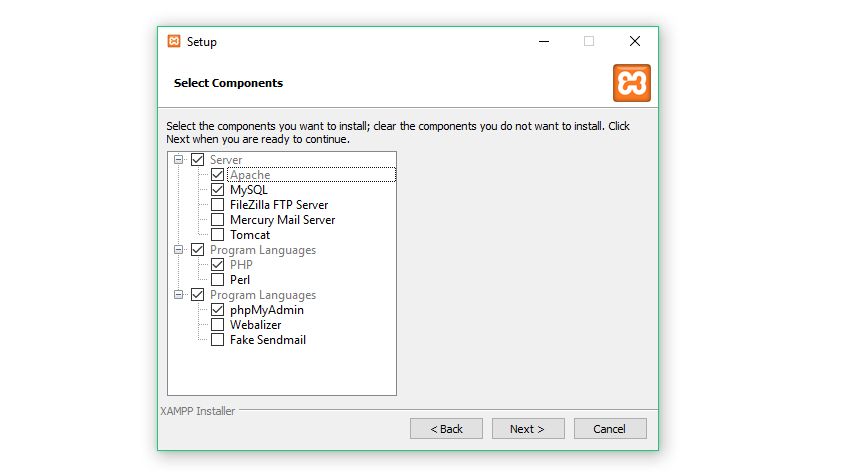
Once more, this is everything required to install WordPress locally. Unmark everything and press Next.
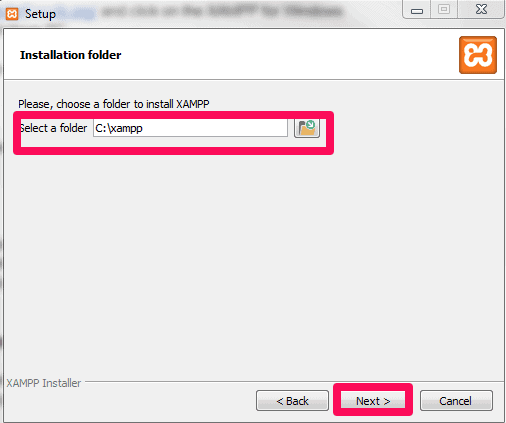
Now you can choose the desired location where you would like to install XAMPP. People mostly stick with the default setting:
You can go ahead and choose the language you prefer.
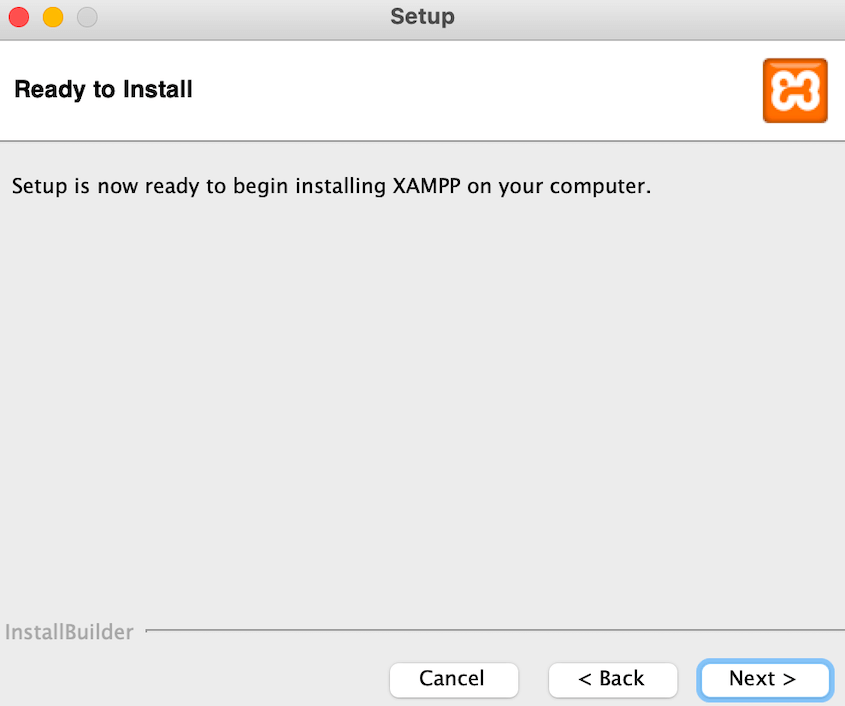
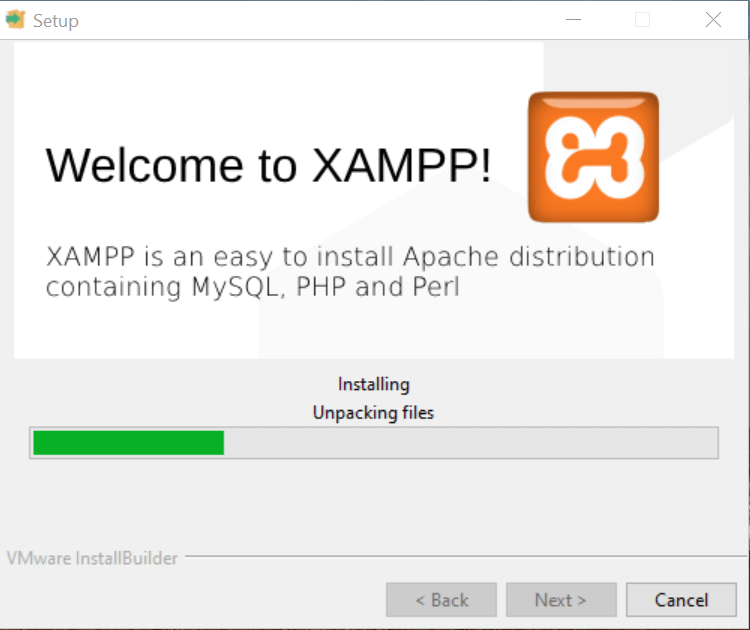
Now hit “Next,” and the installation process sets off:
The installation process may take a while.
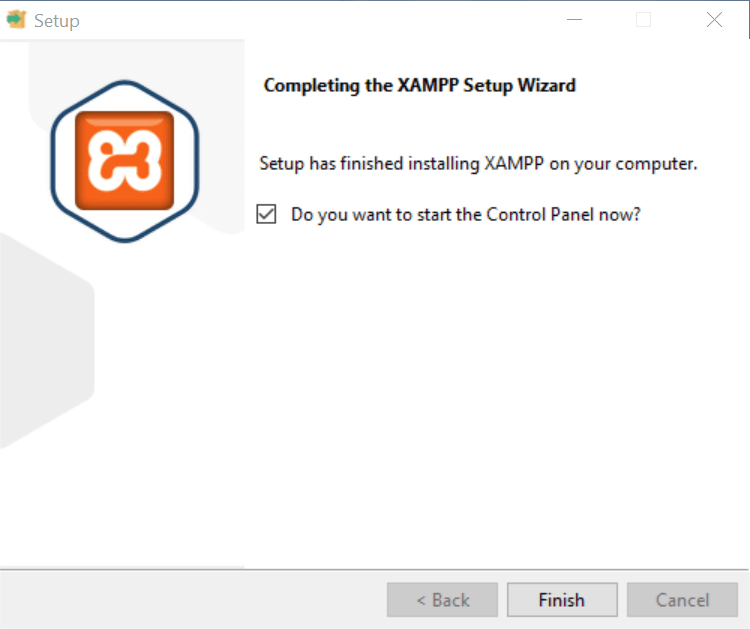
Once the setup finishes, launch the control panel in order to start working with XAMPP:
Step 2: Launch the Modules and Test Your Local Server
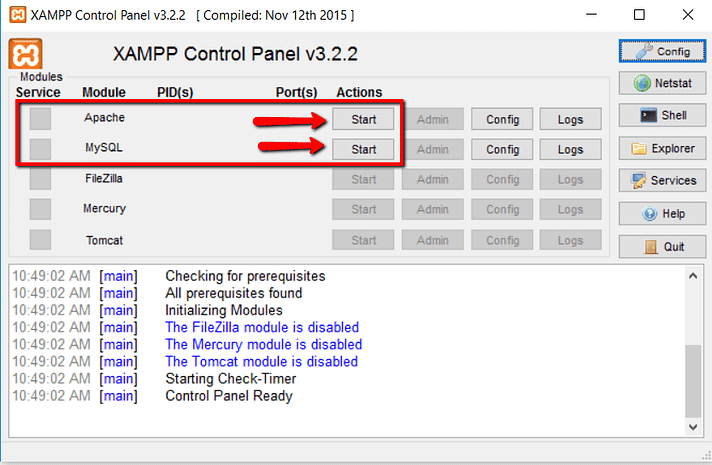
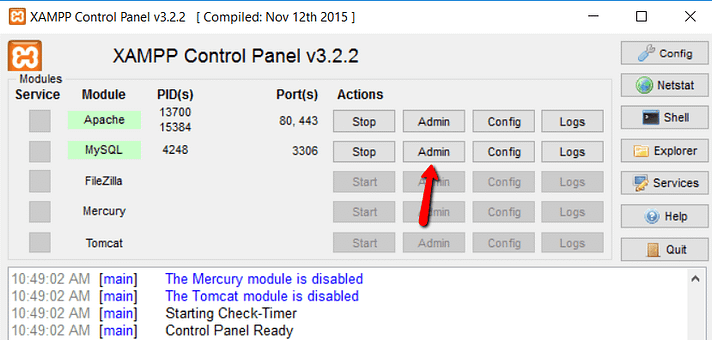
You need to install the following two modules in order to properly install XAMPP and WordPress:
- Apache
- MySQL
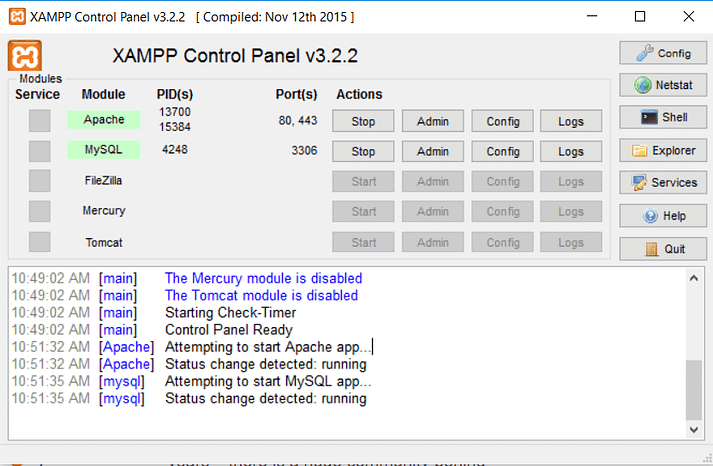
Both of these modules can be started from the XAMPP control panel:
After launching them, keep an eye on their status to turn green:
You should now be certainly able to check the proper functioning of the server stored in the local database by simply opening http://localhost/ in a web browser of your choice.
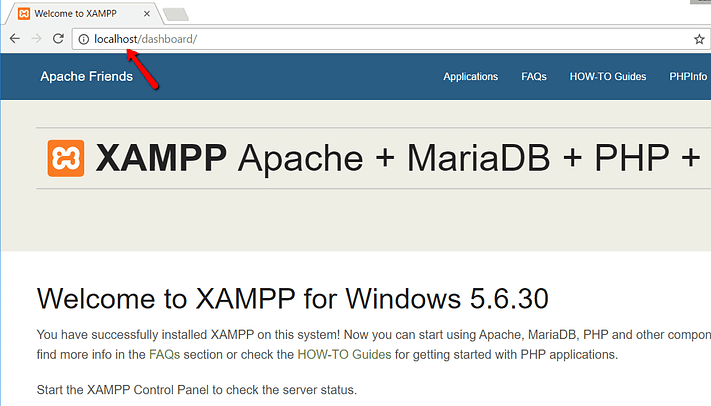
If everything turns out all right, you should now have a working XAMPP server installed on your Windows PC! The next step is to install XAMPP and WordPress and get your WordPress website up and running on XAMPP.
We’ve seen how to install XAMPP; here are the
Common Troubleshooting Commands (Windows CMD/PowerShell)
- Check if Apache or MySQL is running:
| Powershell: netstat -ano | findstr :80netstat -ano | findstr :3306 |
- Kill the process occupying port 80 (if required):
| Powershell: taskkill /PID <PID_NUMBER> /F |
Step 3: Add the WordPress Files
If you’ve ever installed WordPress the manual way, the rest of the process would be more or less familiar to you. First, you must visit wordpress.org and download the latest version of WordPress.
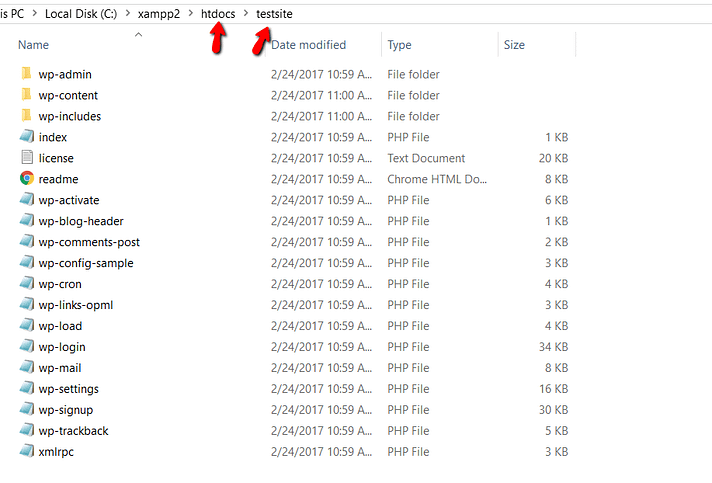
Then, in Windows, go to the folder where you installed XAMPP. In our case, it is C://xampp. It should be something related to that for you too. Then, from that folder, find the subfolder htdocs:
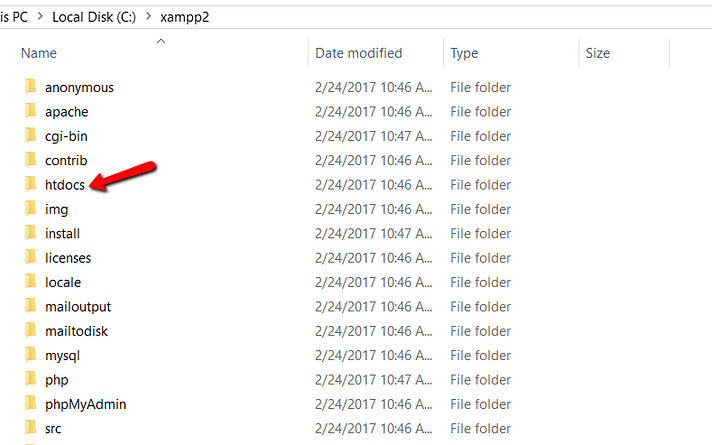
Inside htdocs, create a new folder for your test website. The name of this folder becomes the subname for accessing your website. For example, if you create a folder by the name testsite, you will access your website at http://localhost/testsite.
Once the folder is created, you need to extract the WordPress .zip file you downloaded from wordpress.org to it:
Step 4: Create a Database for WordPress
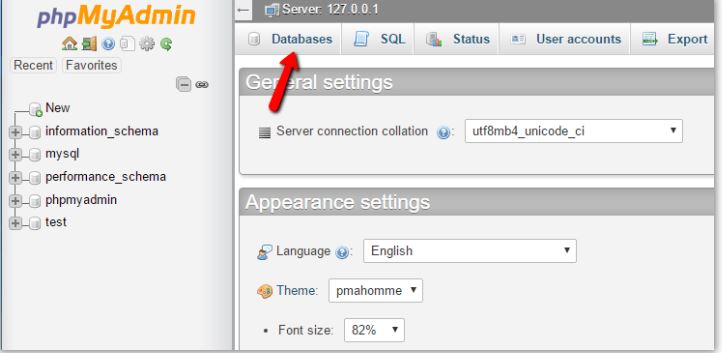
Now, the next step is to configure a MySQL database for your WordPress installation. For that, you’re required to open PHPMyAdmin through the XAMPP control panel.
At the top, you’ll find the “Databases” option; click on it.
Next, type in the name of your database, i.e., “testsite,” and click Create. You can enter any name but make sure to remember it because it’ll be required later:
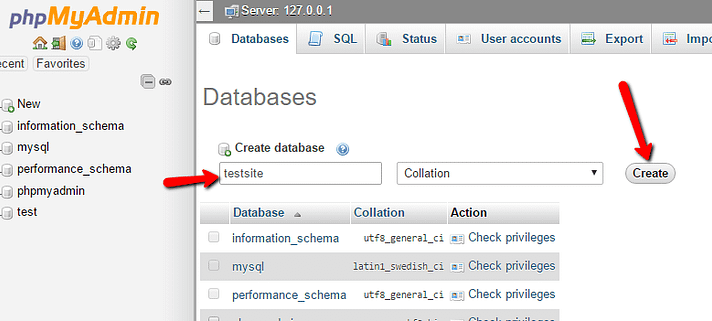
Contrary to live web server installation, configuring WordPress using the XAMPP software no longer requires worrying about manually creating a database user.
Step 5: Install WordPress Locally Using the On-Screen Installer
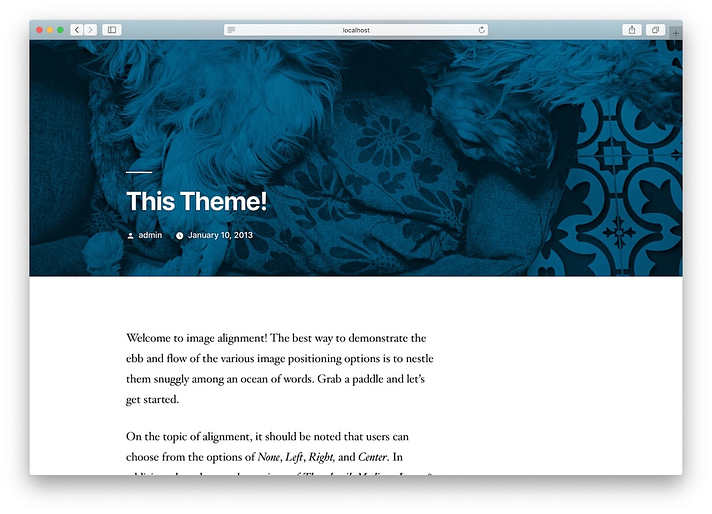
When accessing your test site, you should see a standard WordPress installer and don’t forget that your test site is located at http://localhost/FOLDERNAME.

The only difference from the normal installation process is the database details. When asked, enter the details as follows:
- Database Name: Enter the name of the database you created in phpMyAdmin.
- Username: “root”
- Password: Leave it blank.
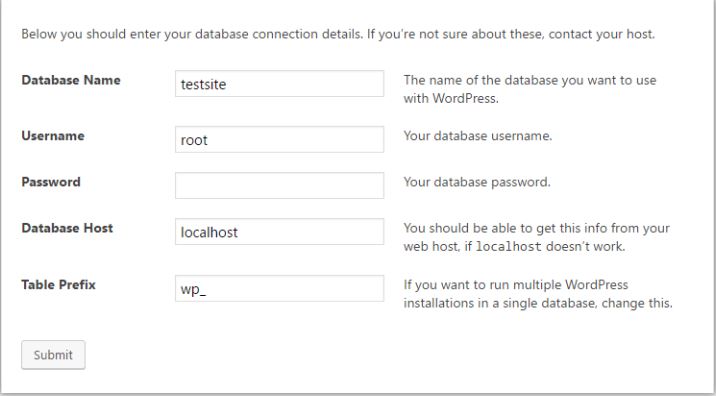
Later on, proceed with the remaining WordPress installation as usual. After completing the process, your new WordPress installation will be working smoothly on the local host.
Quick Fixes for Common XAMPP WordPress Issues
Adding WordPress to XAMPP offers an excellent starting point to develop and test your website; however, it’s not unusual to face a few everyday issues while proceeding. This is how you can identify and resolve them effectively:
1. Apache/MySQL Not Starting
These are possible solutions if your XAMPP control panel fails to start MySQL or Apache:
- Check Port Conflicts: Other applications such as IIS or Skype might be using ports 80 and 443. Edit the Apache port in httpd.conf.
- Run As Administrator: Run XAMPP with administrator rights.
- Disable Conflicting Services: Terminate contradictory services through Task Manager.
2. Database Connection Errors
Database connection errors imply that WordPress cannot communicate with MySQL. The following are the best ways to fix this “Database connection error”:
- Verify Database Credentials: Verify the database name, username, and password in wp-config.php against that in PHPMyAdmin.
- Manually Start MySQL: In case MySQL is not running, you may manually start it from the XAMPP control panel.
- Repair Database: You may repair the database tables using phpMyAdmin.
3. Resolving “Localhost Refused to Connect” Issues
If you receive a “localhost refused to connect” error, you can try the following solutions to resolve it:
- Restarting XAMPP Localhost Services: Stop and start Apache and MySQL.
- Check the Hosts File: Make sure 127.0.0.1 localhost is set correctly in C:\Windows\System32\drivers\etc\hosts.
- Adjust Firewall and Antivirus Settings: Disable any security software that might be blocking XAMPP.
Follow the above-mentioned procedures, and you should be able to fix common XAMPP WordPress issues that will bring your local website to life.
Proven Tips for Maximizing Efficiency of Local WordPress Development
Building WordPress websites from a local environment will alleviate most of your immediate workloads and, ideally, to maximize efficiency, you have to fine-tune the setting. Here are tested pieces of advice to make your local WordPress development experience much better.
1. Go For Perfect Local Development Setup
With the help of tools such as XAMPP, Local by Flywheel, or DevKinsta, accelerate your workflow using inbuilt WordPress support and server settings.
2. Speed Up Database
Clean your database from unwanted entries using a plugin such as WP-Optimize and, using phpMyAdmin, identify and fix database tables.
3. Turn On Debugging To Instantly Identify Errors
Enabling WP_DEBUG in the wp-config.php file will help identify errors and debug your code in real-time.
4. Use Version Control with Git to Streamline Code Management
Use Git to monitor changes, manage multiple versions, and collaborate effectively with other developers.
5. Use Automation Tools To Eliminate Repetitive Work
To lessen intensive work like CSS/JS minification and image optimization, task runners like Gulp or Grunt may come in handy. Auto-refresh with browser sync gives a real-time preview update.
6. Test Using a Staging Environment Before Going Live
Test all changes in a staging environment before putting anything live to assure that no errors will ever go into a live website.
7. Maintain a Lightweight Development Environment
All unnecessary plugins and themes should be turned off so nothing slows down the loading times and heavy setups are avoided.
Once you implement these strategies, you’ll be able to optimize and streamline your WordPress local development workflow much more effectively.
Installing WordPress on XAMPP is one of the good steps toward mastering local development environments. But as time goes on and your website grows with more visitors, the pressures of performance, security, and even scalability mount on it. This is where the differences between professional WordPress hosting become very clearly evident—like what MilesWeb has.
Managed WordPress hosting by MilesWeb gives you a truly easy experience. Optimized performance, robust security, expert support, scalability—these are some of the things you benefit from when you subscribe to MilesWeb.
Not only does the transition to a managed hosting environment like MilesWeb free up much of the technical burden, but it definitely gives more time for users to just engage in their visits and create great stuff. This is truly paving the way for the inevitable future where all websites will have a highly competitive environment.
FAQs
What are the minimum system requirements for installing XAMPP WordPress?
The bare minimum system requirements needed to install both XAMPP and WordPress are:
– Operating system: Either Windows 7 or later, macOS, or Linux
– Processors: An Intel or AMD with 1GHz or greater
– RAM: Minimum of 2GB (4GB recommended)
– Storage: At least 1GB of free space available for the XAMPP and WordPress files
– Software: You need to download XAMPP (Apache, MySQL, PHP, phpMyAdmin)
– PHP version: 7.4 or above
What is the best place to download the latest version of WordPress for XAMPP?
You may download the most up-to-date version of WordPress from its official website: wordpress.org/download.
What are the steps to set up the WordPress database connection when installing it?
You need to follow the given steps to set up the WordPress database connection during installation:
– Create a Database
– Start WordPress Installation
– Enter Database Details
– Submit and Run Installation
What are the ways to troubleshoot common XAMPP and WordPress installation errors?
We have mentioned some very common XAMPP and WordPress installation errors and their solutions in our blog. You may check them for additional troubleshooting advice.


