Users can manage multiple cPanel accounts from a single WHM panel. It is what makes WHM a handy tool application for resellers who provide hosting services to multiple clients. With WHM, it is possible to grant privileges, set limits on server resources and even modify DNS settings for a cPanel account.
To Modify a cPanel Account with WHM
1. Log in to the WHM panel with your root account.
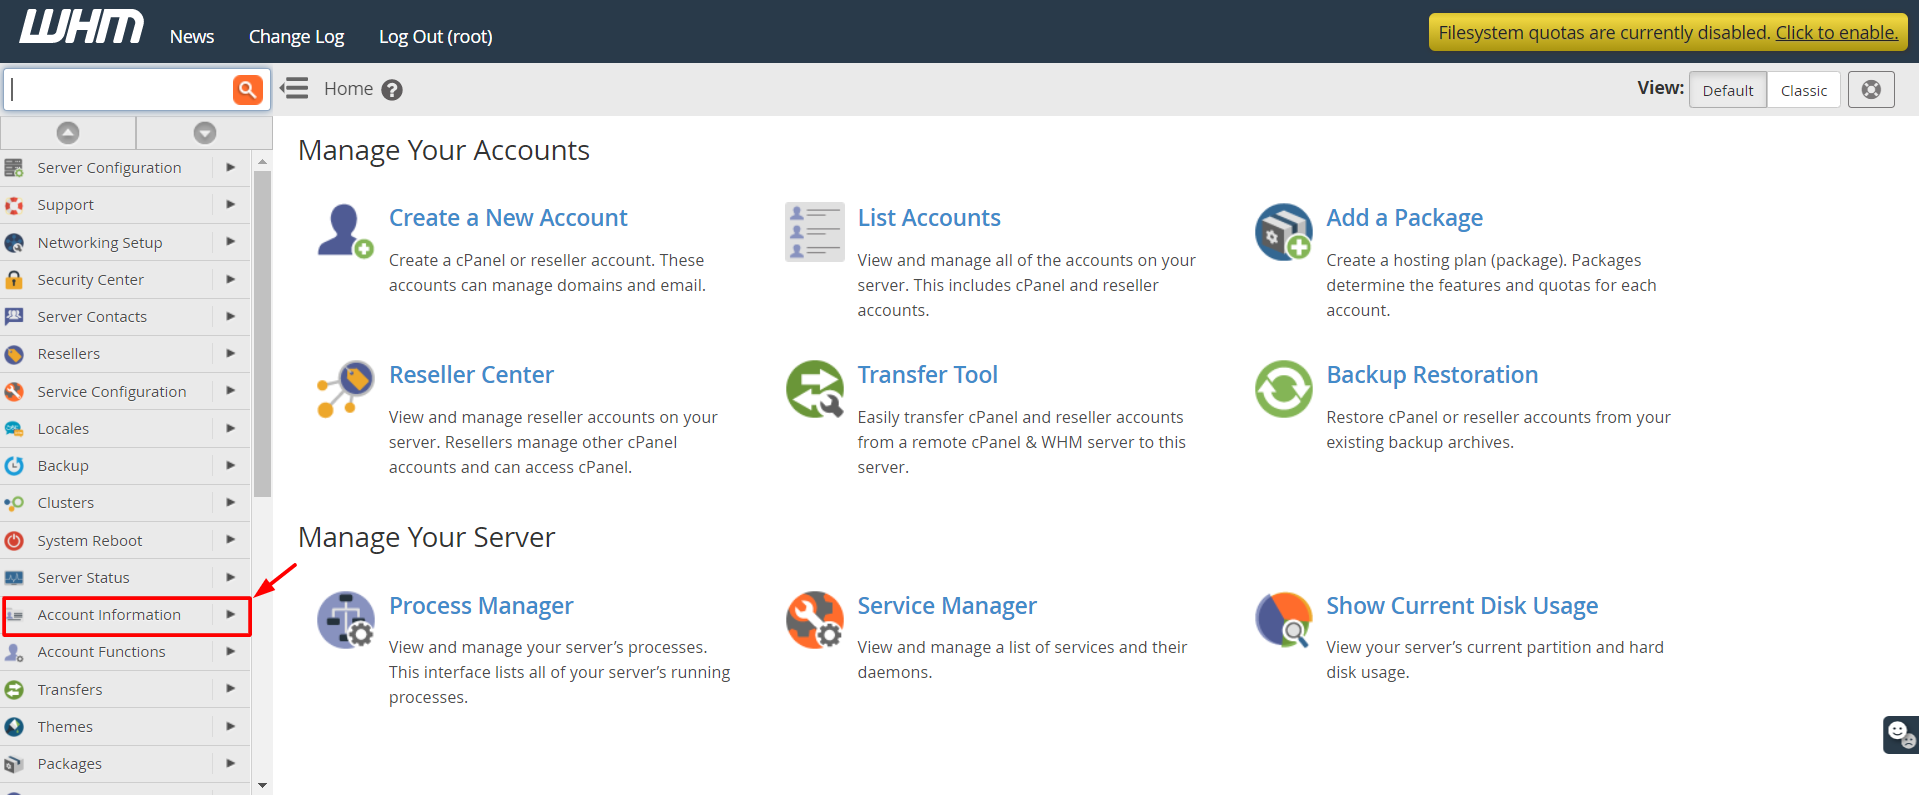
2. Select the Account information option from the navigation menu.
3. Click on List Accounts.

A list of all cPanel accounts under registered under you will appear.
4. Click on the ‘+‘ icon beside the account you want to modify.

It will open up various options to change attributes or configure the account.
5. Click on the Modify Account button.

A form-like interface will open where you can modify various settings for the account. We have compiled brief information for each of the sections of the interface.
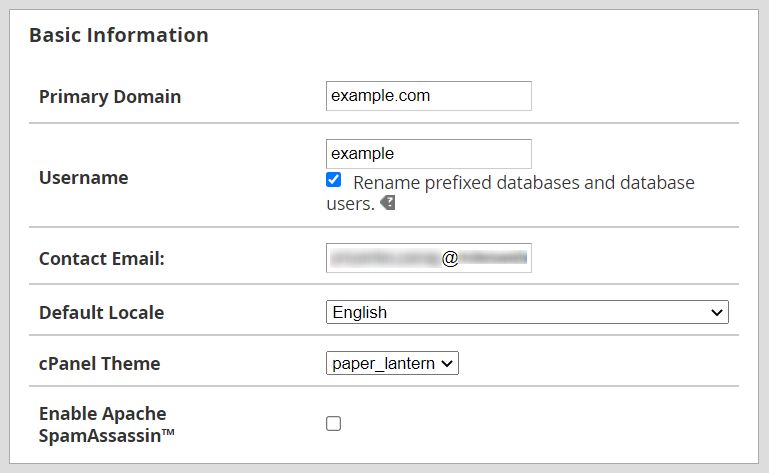
- Basic Information:
- This section allows you to change the primary domain, username and contact email of the cPanel account.
- You can even select a default language for the account from the dropdown list in the Default Locale field or set the theme for the cPanel interface.
- It even has an option to enable Apache SpamAssassin.

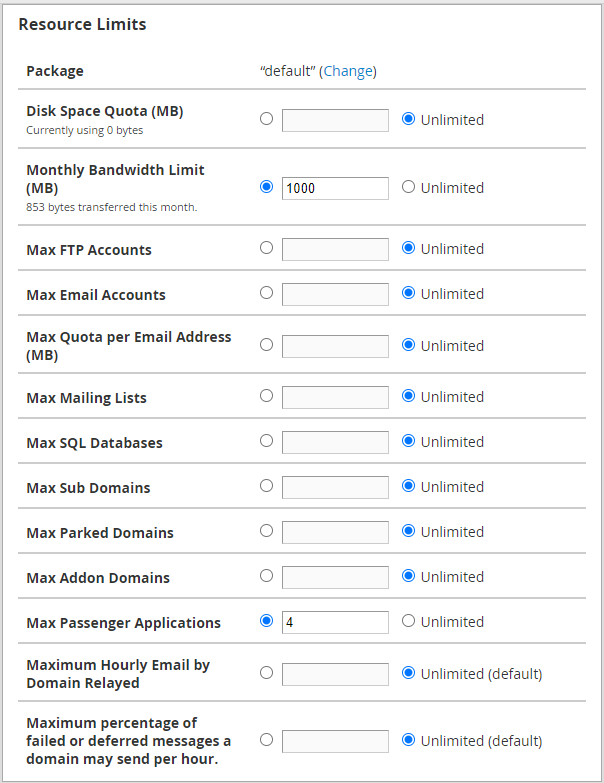
- Resource Limits:
- It allows you to set limits on the cPanel account for the consumption of server resources like disk space(memory storage), bandwidth, databases, email and FTP accounts.
- You can even put restrictions on the maximum allowed sub domains, parked domains or addon domains.
- To put restrictions on a resource, you have to select the radio button beside the text box and enter a maximum allowed value for the resource.
- To remove any restrictions or limits on a resource, select the radio button beside Unlimited.

- Privileges: You can grant/activate privileges to grant a certain level of authority to the cPanel account.

- DNS Settings: It allows you to enable DKIM and/or SPF on the cPanel account.

6. Once you have all the changes and modifications, click the Save button at the end of the form.

The system will apply all the changes for the account and, a success message will flash on the screen. In this way, you can practically configure a cPanel account to your liking with just a few clicks.


