A cache is a mechanism that operates between the web server and the web browser. Generally, cache stores multiple file copies (for e.g. html/php/css/js files) to quickly access them rather than requesting those files from the server. Leverage browser caching is one of the effective ways to cache files.
While continuously fetching resources over the network, you may face website load time with the web server, and leverage browser caching helps you here. It means, webmaster instructs the web browser to store some of your webpage resource files.
When a requested webpage is displayed by a web browser, things such as your logo, CSS files, HTML files, PHP files, and other resources get automatically loaded. Leverage browser caching improves the website speed, by which you get a better user experience.
Simple steps to fix the Leverage Browser Caching of a website:
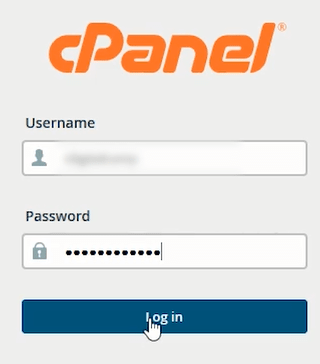
Step 1: Log in to the cPanel.
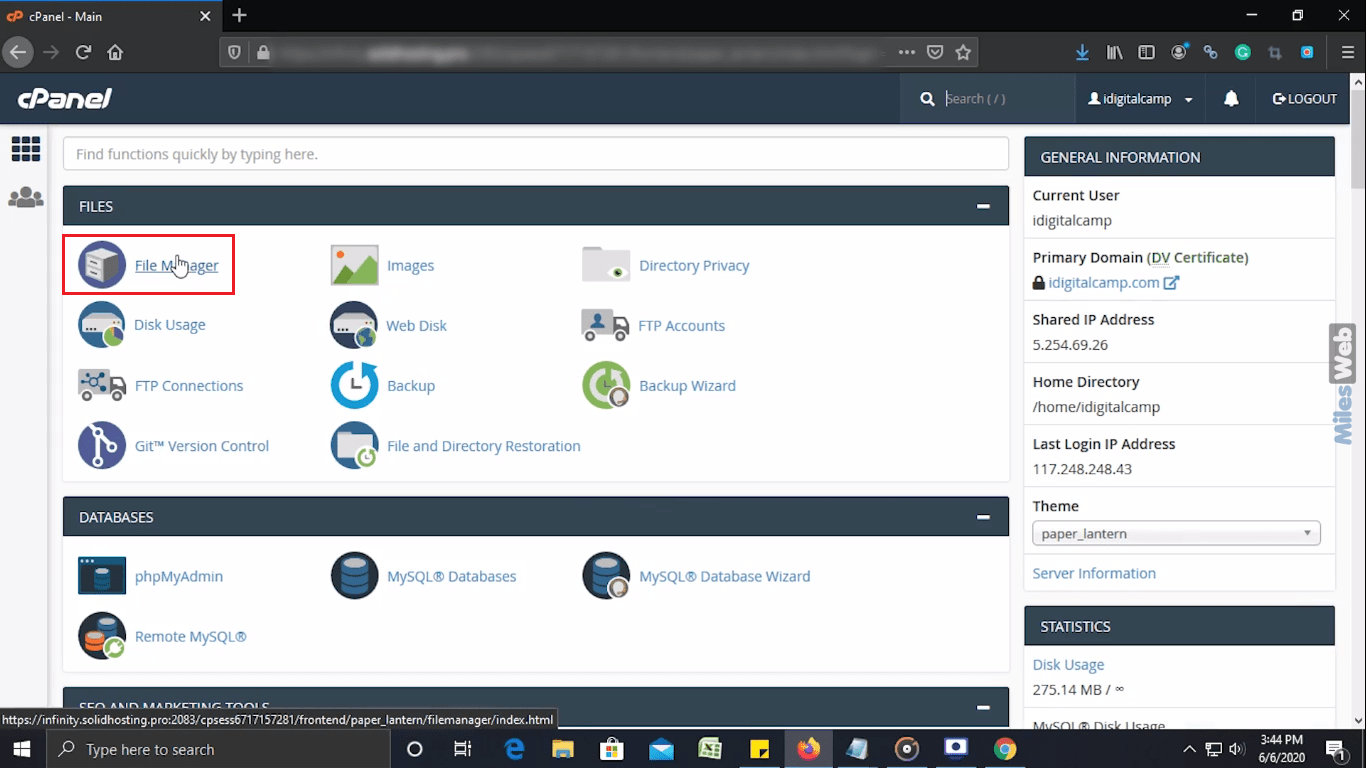
Step 2: Under the Files section, click on File Manager.
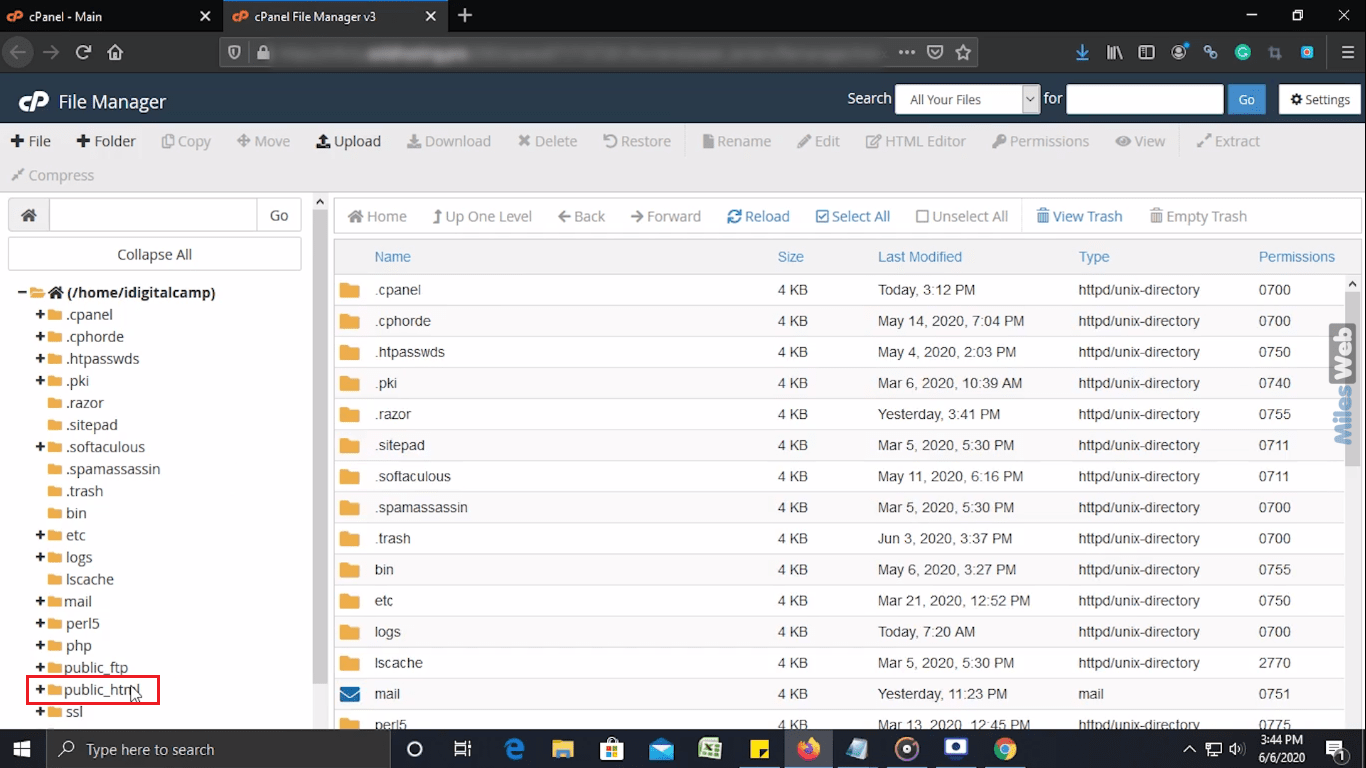
Step 3: On the left side, click on public_html directory.
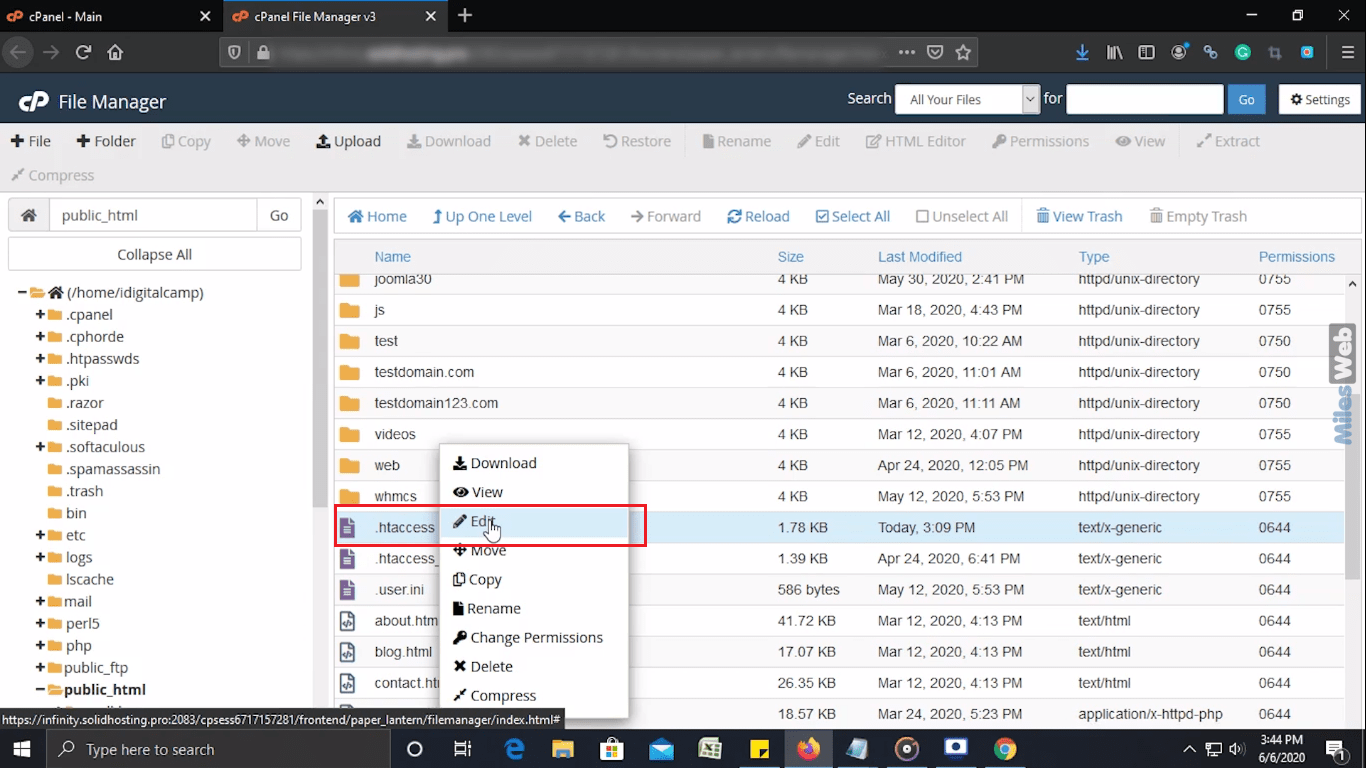
Step 4: You will see the files and folders on the right side. In that, right-click on .htaccess file and click on Edit option in the Context Menu.
Step 5: After clicking on the Edit option, one dialogue box appears on the screen which will ask you for Character Encoding.
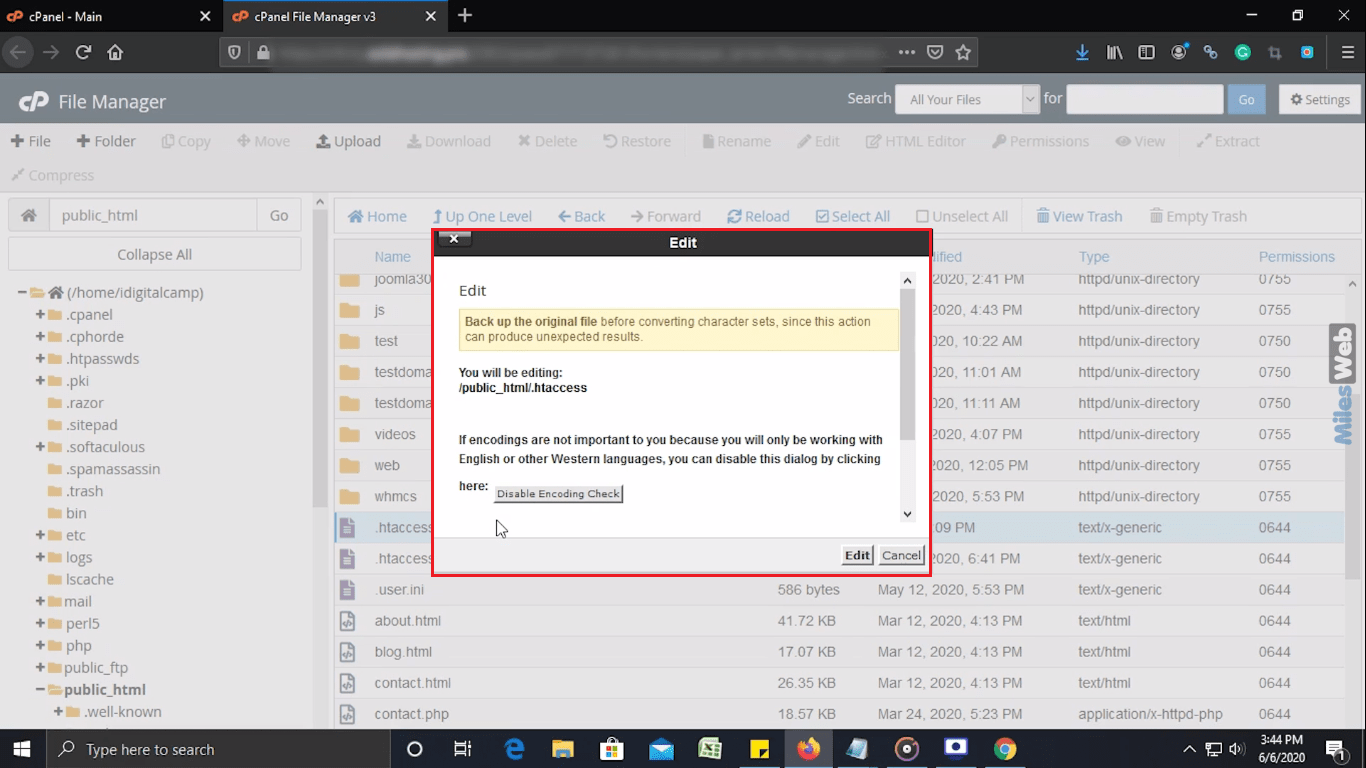
Step 6: If you don’t want to select any Character Encoding option, just click on the Edit button.
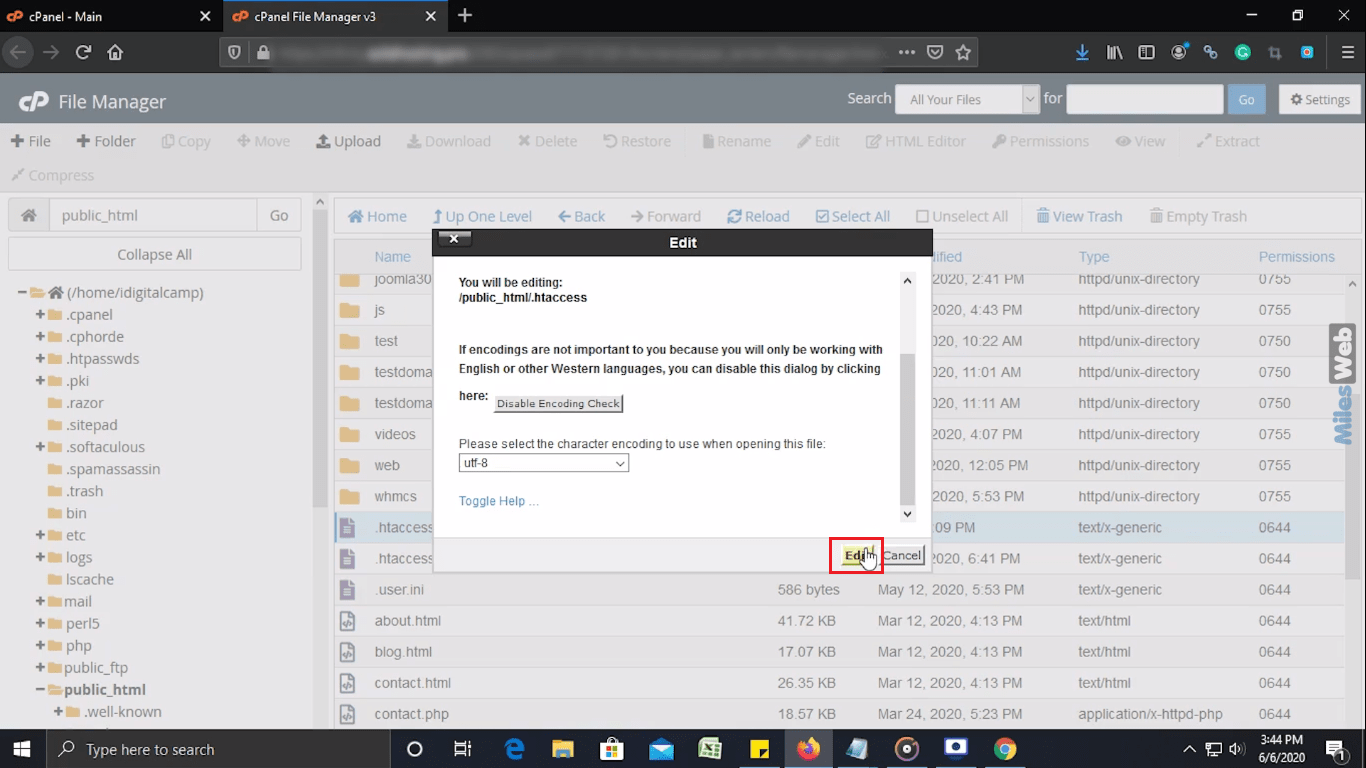
Step 7: After clicking on the Edit button, a new window appears in that you can add this code and click on the Save Changes button.
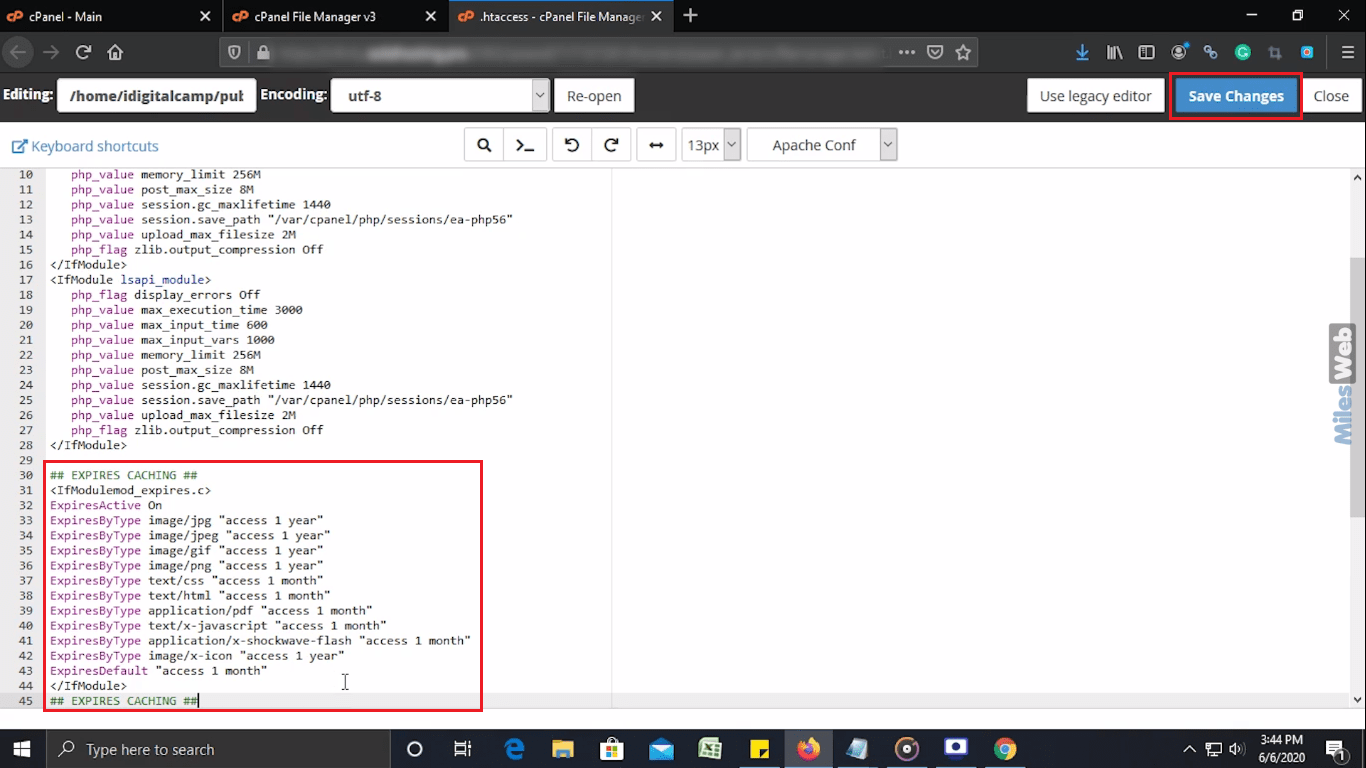
## EXPIRES CACHING ##
<IfModulemod_expires.c>
ExpiresActive On
ExpiresByType image/jpg "access 1 year"
ExpiresByType image/jpeg "access 1 year"
ExpiresByType image/gif "access 1 year"
ExpiresByType image/png "access 1 year"
ExpiresByType text/css "access 1 month"
ExpiresByType text/html "access 1 month"
ExpiresByType application/pdf "access 1 month"
ExpiresByType text/x-javascript "access 1 month"
ExpiresByType application/x-shockwave-flash "access 1 month"
ExpiresByType image/x-icon "access 1 year"
ExpiresDefault "access 1 month"
</IfModule>
## EXPIRES CACHING ##
Steps to verify this code:
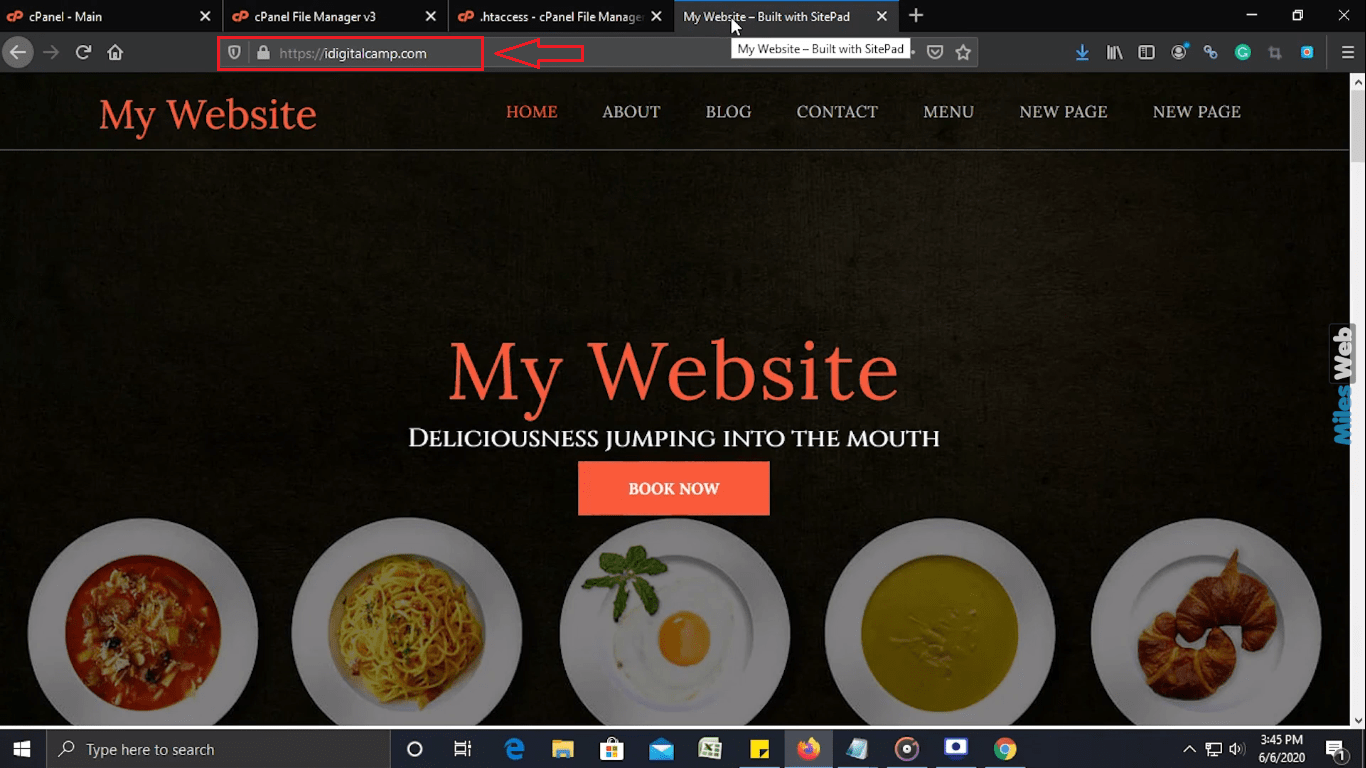
Step 1: Browse your domain.
Step 2: Now press ctrl + shift + e (Mozilla firefox). For Google chrome >> press ctrl + shift + i >> click on Network tab
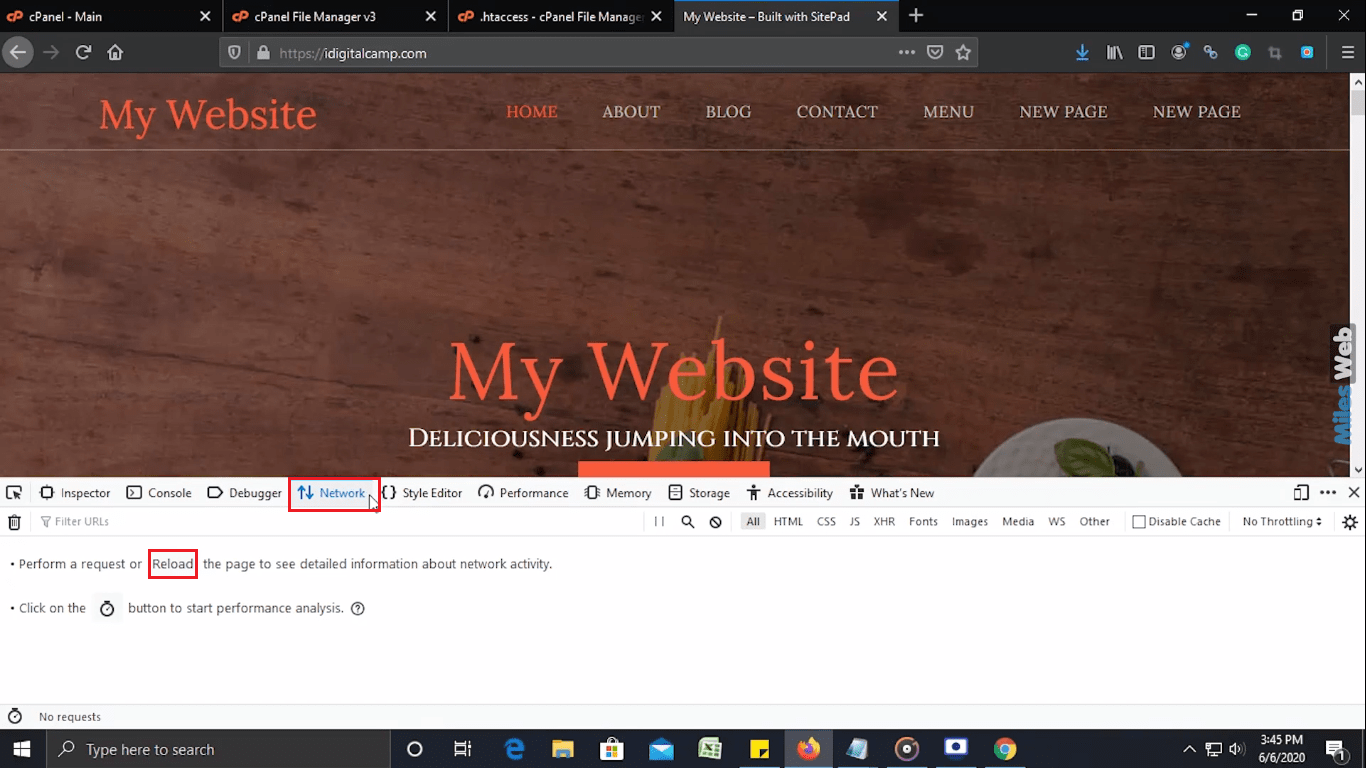
Step 3: In the Network Monitor section click on the Reload option.
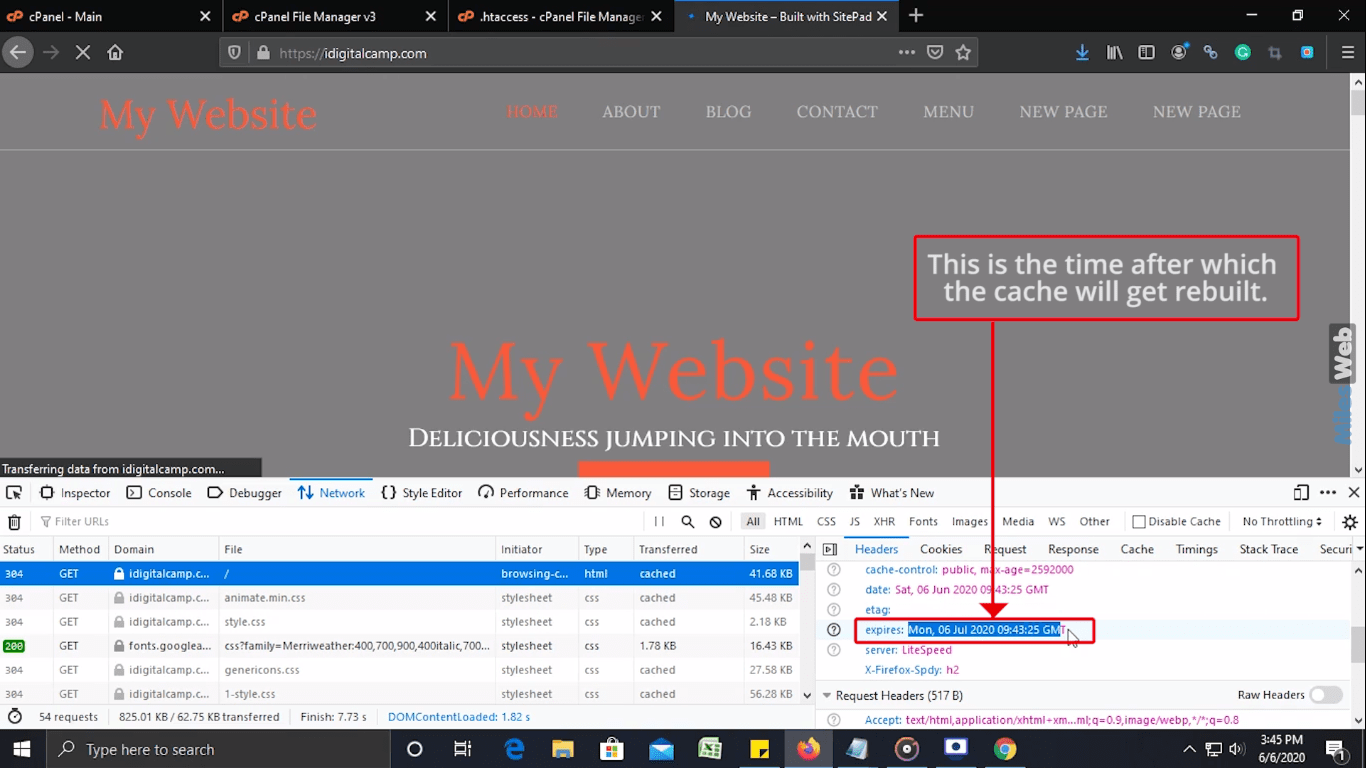
Step 4: You can see the Expiry header set in the response header of your file. This is the time after which the cache will get rebuilt.
So in this way you can fix the leverage browser caching of a website.
Recommendations:
- Leveraging Browser caching will improve your website speed, by which you can give your users a better experience.
- ExpiryType should be at a minimum of a week or one month (normally recommended for 1 year).
- Do not set your browser caching more than a year in advance.
- In case you need precise control over when resources are invalidated, you are recommended to use a URL fingerprinting or versioning technique. (Fingerprinting is the technique used to give each asset (CSS and JavaScript files) a unique name. So, whenever one bit in an asset (such as CSS files) changes, its name automatically changes, and the browser gets updated. Fingerprinting uses the unique name which is calculated the same across multiple servers, which stays identical, as long as the asset is identical.)
Looking for the best WordPress hosting solution, look no further than MilesWeb!!


