A server provides different types of services to the private and public networks connected to it. Thus, the server has to be configured properly so that it can perform its activities efficiently. On Ubuntu, the time zone is set automatically, which can be changed later as per your requirements. If you allow your Ubuntu to fetch the Automatic Time Zone, then it will sync your system via the internet, so that it will show the same time as your closet location.
Timezone plays a vital role in the transactional IT system, where transparency is important during the audit process. Also, the correct time is required to manage the complex and technical resources on your Ubuntu system. The improperly set timezone hampers logging, automation, and cronjobs.
You might deploy the automatic working software and updating applications. But, a wrong configured time would limit your deploying at the right time. At the same time, the wrong scheduled time will hamper the scheduling of backups and administrative tasks.
How to check the Current Time Zone?
We set the correct timezone in our Linux servers during its configuration.
First of all, you will have to open Terminal via keyboard buttons ‘Ctrl + Alt + T’ pressing together. You can also open your Terminal application through Ubuntu Dash.
Using command line –
1) To check the current time zone of your Ubuntu system, you need to enter the below command line in Terminal.
$ timedatectl
Syntax :
2) The other option available can be done using this command :
MilesWeb@linux: ~$ ls -l /etc/localtime
And you can see the output as :
Related: Temporary failure resolving ‘archive.ubuntu.com’
3) Using UI
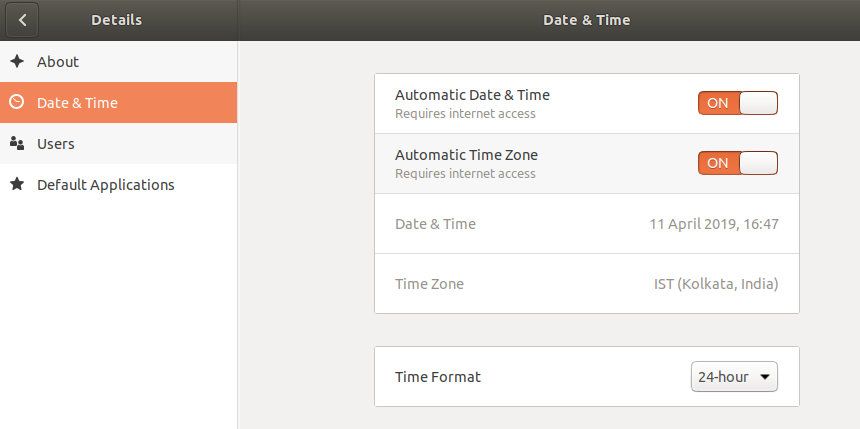
To view the current time zone using UI, you will need to access the Date & Time Setting in the Settings utility.
Click on Date & Time to view the settings.
Or you can go to Settings-> Details-> Time and Date
Now, let’ see how to change the Time Zone in Ubuntu using command line :
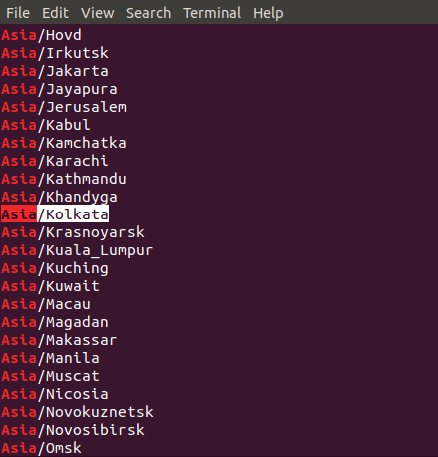
To get the specified timezones, you can enter the following command on your Terminal.
Syntax :
$ timedatectl list-timezones | grep -i [zone]
Let’s take an example :
To get the time zones of Europe we will use this command.
$ timedatectl list-timezones | grep -i europe
We will be setting the time zone to Europe/India, using this example. To do this, first we will have to unlink the system time with local time using following command:
$ sudo unlink /etc/localtime
Now, to set the timezone use the following command:
Syntax :
sudo ln -s /usr/share/zoneinfo/ [Zone/TimeZone] /etc/local time
For example :
sudo ln -s /usr/share/zoneinfo/Europe/India /etc/localtime
You can also verify the changes setting using one of the following commands:
(A) $ timedatectl
OR
(B) $ ls -l /etc/localtime
Now, let’s see how you can change the timezone using UI
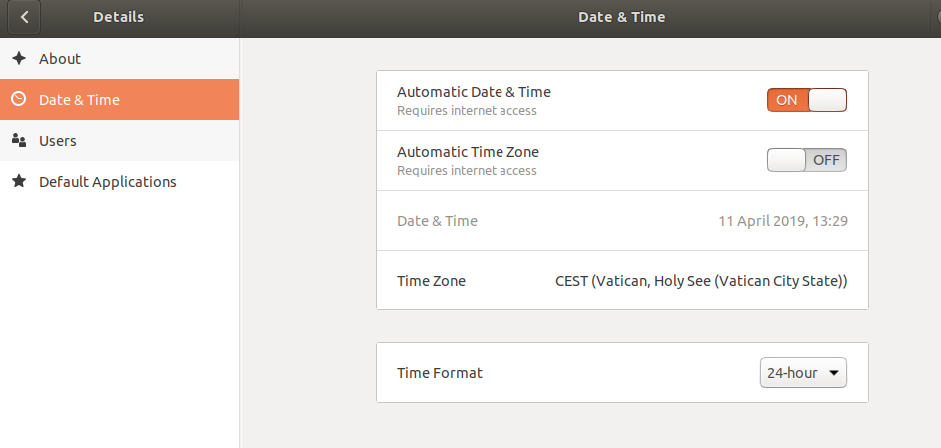
First of all, switch off the Automatic Time Zone button in the Date and Time settings of the Ubuntu Settings Utility.
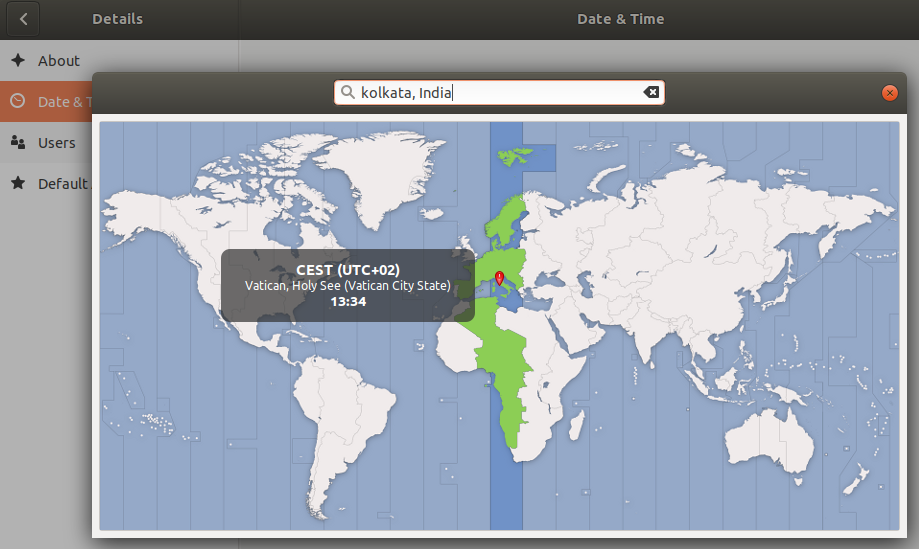
Now, click Date and Time option in order to change the timezone.
This view allows you to search for a timezone through search bar or by manually moving the cursor to your timezone. As soon as you perform this task, the timezone for your Ubuntu system will get changed.
There you go!
You have just learned to change the timezone for Ubuntu system. This is so easy both by using command lines and UI.


