- Log in to Plesk.
- On the left sidebar, under Hosting Services click on Customers.
- To add a new customer, click on Add a Customer.
- In the Contact Information section, fill the required information that has an asterisk mark.
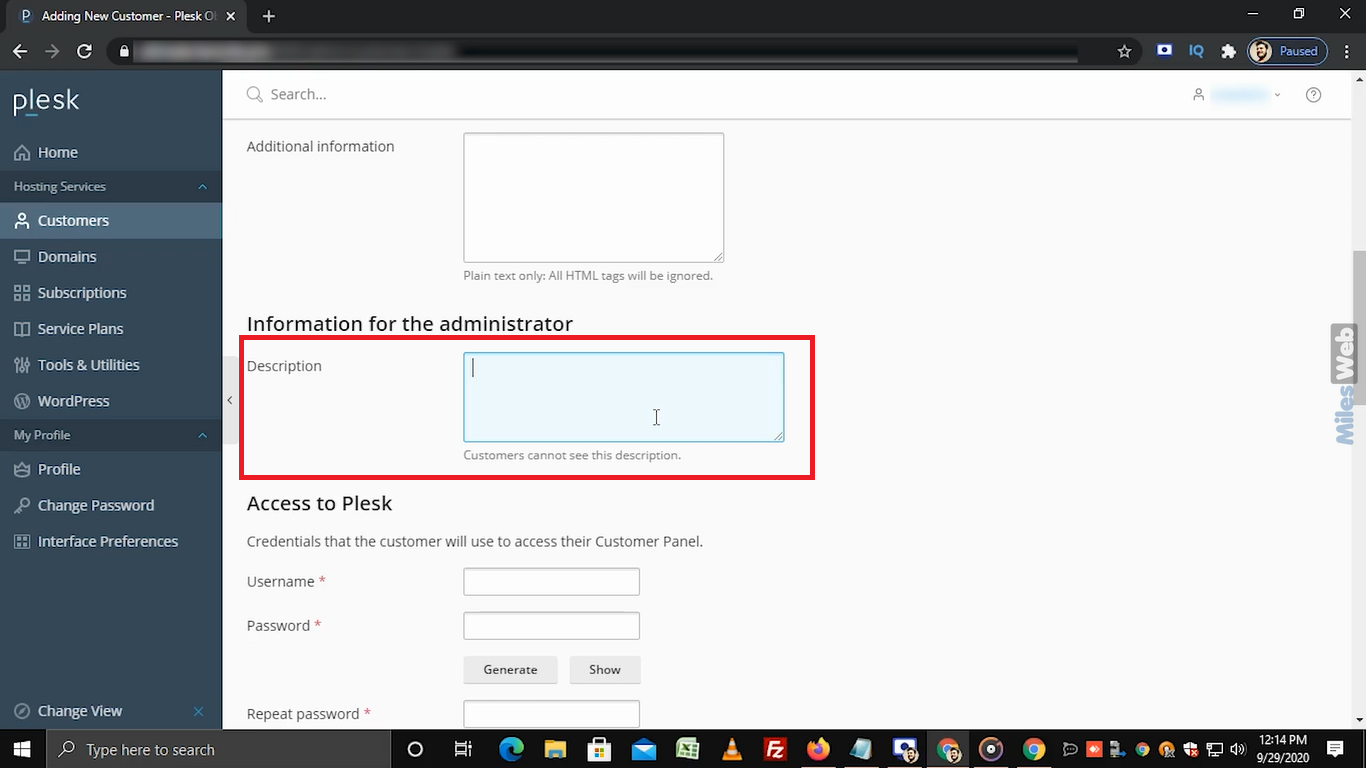
- Under the Information for the administrator section, you can add a description in this textbox. Customers cannot see this description.
- In the Access to Plesk section, enter the username and password in their respective fields. Re-enter the same password in the Repeat password field. Make sure the password you enter must be alphanumeric. If you want to use an auto-generated password then click on Generate. Here, we have manually entered the password.
- The customer will use this login credentials to access their Customer Panel.
- If you want to send an Activation link to the customer via email then select this checkbox.
- In the Subscription section, by default, this checkbox is selected. If you unselect this option then the customer will not be able to log in to the Customer Panel.
- In the Domain name field, enter the customer’s domain name.
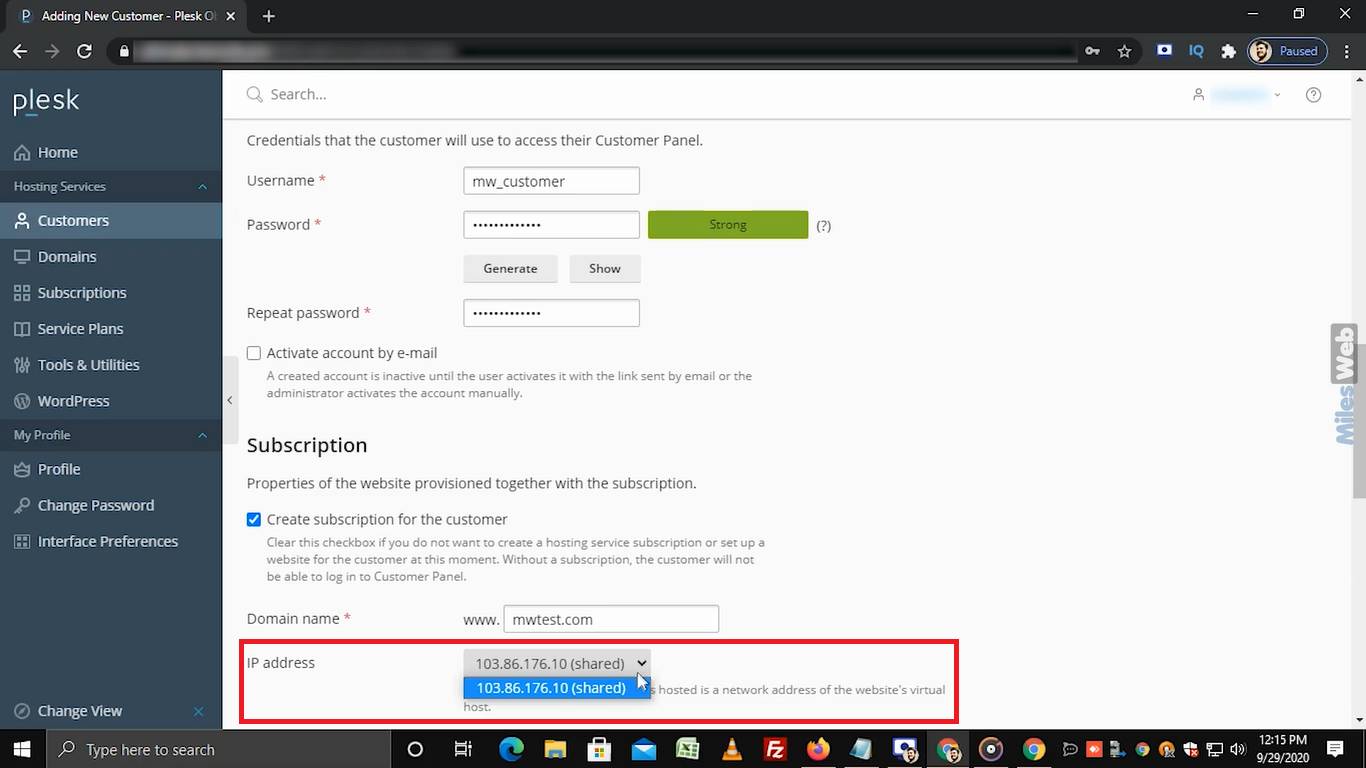
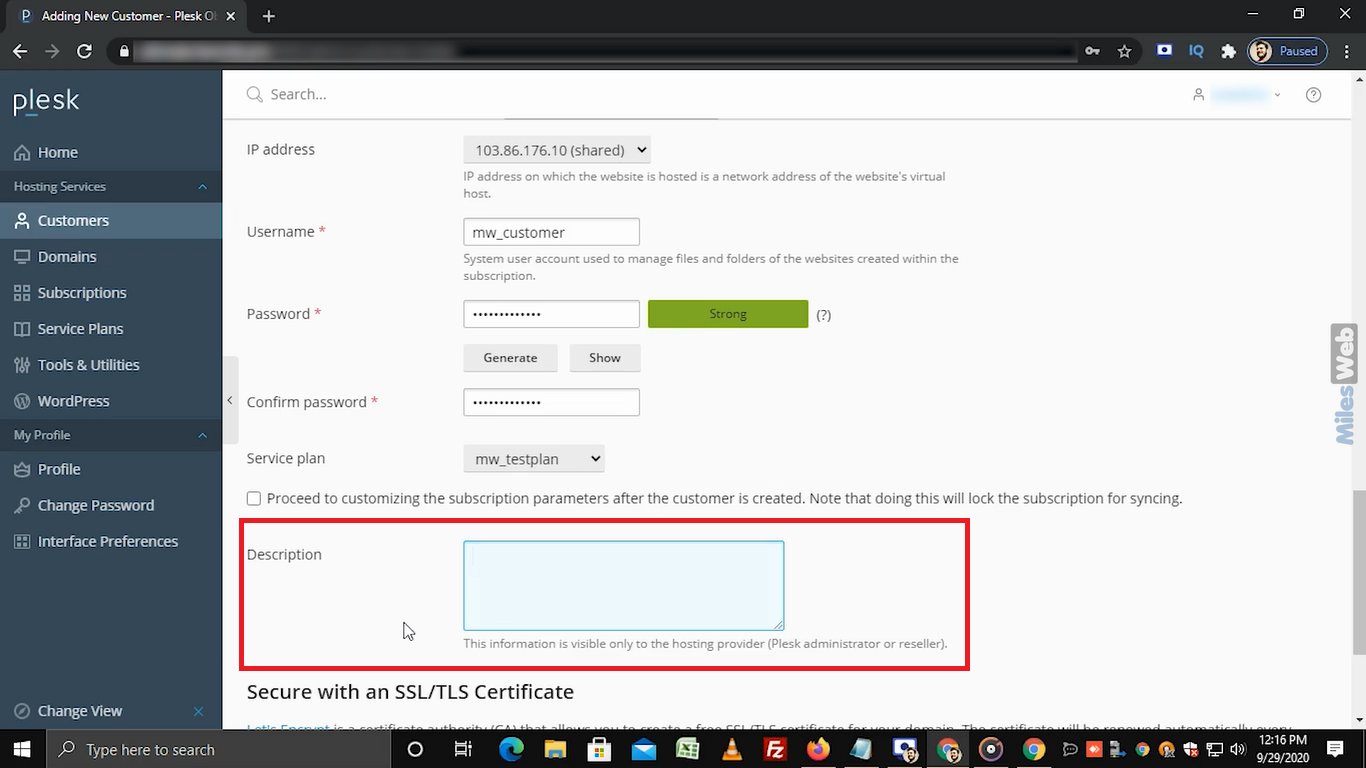
- The default IP address will be shown in this section.
- Enter the same username and password that you have mentioned in the Access to Plesk section. Re-enter the same password in the Confirm password field. Make sure the password you enter must be alphanumeric.
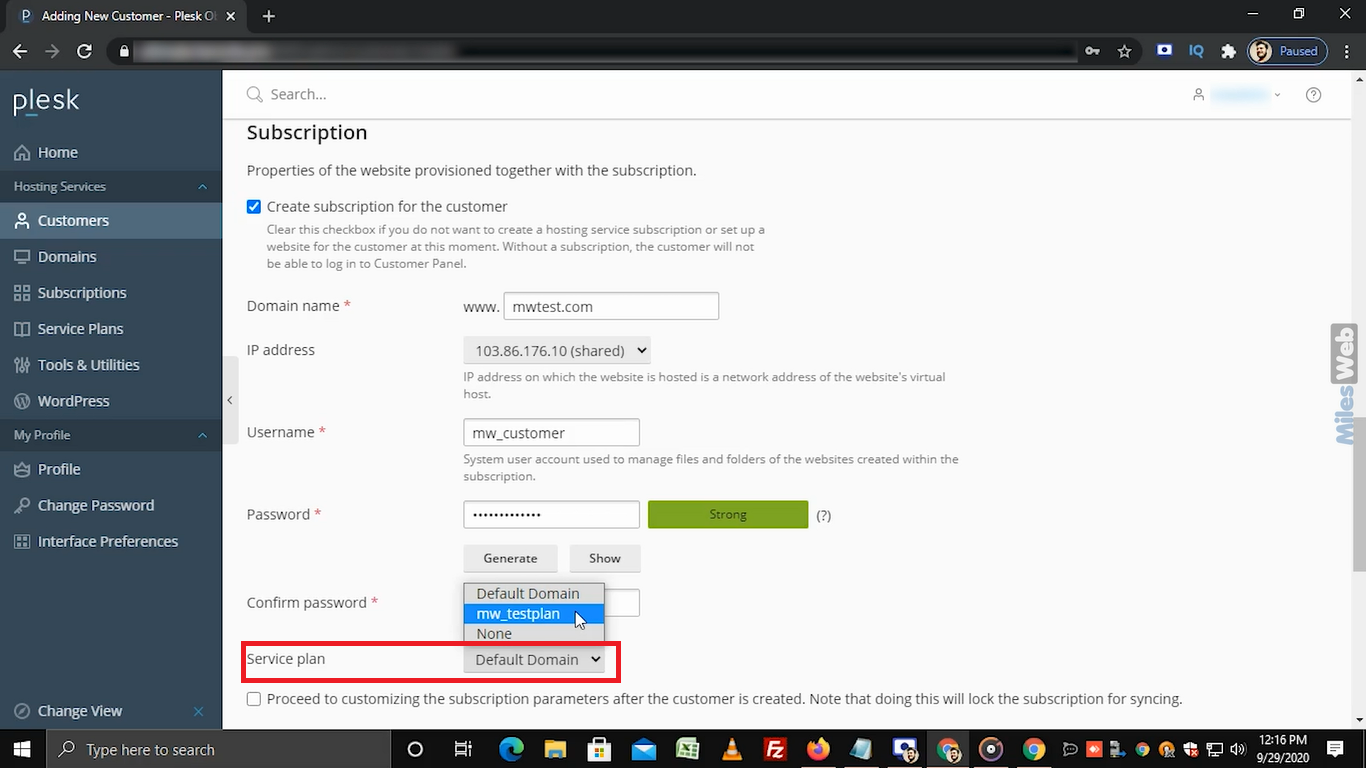
- Choose the Service plan from this dropdown. Here we have already created this service plan so we’re selecting the same.
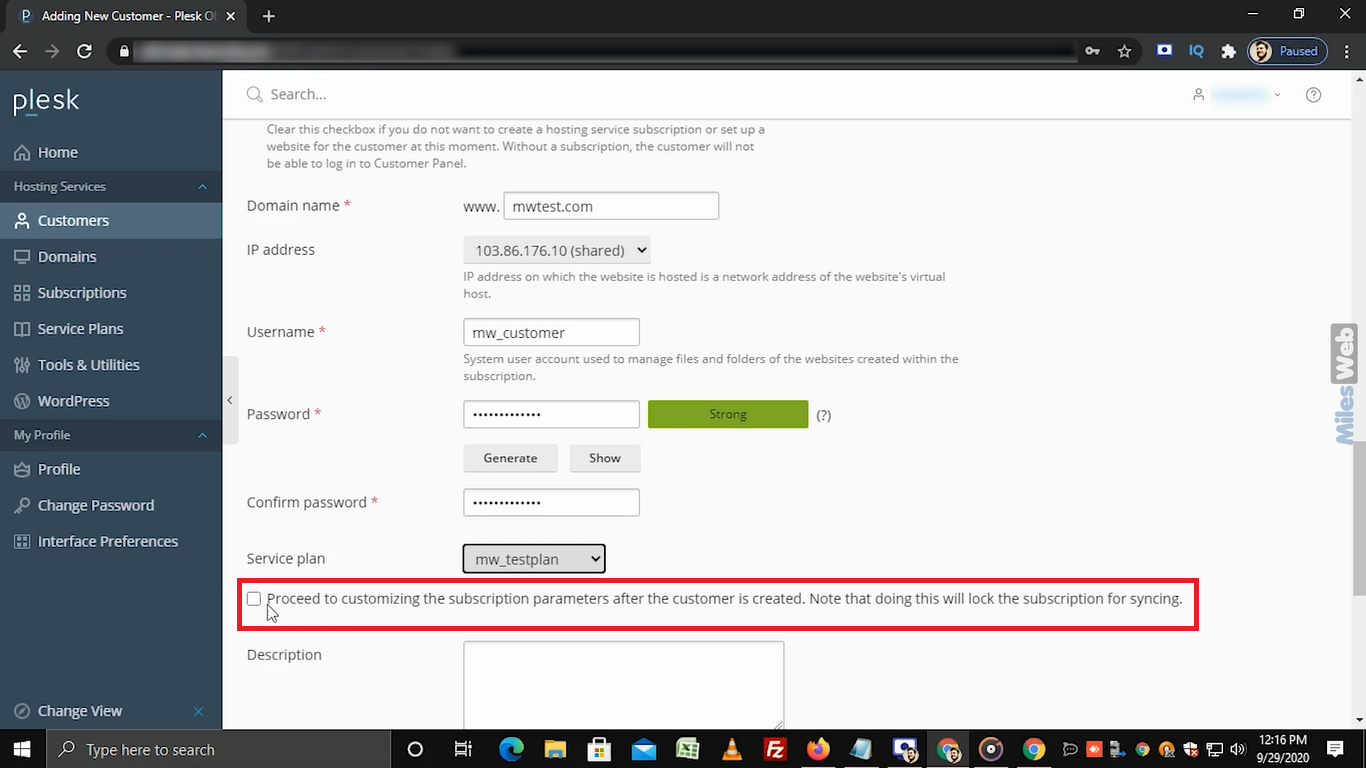
- Selecting this checkbox will lock the subscription for syncing. So don’t select this checkbox.
- If you want to add any description then you can add it in this textbox. This information is only visible to the Plesk administrator or reseller.
- Secure your domain with Let’s Encrypt SSL by selecting this checkbox. Make sure your domain is pointing to a server. You can install Let’s Encrypt SSL once you add the customer to Plesk.
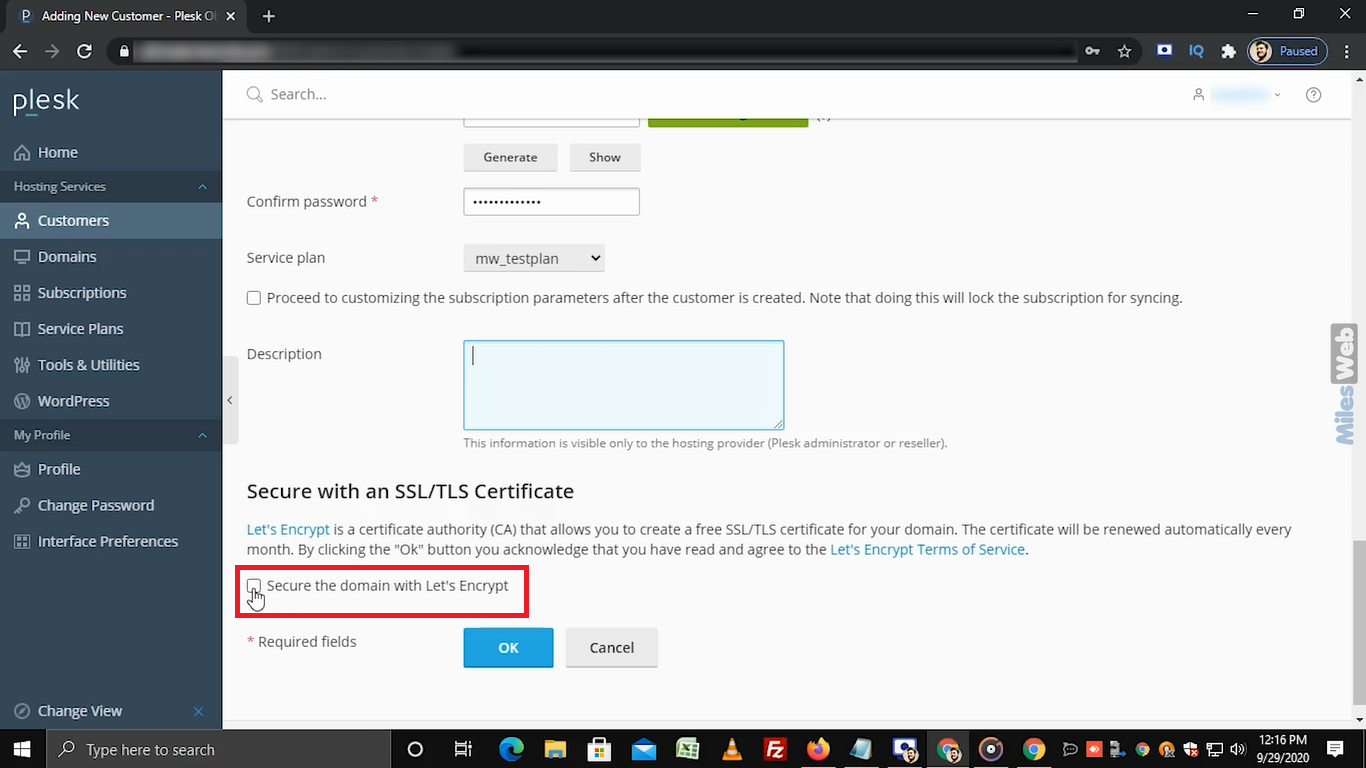
- Click on OK.
That’s how you can add a customer in the reseller Plesk panel.


