Finding it difficult to deal with PHP errors on your website? Planning to downgrade/upgrade PHP Version for your website? You have landed on the right place. In this guide, you will learn to change PHP version on DirectAdmin Server.
Now, let’s check the steps to change the PHP version for your website using DirectAdmin Panel.
Steps to Change PHP Version for DirectAdmin Server without Cloudlinux
1. Login to your DirectAdmin account.
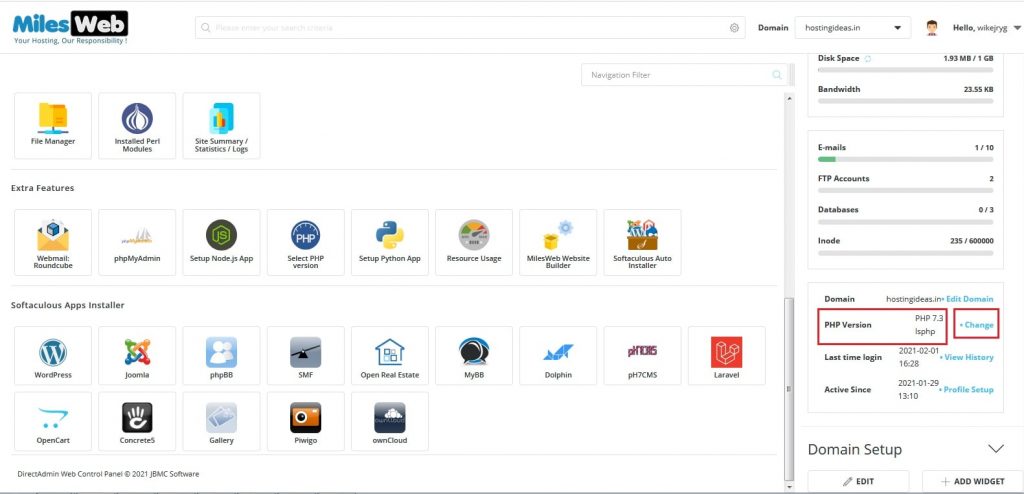
2. In the top-right corner, select the domain for which the PHP version needs to be changed.

3. In the right-side bar, you will get to see the PHP version installed on the domain along with other basic details for that account. Here click on Change.
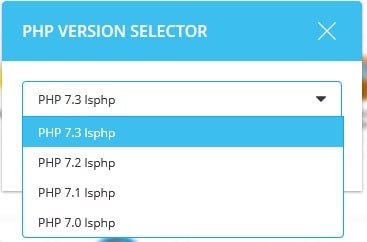
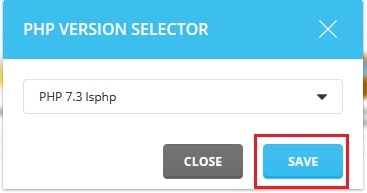
4. Select the PHP version that you want to install from the drop-down menu and click on the Save button.
5. You will get a success message once the PHP version is saved as below:
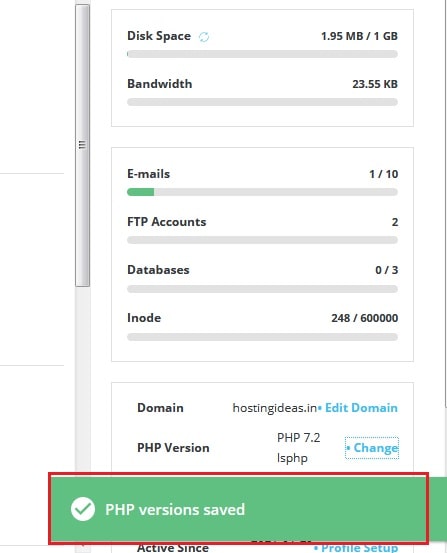
In this way, you can change the PHP version for your domain from DirectAdmin server without Cloudlinux.
Steps to Change PHP Version for DirectAdmin Server with Cloudlinux
1. Login to your DirectAdmin account.
2. In the top-right corner, select the domain for which the PHP version needs to be changed.

3. Go to the Extra Features section and click on Select PHP version.

4. It will redirect you to the page of Select PHP version, where you can select the PHP version you want to install from the drop-down menu to change the PHP version.
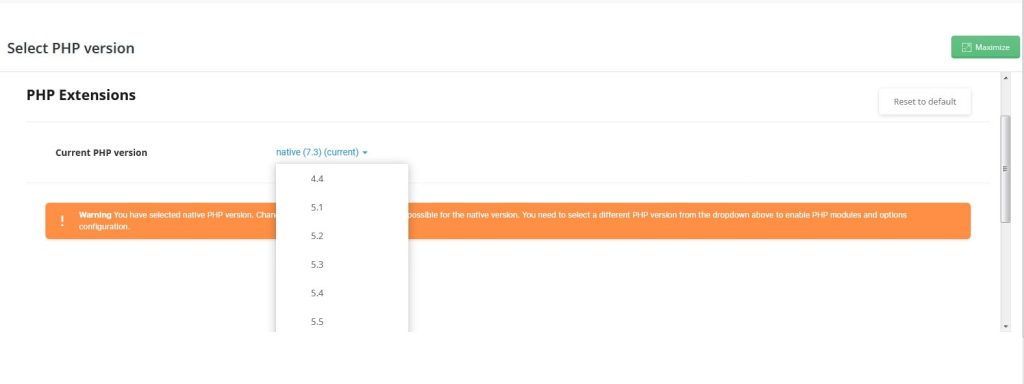
5. Then click on Set as current besides the drop-down to set the selected PHP version.

Steps to Check the PHP Version for Your Website
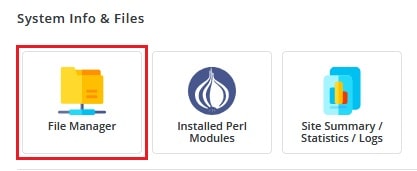
1. At first, create a file with any name in the home directory of the domain. For this, go to System Info & Files and click on File Manager. Here click on public_html folder in the left-side bar.
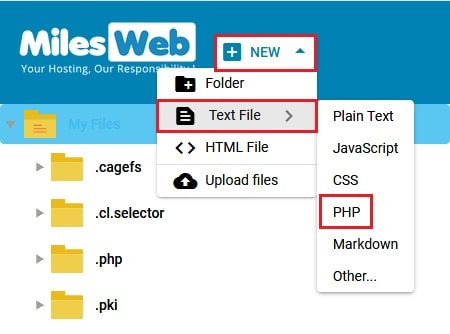
2. Then click on New -> Text File -> PHP. Enter the name of the file and click on Create. For example, we will create phpinfo.php.
3. You will get a success message once the file is created as below:
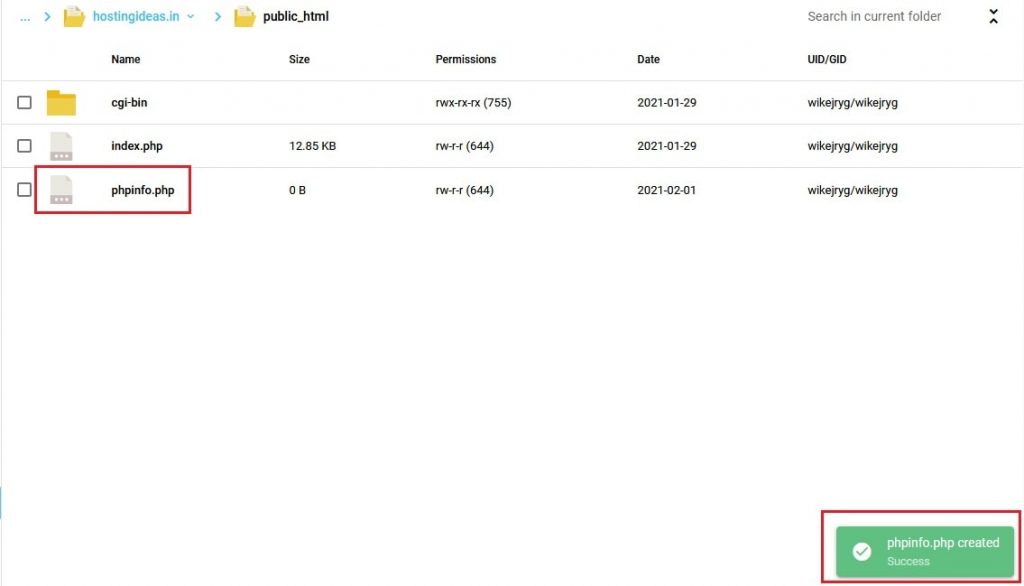
Here, the file path will be /home/hostingideas.in/public_html/phpinfo.php
4. Right-click on the file and click on Edit. Then add the below line of code in the file and click on Save:
<?php
phpinfo();
?>
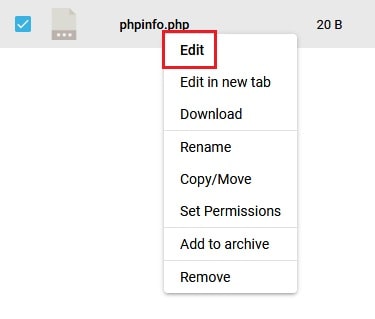
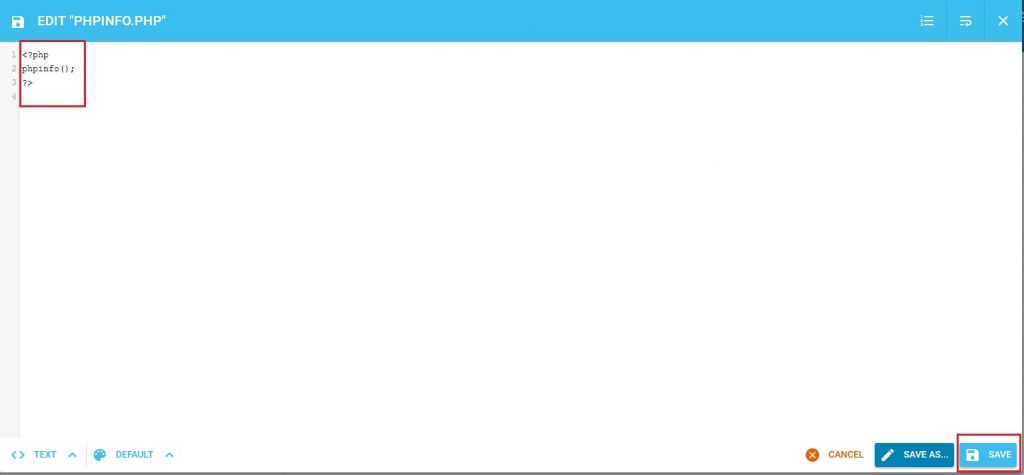
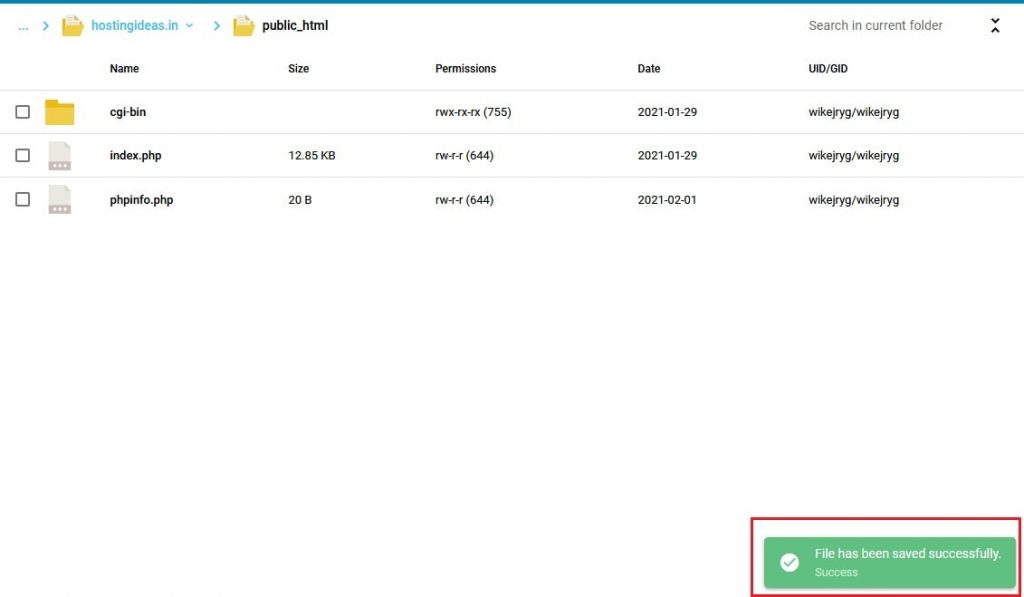
5. You will get a success message, once the code is saved as below:
6. Then browse www.hostingideas.in/phpinfo.php for testing the current PHP Version. You will see the PHP Info webpage with all the PHP variables and settings.
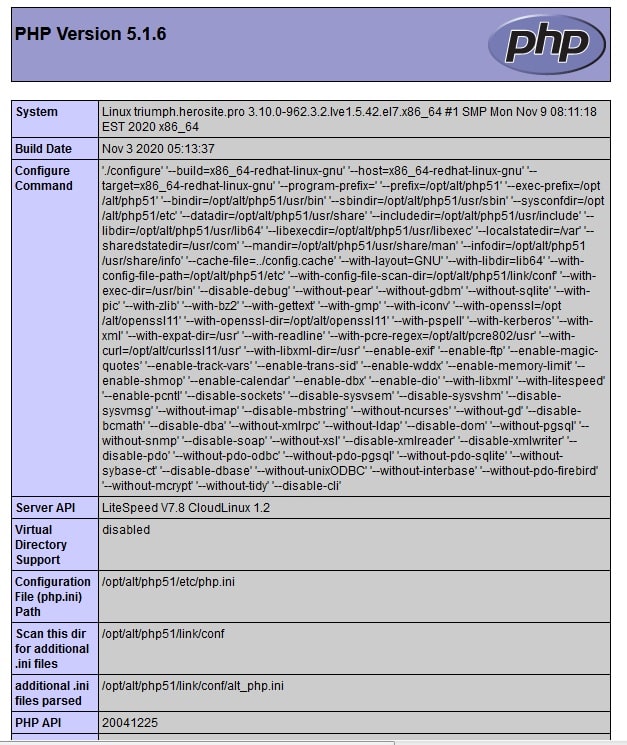
Your URL will be yourdomainname.com/phpinfo.php
Now, you can change PHP version on Direactadmin Server for your websites and also, check the current PHP verification on the website with these simple steps.


