Have a WordPress website? That’s great! It’s very easy to develop a website with WordPress. But once it’s developed, many times you need to perform some changes on it on the trial and error basis. Unfortunately, doing this on your live website surely affects your website traffic.
To avoid this, you must have another way of testing the changes. Do you know you can create a clone of your website? Yes that’s possible for your WordPress website. You can create a duplicate version of your website and test the changes on it prior to making them live. You can perform tasks such as copy files and databases, change configurations, test a new theme, integrate a new plugin, etc. on the cloned website. Let’s learn to clone your WordPress website with the one-click installer, Softaculous.
Steps to Clone Your WordPress Website with Softaculous
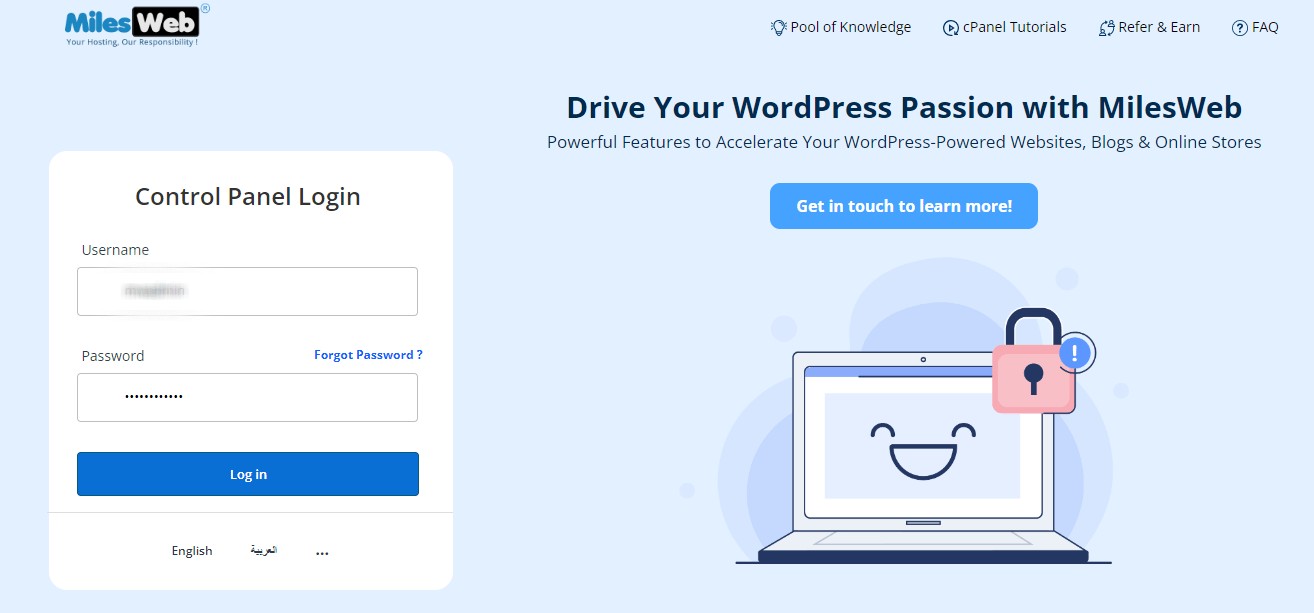
- Login to your cPanel account with the username and password.
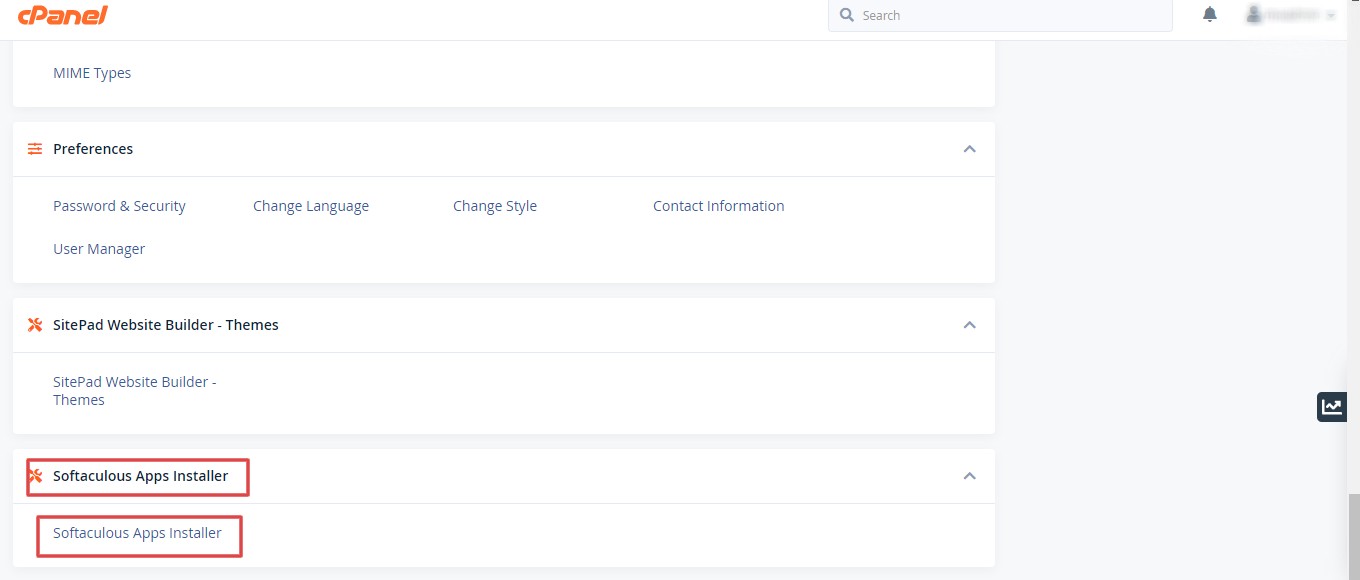
2. Scroll down to the Softaculous App Installer section at the bottom. And, click on the Softaculous App Installer.
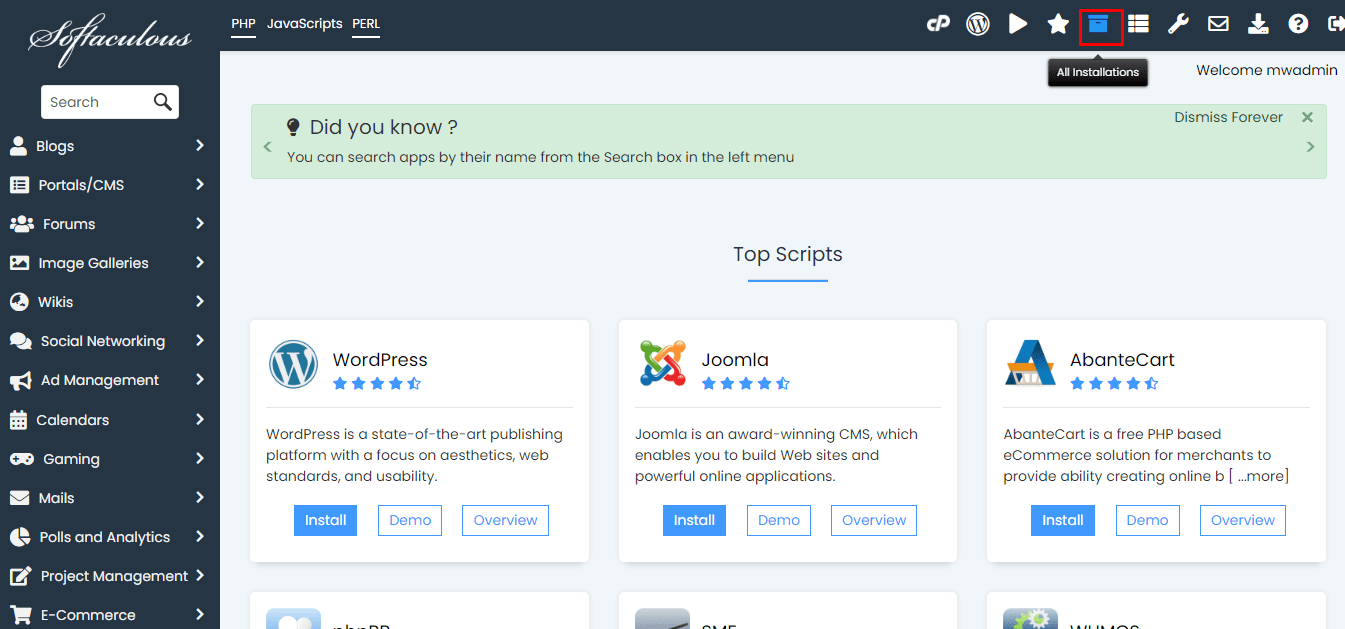
3. Once you get in the Softaculous tool, click on the All Applications icon which is located in the upper right corner.
4. This will show you the list of all program instances that are currently installed in your Softaculous. Just locate the site you want to clone and simply click on the Clone.
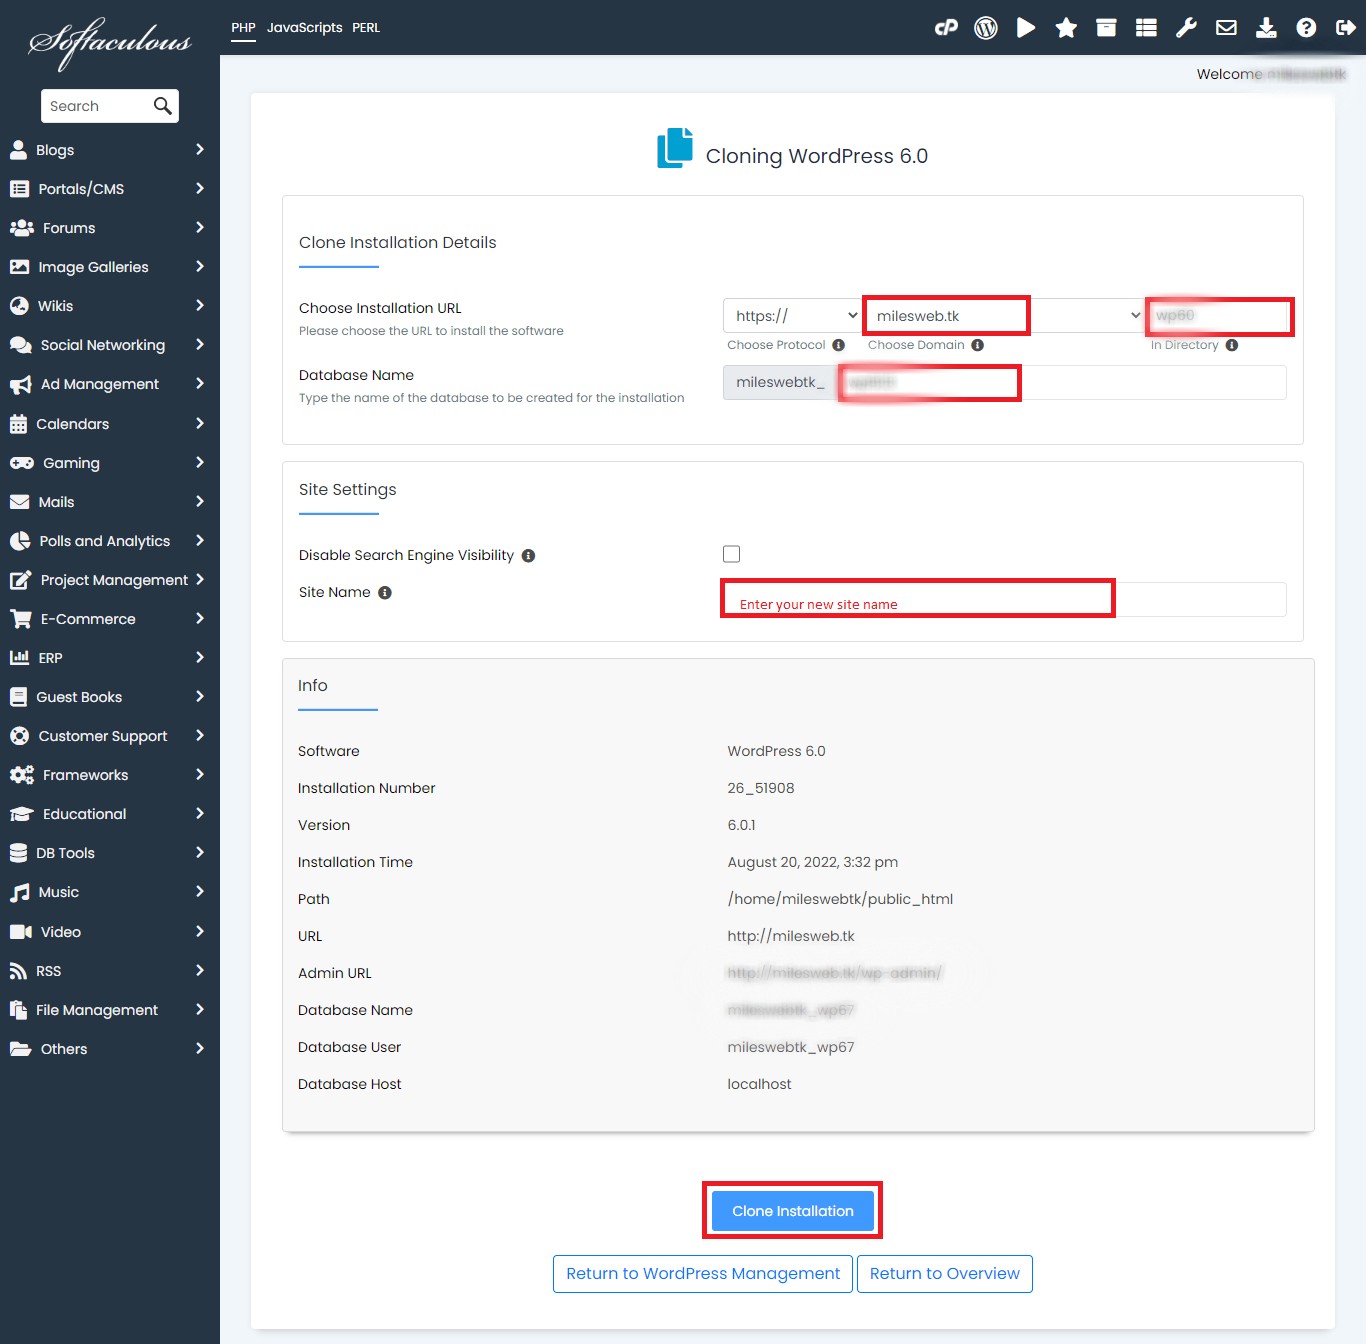
5. The Clone Installation page will be displayed. Here you need to fill the details of where you want your clone to go. You will need to insert the below details:
Also, enter the new site name.
- Choose Protocol: If you have a specific reason to use the https:// then only select it otherwise, do with the default http://
- Choose Domain: In case you are transferring to a subdomain or another main domain, the you can select it here.
- In Directory: Enter the sub folder you are moving to, here. If you aren’t, delete the text here and make it blank.
- Database Name: It depends on you whether you want to name your database or leave it as default. Do it accordingly.
6. After entering all the destination information for your clone, click on the Clone Installation button.
With this, Softaculous will install the clone to the new folder/domain/subdomain you selected in the above step. Additionally, it clones the database as well so that each copy has its dedicated database.
When the website is cloned, a success message will appear.

Note: Check for the space on your hosting plan for the databases or your clone will be a failure.
So, you can now perform changes on your site and test them on your clone website before making live on your main website in these simple steps.


