
Watch this video for a step by step process on how to create a blog post for your WordPress website
WordPress has the simplest structure that allows you to create and post blog articles for their websites. Users can easily create interactive blog posts by writing and uploading images on the WordPress platform.
To Create a Blog Post on WordPress
1. Log in to your WordPress account.
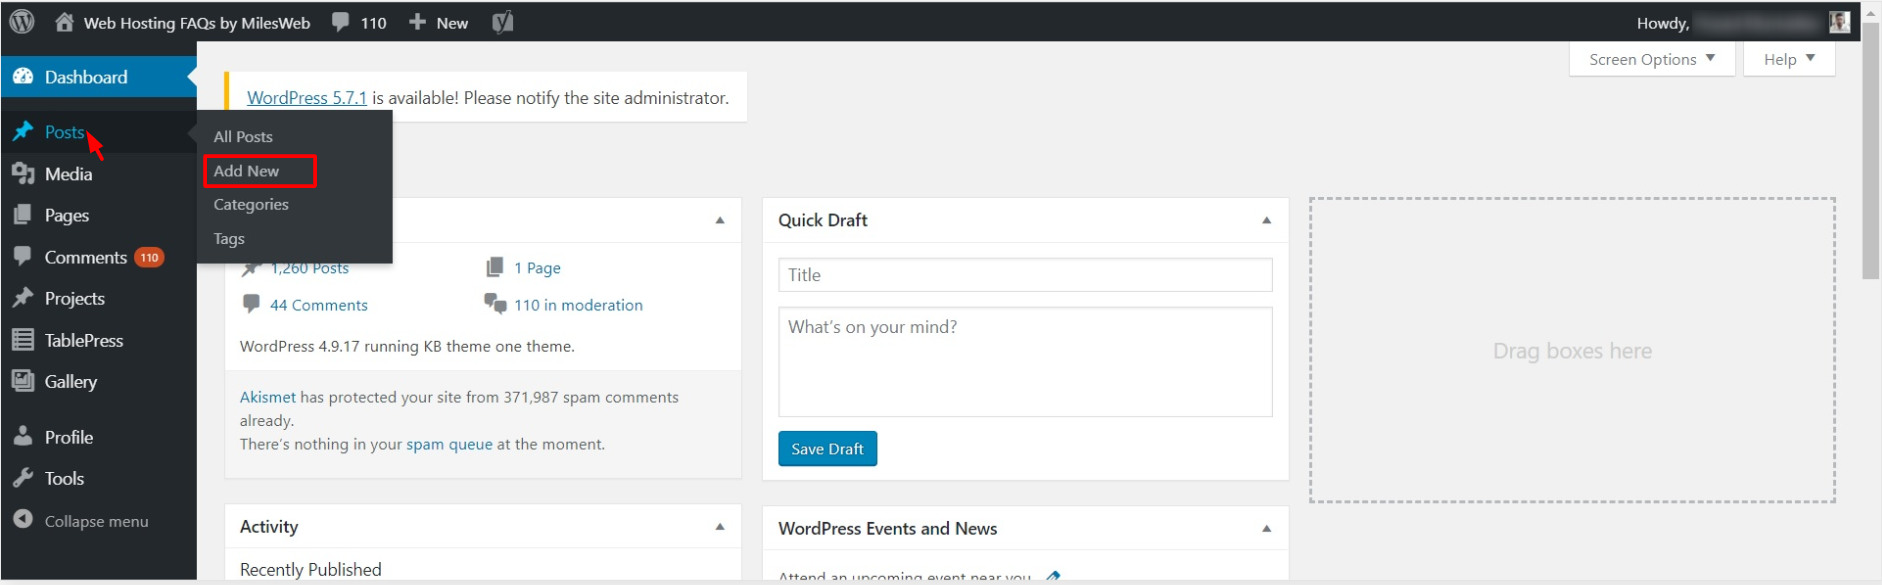
2. Hover the cursor over Posts and click on the Add New option.
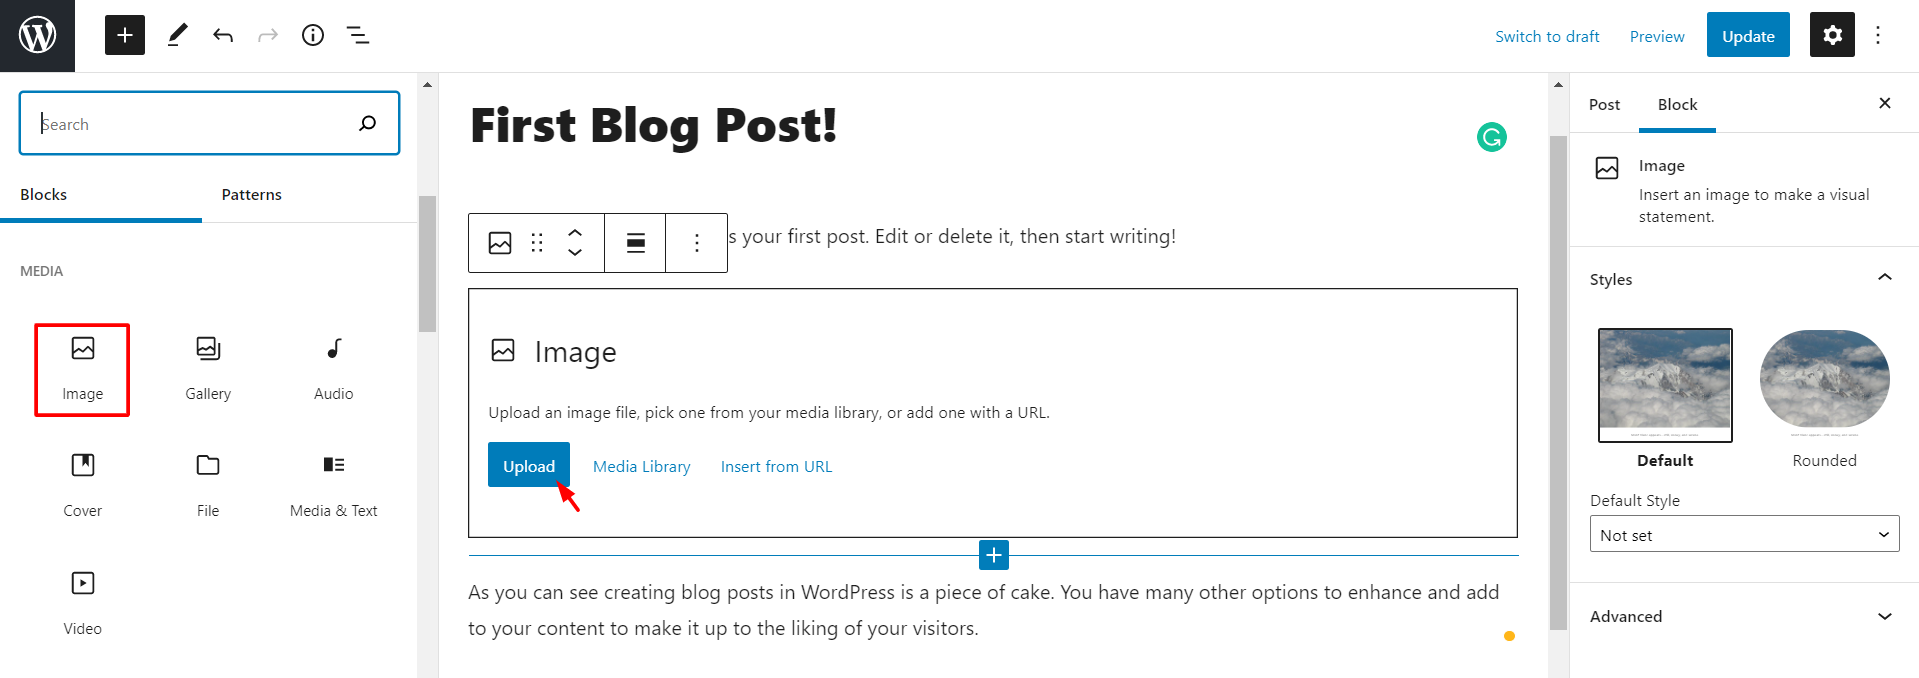
3. The Add New Post window will open. Add the Title and furnish the content for the blog post by writing in the editor box.
By clicking on the ‘+’ icon, you can access various options to add media files, code and others to tweak the textual content.

For example, to add an image to your post, click on the Image button in the Media section. Then Upload the image for the post.
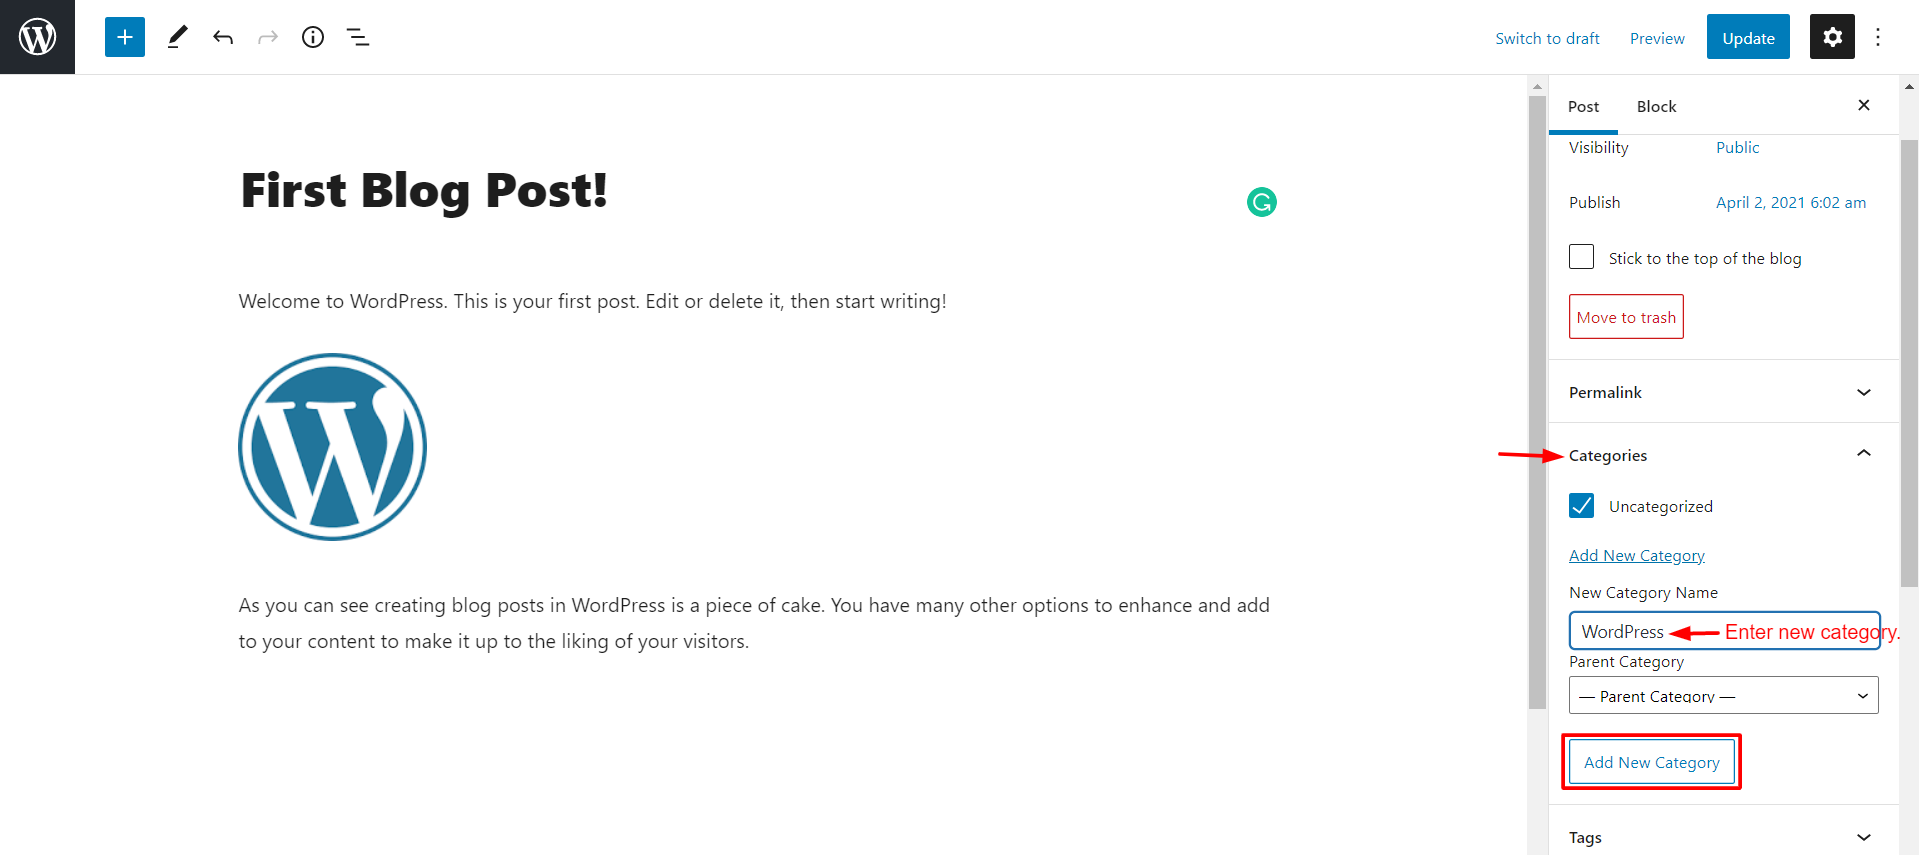
4. Once you finish writing the content, select the category for your post from the Categories section.
It will help visitors navigate through your blog more smoothly. To create a new category click on the Add New Category option.
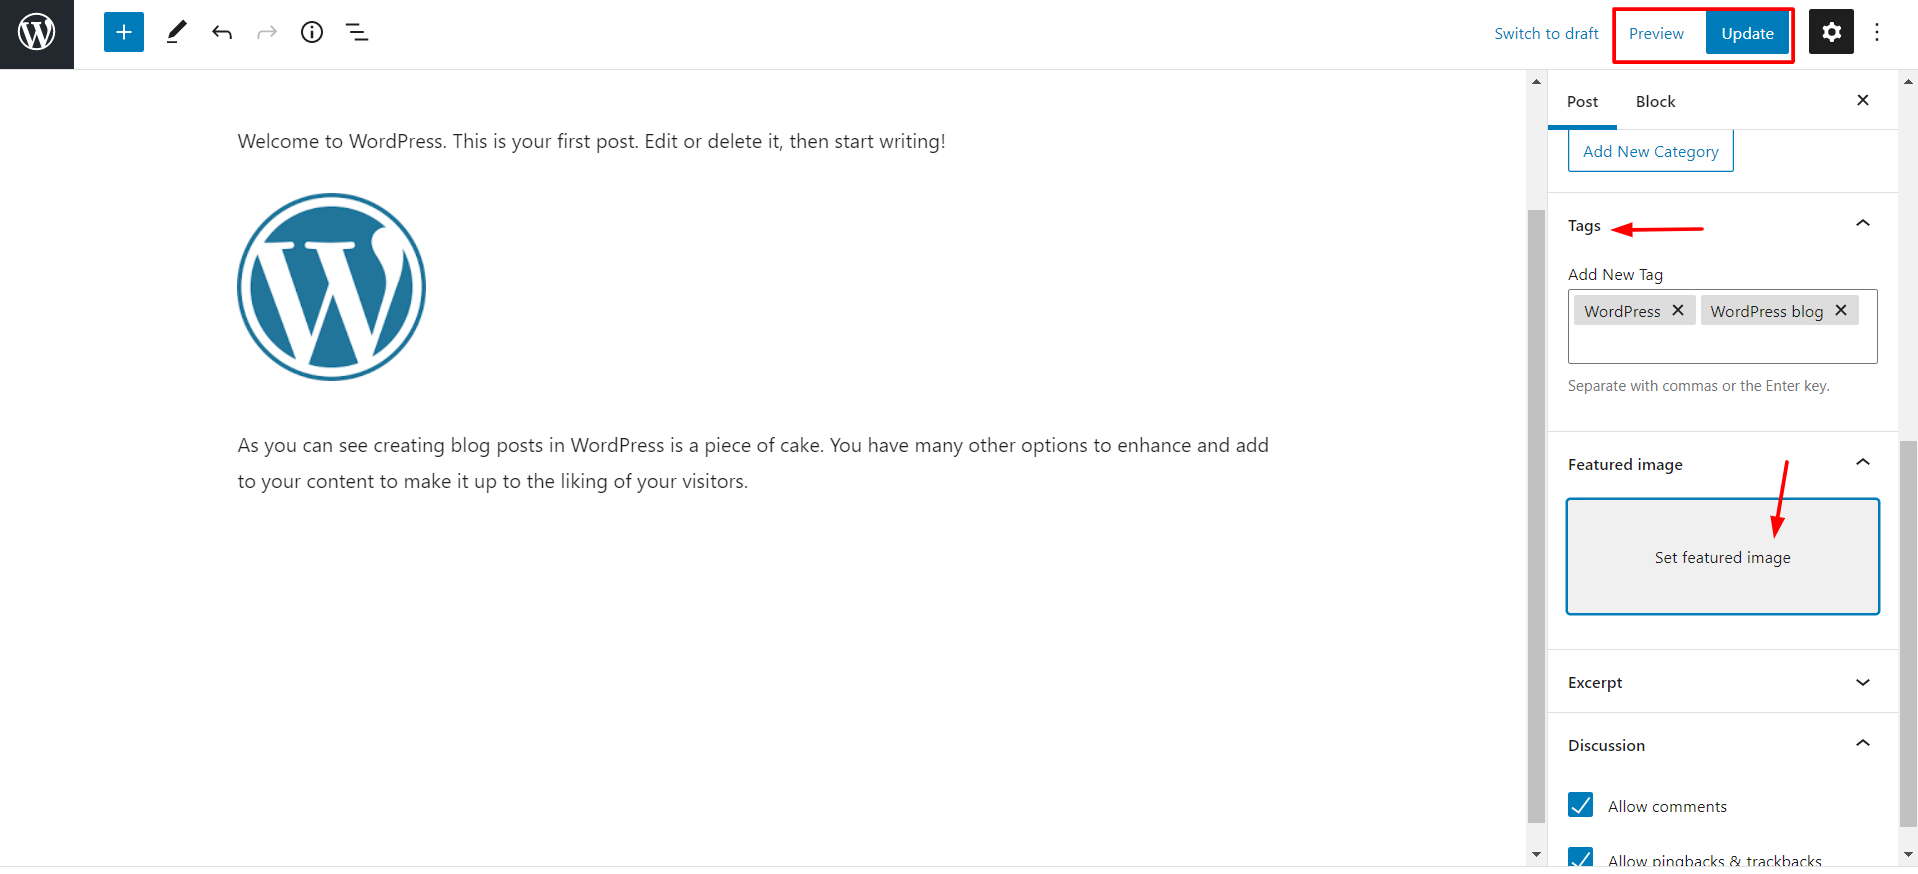
5. Enter tags for your blog posts by clicking on the Tags option. They help archive relative articles so that users can click on the tags to access them.
6. Set a featured image for the blog post from the Featured Image option.
You can preview the post by clicking on the Preview button. Once you are done and ready to publish the post, click on Update.
Congratulations! You can now publish your blogs on your WordPress websites.


