This article guides you on how you can use Plesk to manage MS SQL databases and database users.
- Login to Plesk.
- Click on Databases.
- To create a new database, click on Add Database.
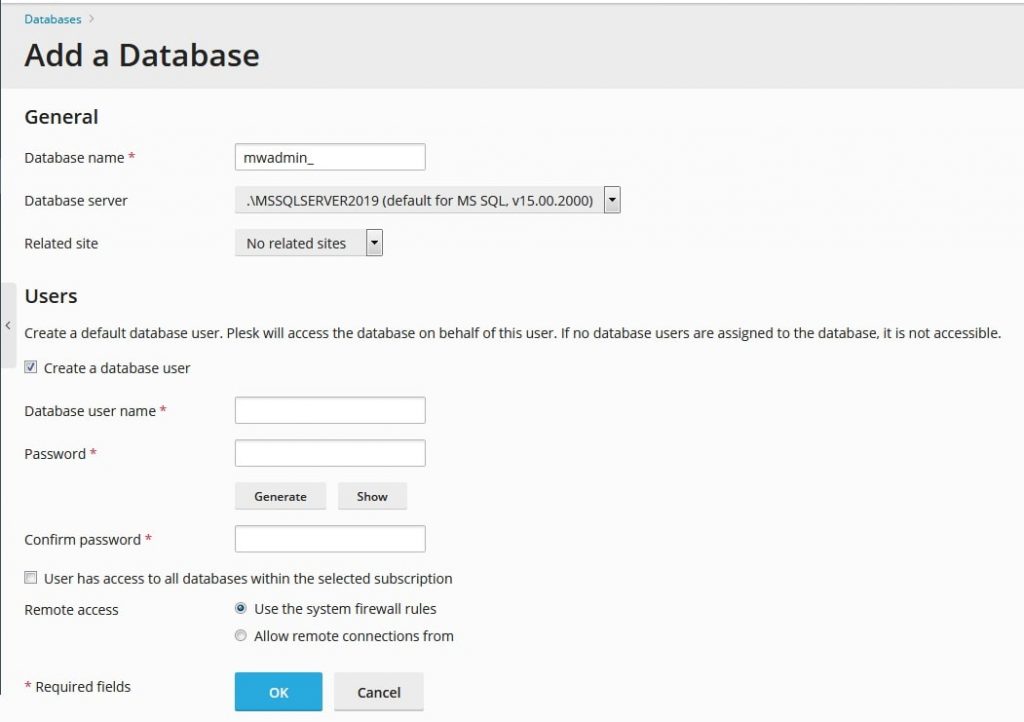
 This will open the Add a Database page where you need to fill in the details.

- In the Database name field enter the name for the database.
- From the Database server dropdown select a MS SQL database server.
- To assign the database to a specific website, select a website from this dropdown.
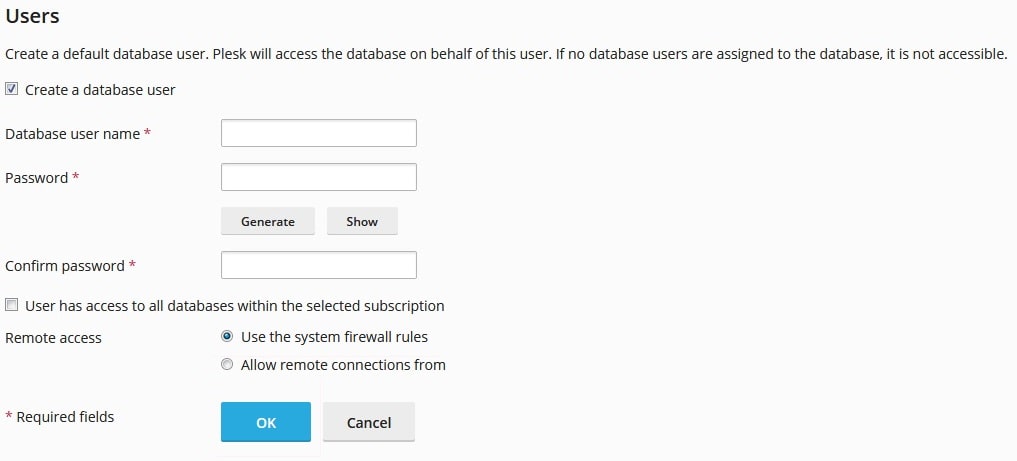
- To create a database user, enter the user name in the Database user name field.

- Type the password in the Password field. The password you enter must be alphanumeric i.e. combination of upper and lower-case letters, numbers, and special characters.
- Enter the same password in the Confirm password field.
- If you want to use an auto-generated password then click on Generate. Both the Password and Confirm Password fields automatically get filled with the random password.
- To view the password click on Show.
- Copy this password and paste it into the notepad file for further reference.
- If you want to hide the password then click on Hide.
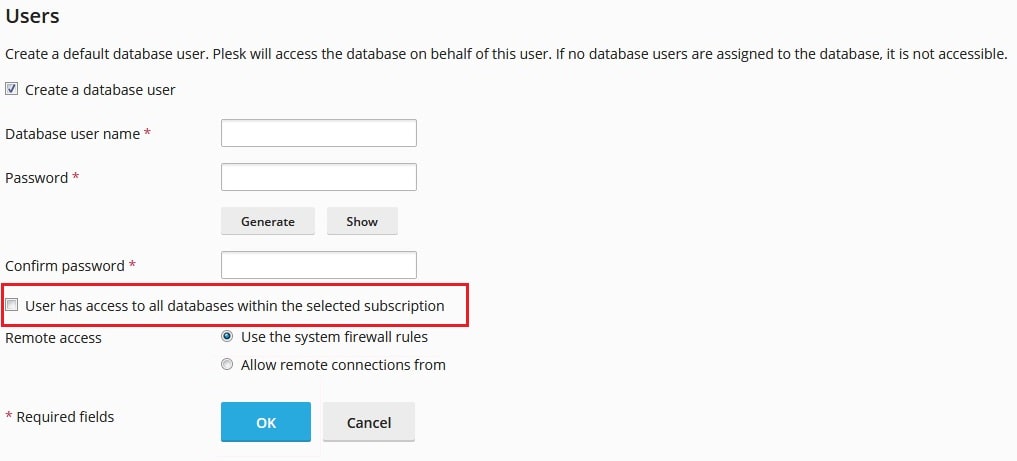
- If you want to grant this user access to all databases created under this subscription then select this checkbox. It is recommended to keep it unchecked.

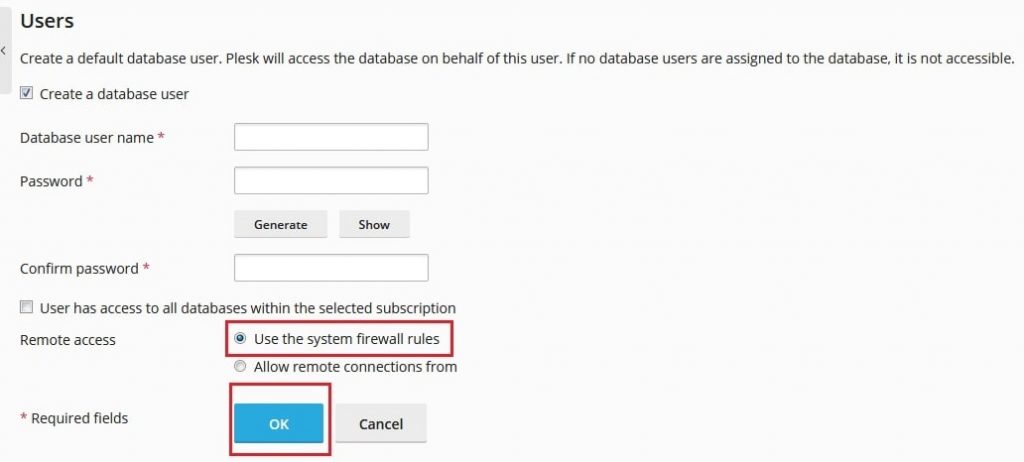
In the Remote Access section, Use the system firewall rules is selected by default. If you select the option Allow remote connections from, it will allow the specific IP addresses to access the database on behalf of this user. Select the first default option only.

- To create a database and database user click on OK.
- You will get a success message. Your new database user can be found in User Management.

You can click on the username to change its settings at any time.


