You can enable Cloudflare for your domain name by two methods:
- Utilize the CNAME record for www.domain.com.
- Signing up on Cloudflare and point a domain name to the Cloudflare nameservers. In that case, you will have to perform the steps in this article to make your domain work properly.
Note: The paid Business or Enterprise Cloudflare plans offer the setup for CNAME.
1. Sign up and log in to your Cloudflare account.
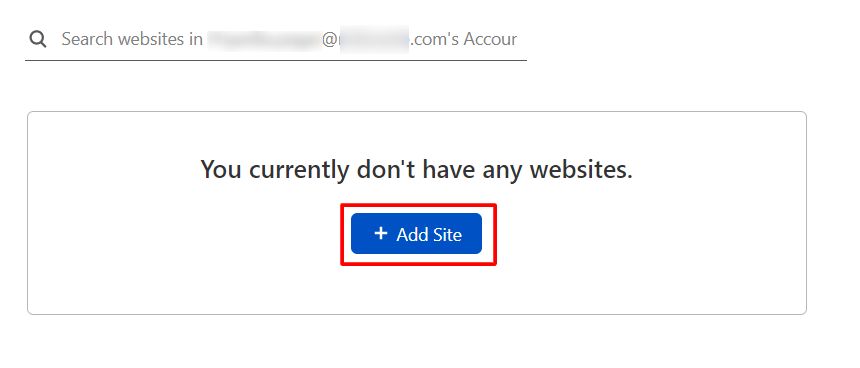
2. Click on + Add site
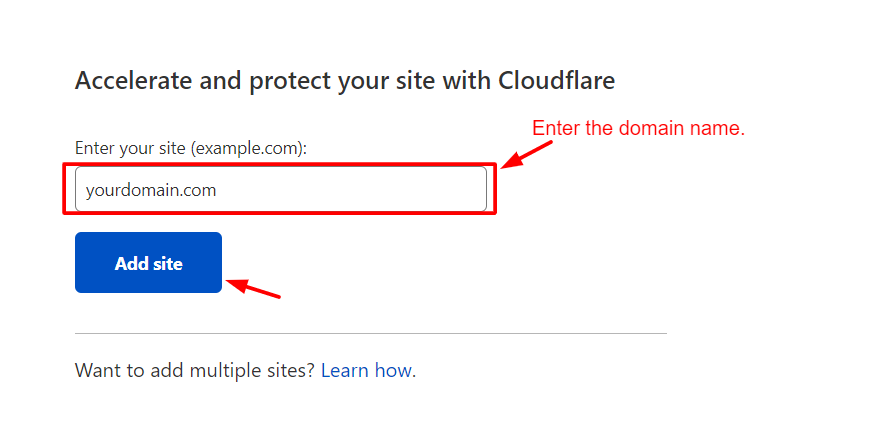
3. Enter the domain name for which you want to enable Cloudflare under the Enter your site field and click the Add site button.
Cloudflare will redirect you to a page to choose a CDN plan.
4. Scroll down and tap on the Free plan and click the Continue button.

If you want, you may choose one of Cloudflare’s paid plans later to access more features. Here is a link where you can compare the features and prices of the plans- https://www.cloudflare.com/plans.
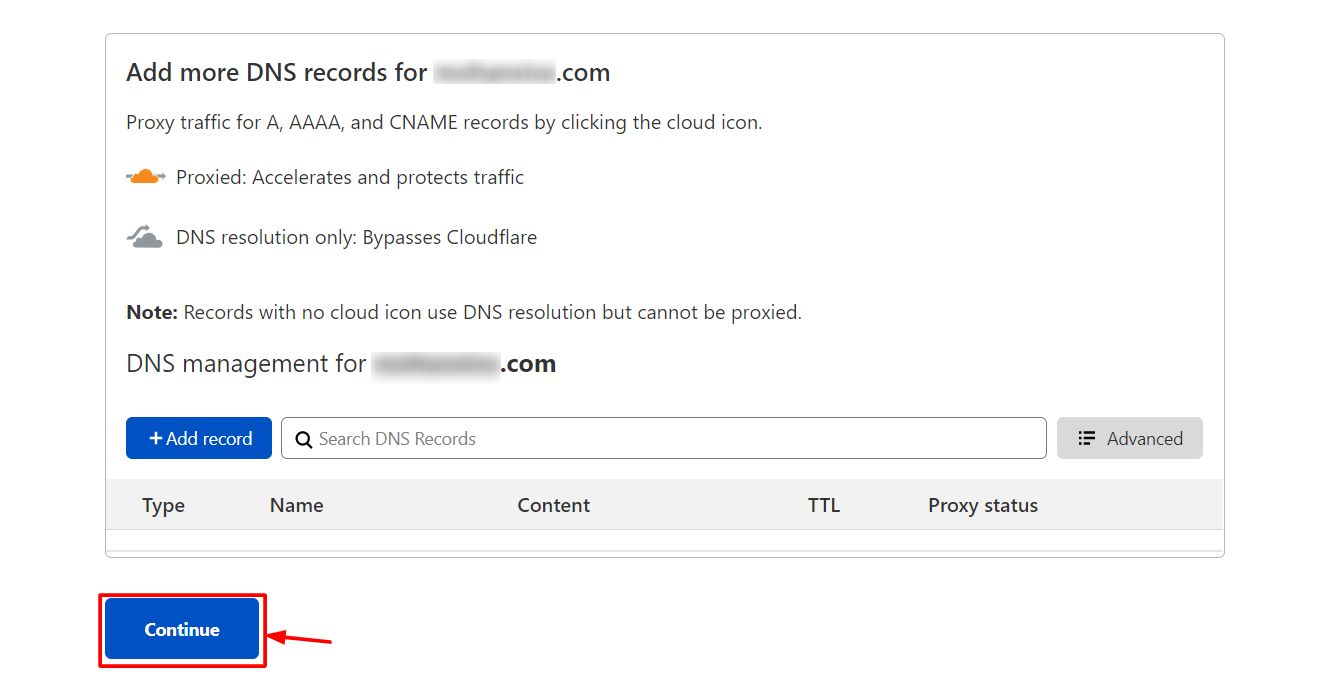
Cloudflare will begin scanning the DNS records of the domain. In a while, it will display the list of your existing host records for the domain.
Warning: Before proceeding further, make sure to double-check if the list of DNS records matches your cPanel records. If you find anything missing or out of place, contact your provider immediately. Additionally, we do not recommend modifying DNS records here. You can do that after you complete the setup.
5. Click the Continue button.
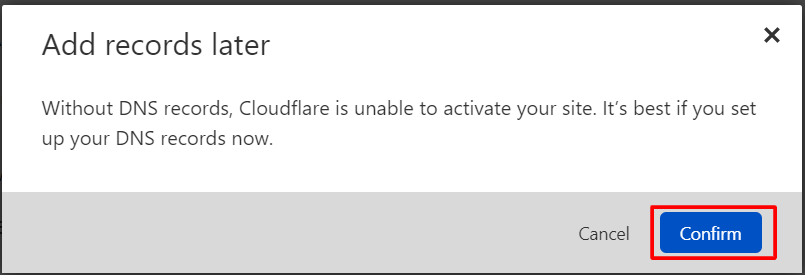
6. If you have just set up your domain and have no DNS records, a popup window will appear asking you to set up DNS records. Click the Confirm button.
To Change the Nameservers to the Ones for Cloudflare
You will have to log in to your domain registrar’s administrator account to change the nameservers for the domain.
If you are registered with MilesWeb then:
1. Browse the MilesWeb website in a new tab and click the LOG IN button to the top-right corner of your screen.

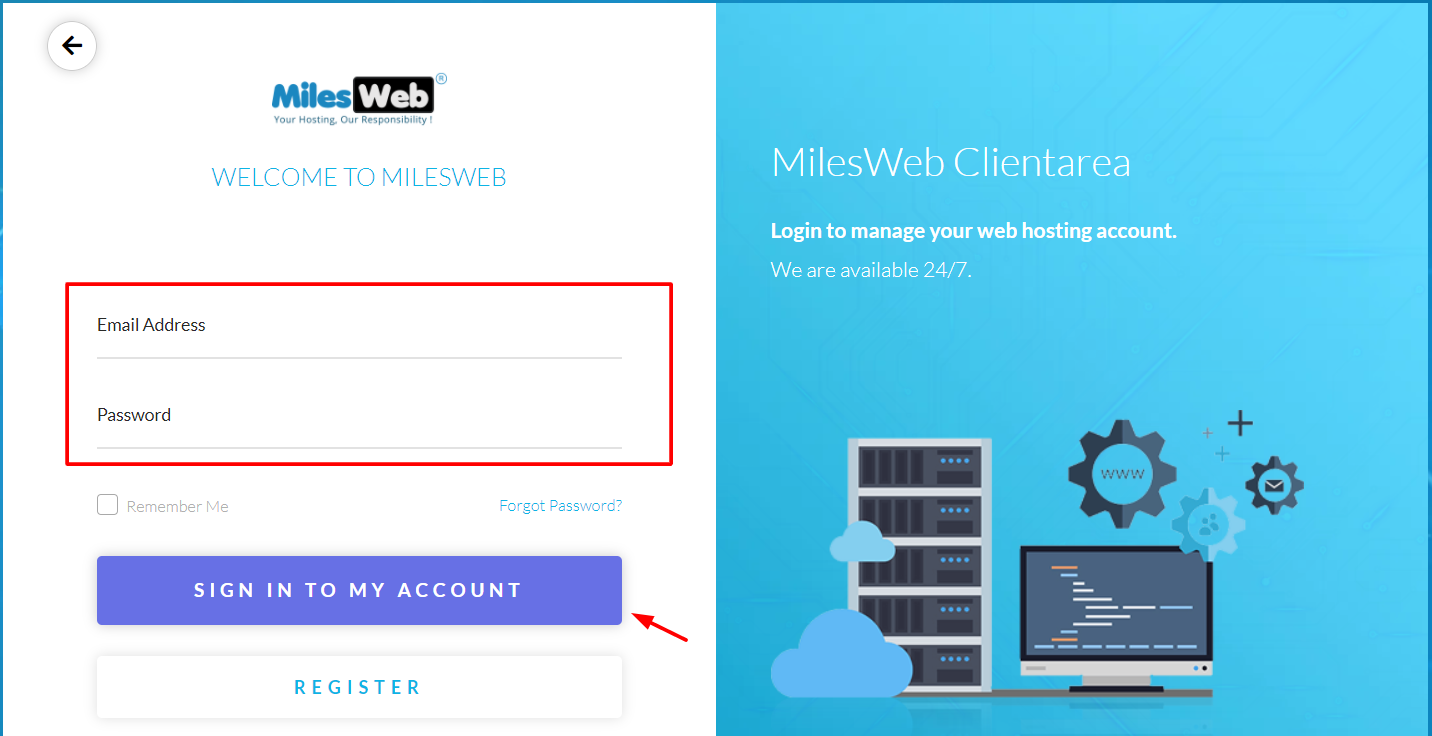
2. Enter your login details and click the SIGN IN TO MY ACCOUNT button.
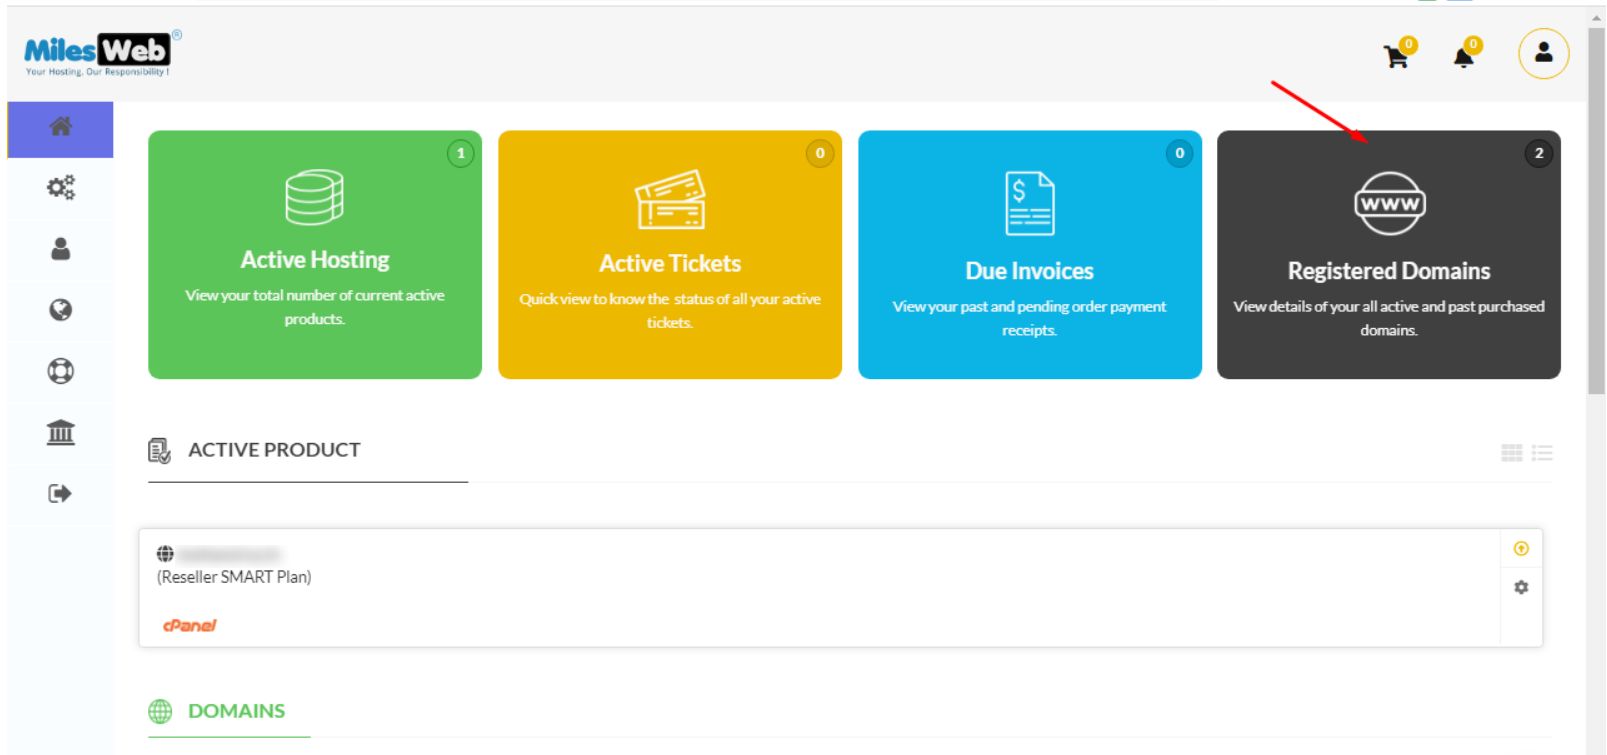
3. Once you signed in to the Clientarea, click on the Registered Domains option.
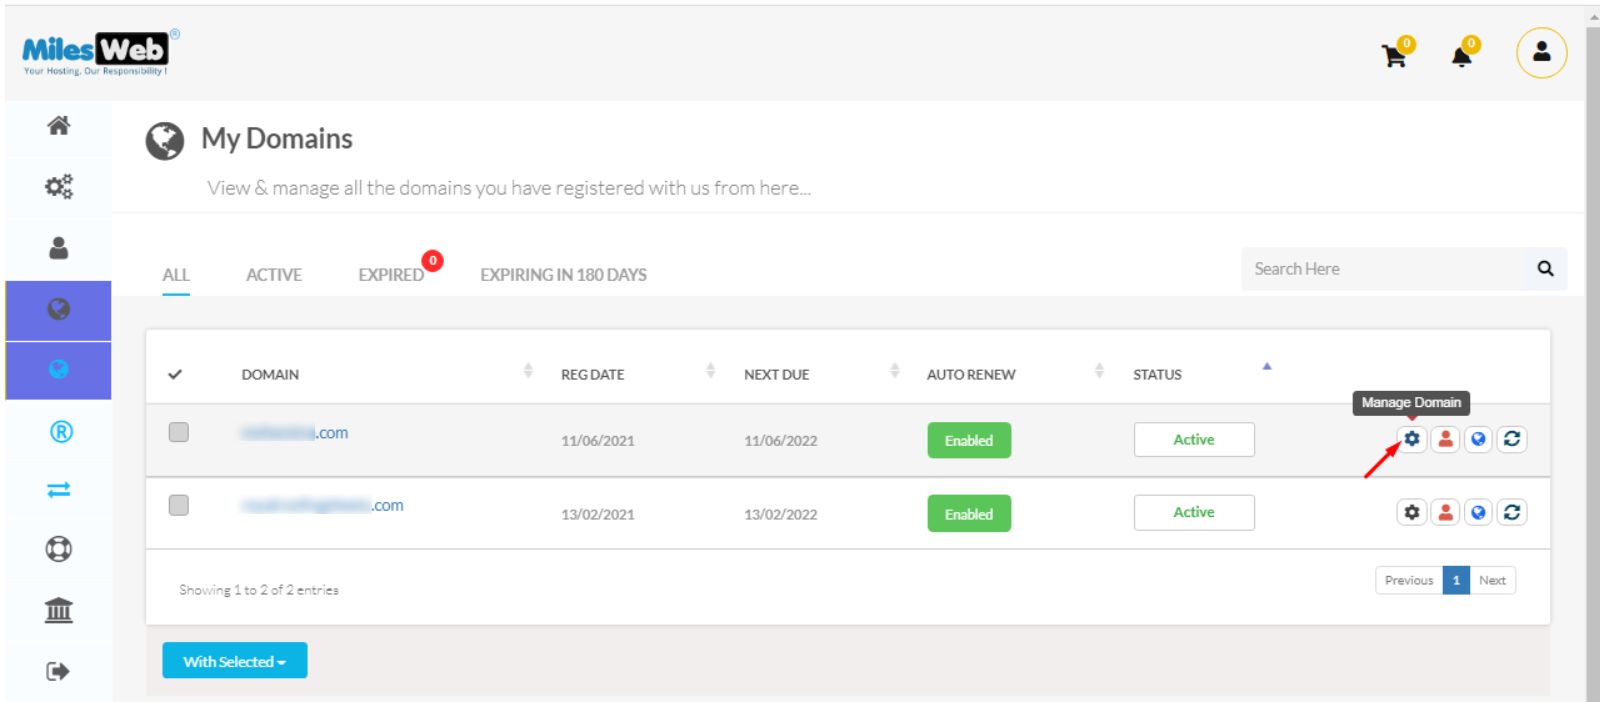
4. Click the Manage Domain icon for the domain name that you have to point to Cloudflare DNS.
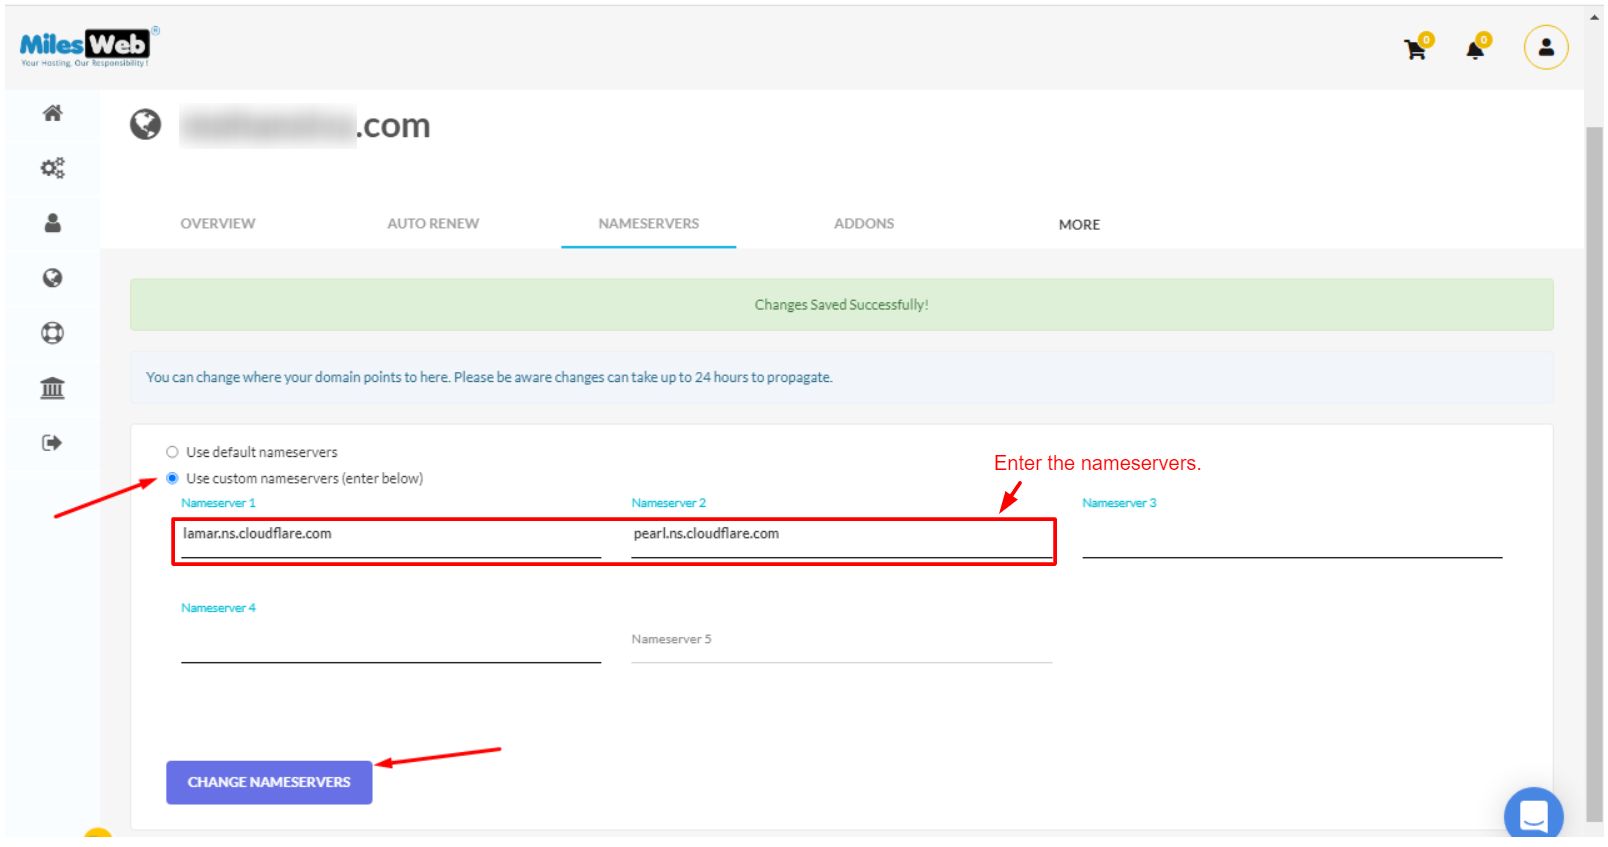
5. Choose the Use custom nameservers option and enter the nameservers in the fields as shown below. Once you are done, click the CHANGE NAMESERVERS button.
6. Reopen the tab of your Cloudflare account and refresh the page.
7. Scroll down and the nameservers you specified in the Clientarea will show up under the Replace with Cloudflare’s nameservers section. Click the Check nameservers button below.
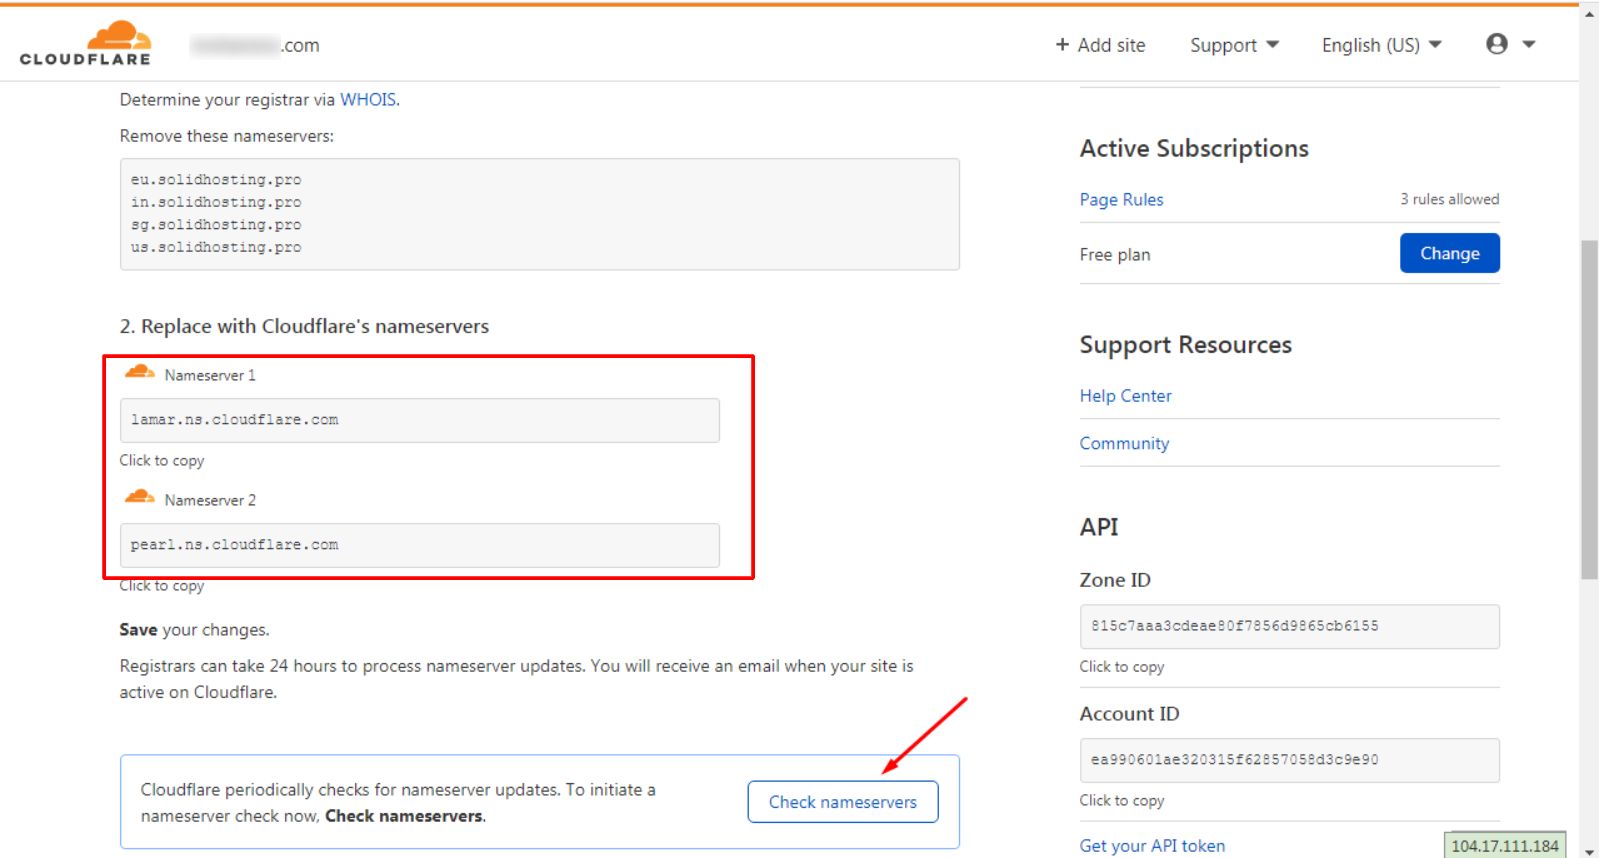
Note: It tasks about 24-48 hours (or more) for local ISPs to update their DNS caches after setting up the nameservers. It means you will see the changes after a few hours when the DNS changes are completely active. The caching time also varies for different ISPs.
Meanwhile, Cloudflare will flash a success message.
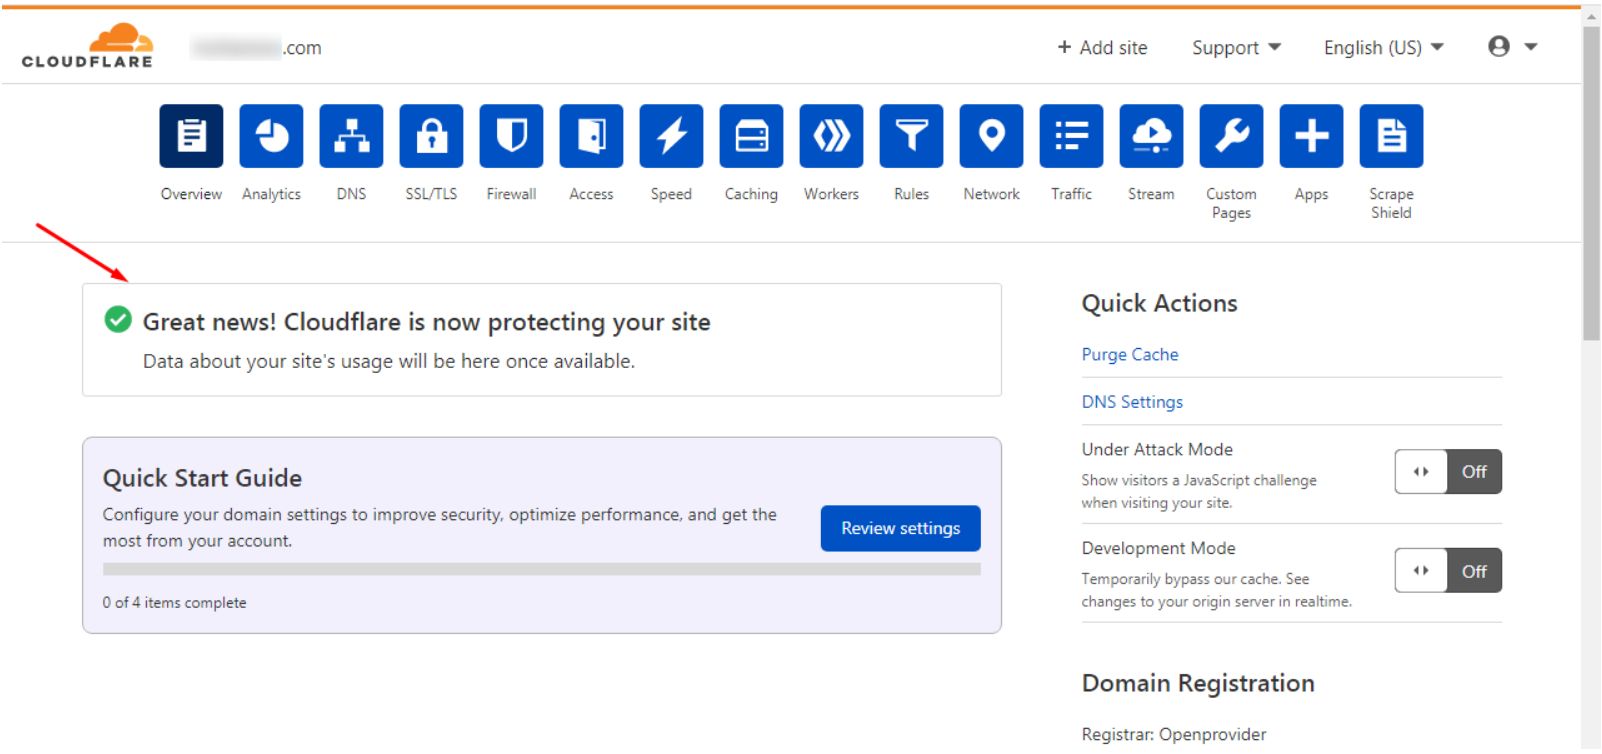
This time, you will see the domain marked as Active on the Home screen of the interface.

Next, you will have to set up DNS records for the Cloudflare account.
To Set up DNS records in the DNS Menu
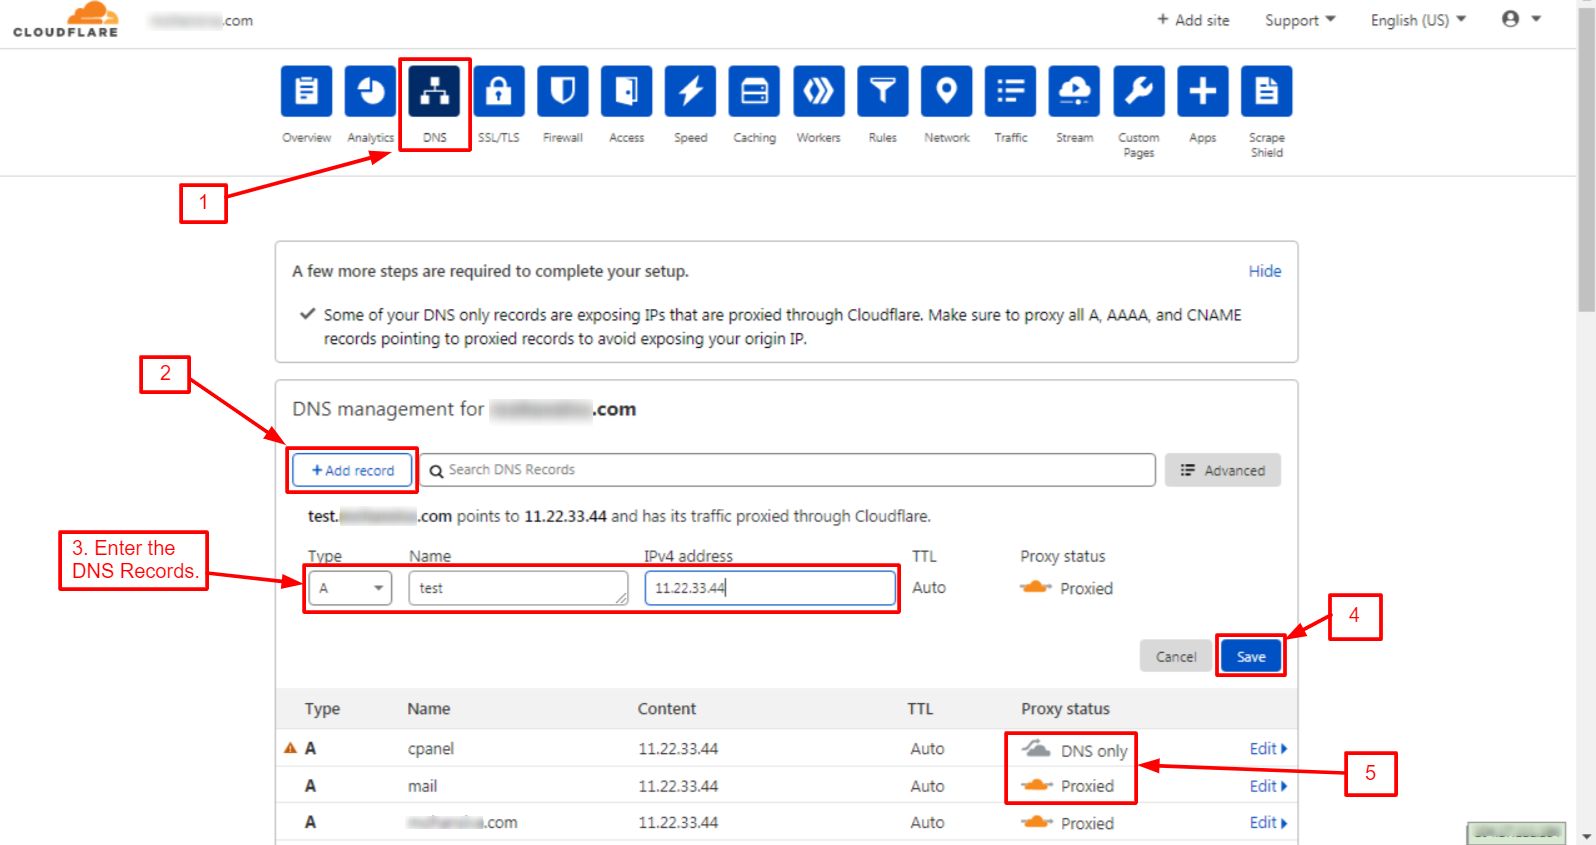
1. Click on the DNS option.
2. Click the + Add Record button
3. Choose the record type in the Type field and enter the name and IP address for the DNS record in the respective fields
4. The system will automatically set up the TTL. Click on Save
5. To deactivate or activate the Cloudflare service for a DNS record, click on the orange/grey cloud under its Proxy status.
That’s it!


