This article guides you on how to use cPanel to install the Perl module. Perl module allows you to utilize the already written code in order to increase the functionality of your scripts.
# Steps to install Perl Module
1. Log in to cPanel
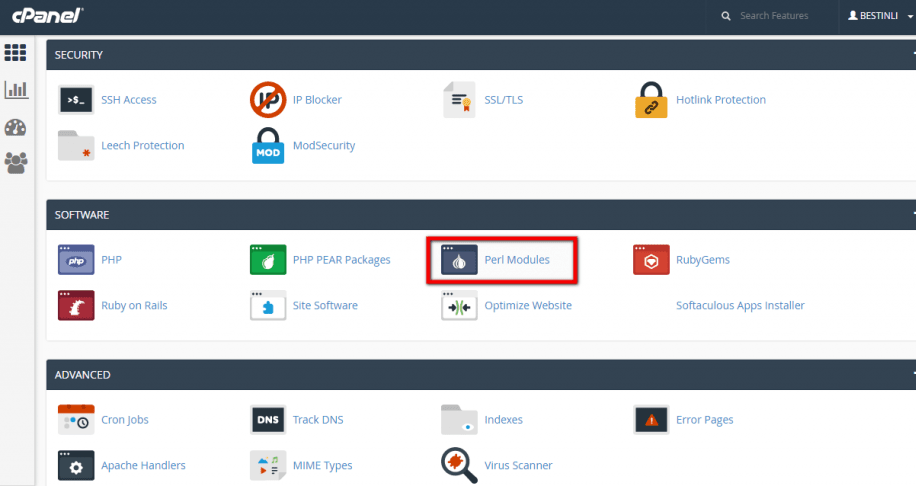
2. On the cPanel home screen click on Software section, and then click on Perl Modules. The Perl Modules page will appear.
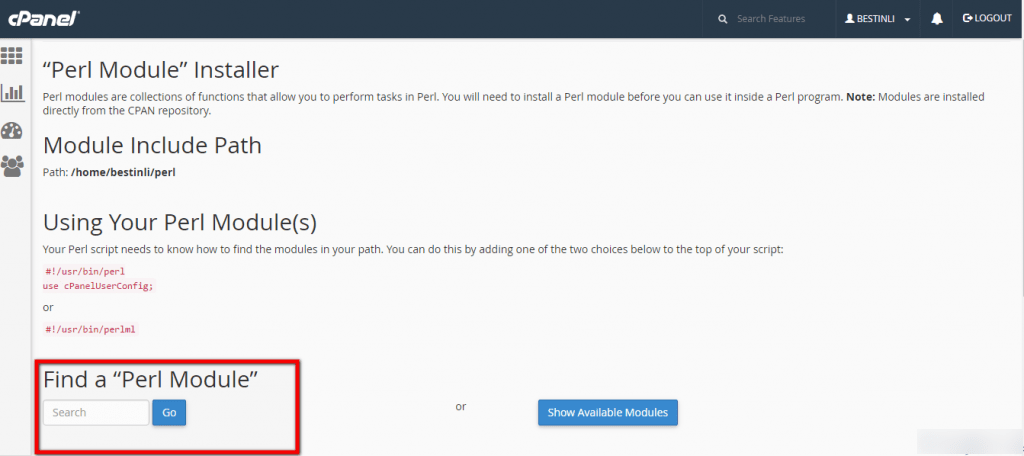
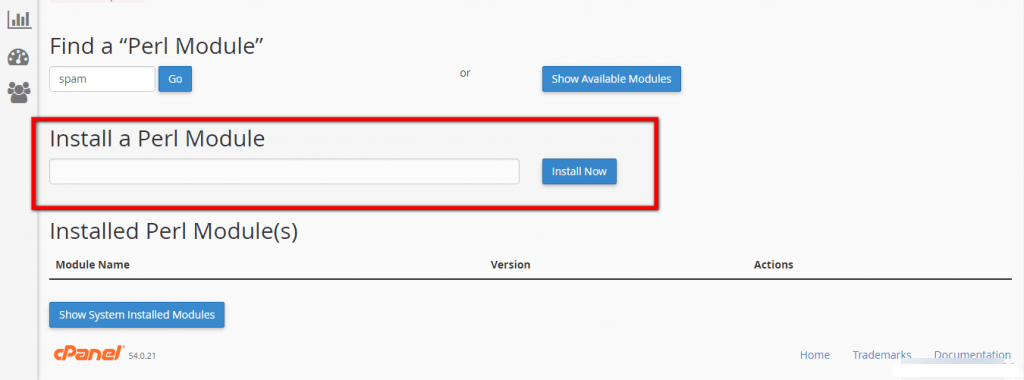
3. You can also search for the Perl Module by typing the name in the search box.
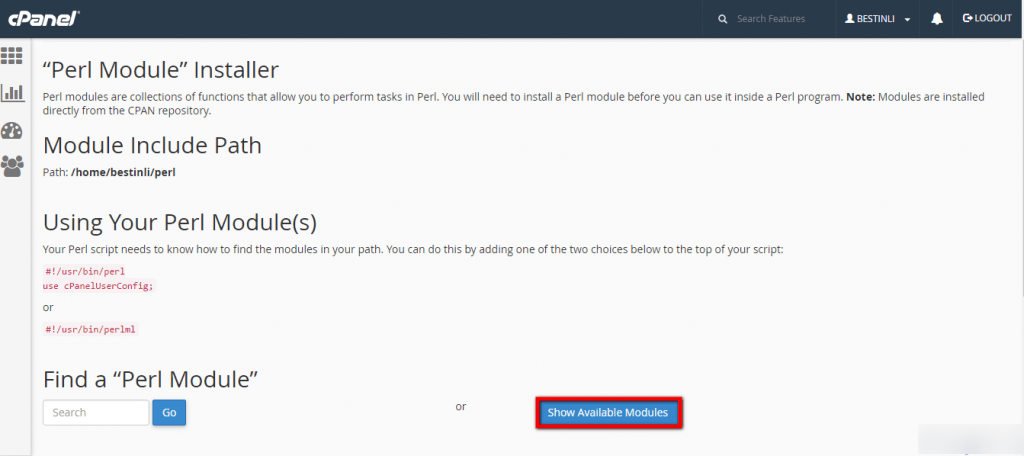
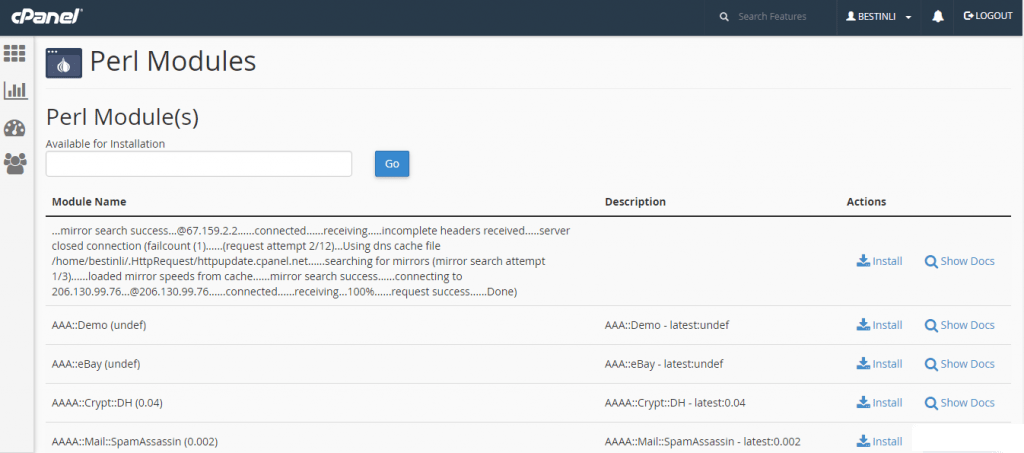
4. To view, the other available Perl Modules click on the Show Available Modules button.
5. If you already know the name of a module that you want to install, then directly type the module name under the Install a Perl Module section and then click on Install Now.
6. Once the installation gets completed you will get the following message.
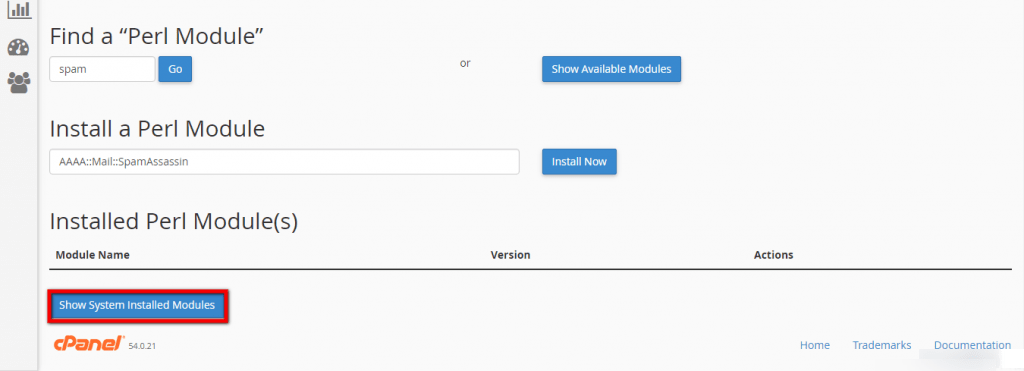
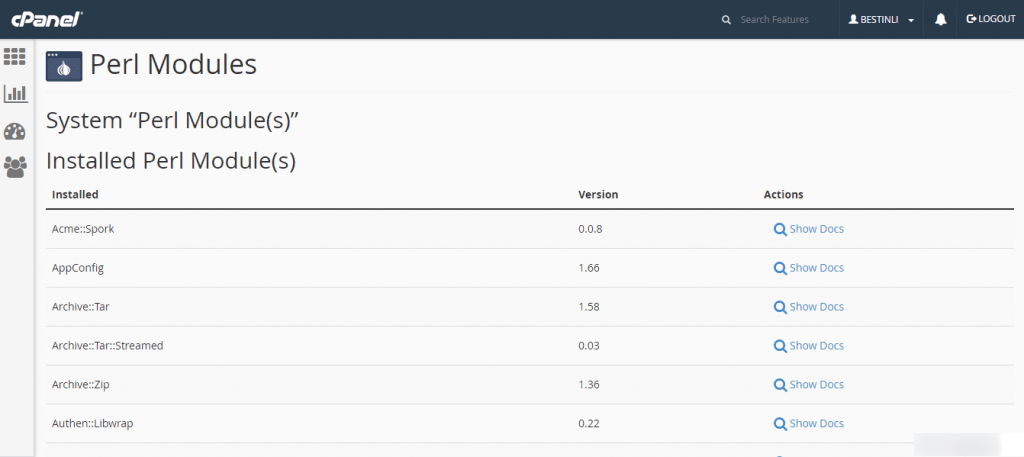
7. You can see the system installed modules by clicking on the Show System Installed Modules button.
8. You have successfully installed the Perl Module.
9. The installed module can be seen in the list under Installed Perl Module(s) :
Perform the following actions as per your requirements :
Click on Update, to update the module.
Click on Reinstall, to reinstall the module.
Click on Uninstall, to uninstall the module.
Click on Show Docs, in order to view the documentation for the module.
Click on Show System Installed Modules, in order to view a list of modules installed systemwide.
That’s it.
Also Read :

