Do you want to know how WordPress users are interacting with your site?
Adding a Google tag manager to WordPress can be an ideal solution. Over 40% of the websites on the internet use Google tag manager. Not only does it offer an easy management system but also it helps to improve the page loading speed.
In this guide, we will go through the steps to how you can add the Google tag manager to your WordPress site.
Let us understand the concept of Google Tag Manager first.
What is Google Tag Manager?
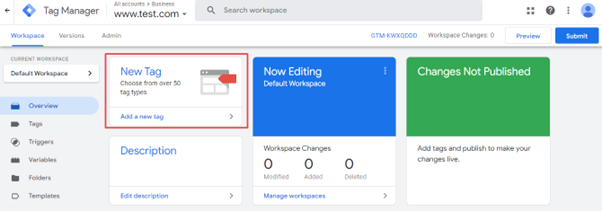
Google Tag Manager is basically a free tracking tool that lets you manage and deploy website tags without making changes in the code.
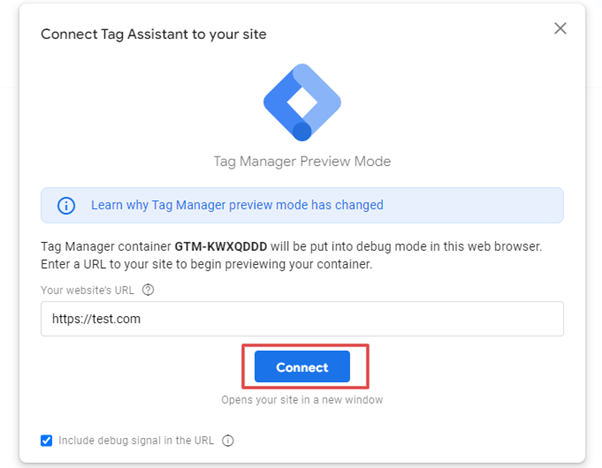
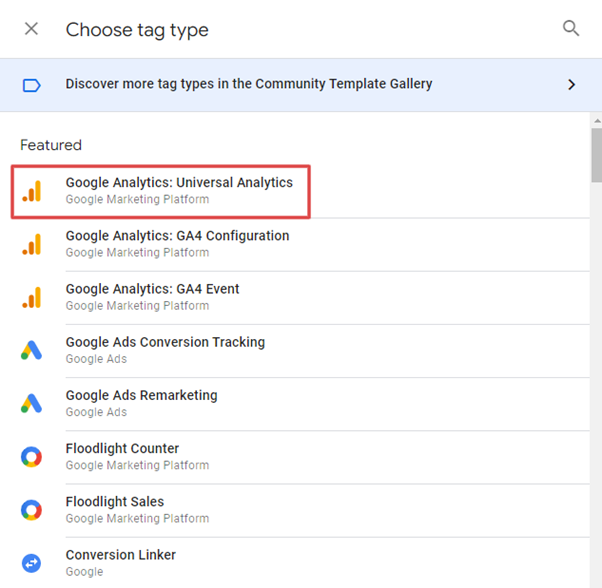
It has built-in templates which are integrated with Google Ads, Google Analytics and other tools. In its preview mode, you can even check if the tags or triggers work well before they get published.
Steps for Setting Up Google Tag Manager in WordPress
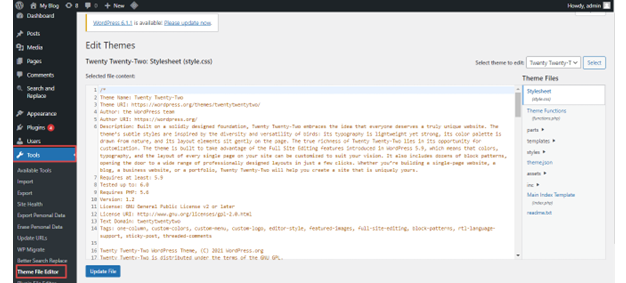
There are two ways through which you can add Google Tag Manager in WordPress. One is manually, and the other is with the plugin. It’s recommended to go with the manual method, as there is more scope of customization.
Creating a Google Tag Manager Account
1. Firstly, you need to have a Google Tag account. For this visit: https://tagmanager.google.com/
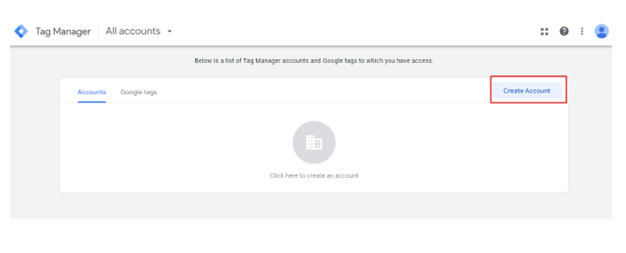
2. Google Tag Manager homepage will appear. Here, click on, Create Account.
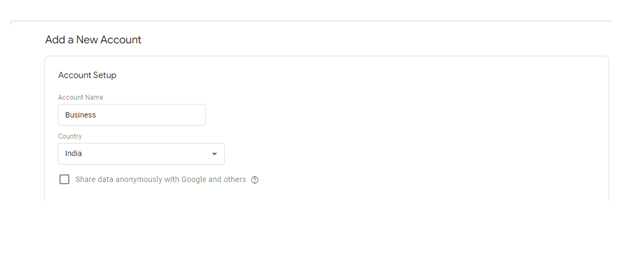
3. Now, in the Account Setup section, you will have to enter the Account name and Country.
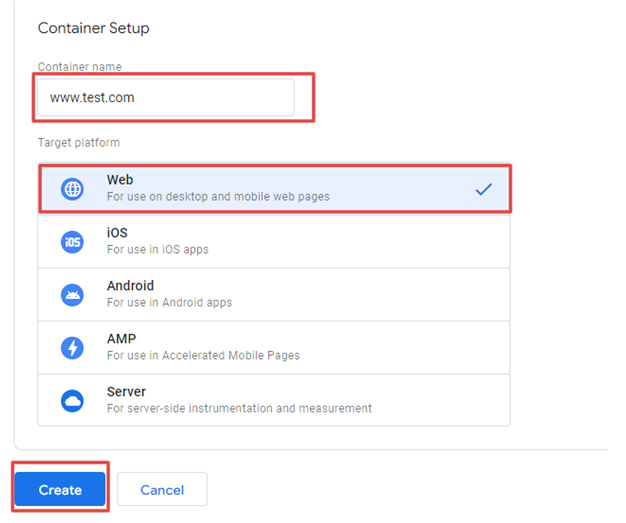
4. In the Container Setup section, enter your domain name and select web as the targeted platform. After filling all the required information click on “Create”.
5. After clicking on the Create, you will head over to the TOS page. Thoroughly read all the information and tick the box “I also accept the Data Processing Terms as required by GDPR”

6. Then, on the upper right side, click on “Yes”.
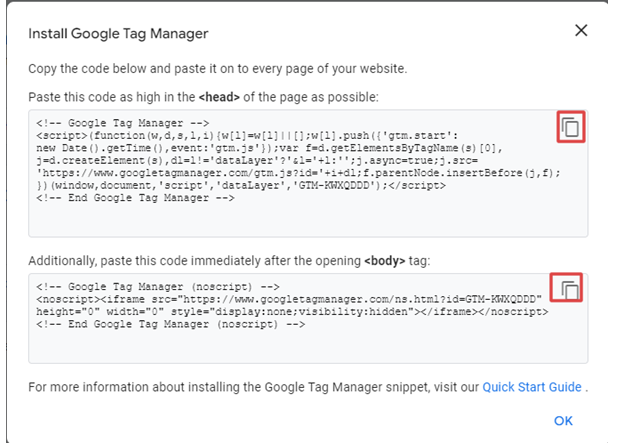
7. Now, you will get to see a popup window that contains two codes. One is for the header section and other is for the body content of your WordPress site.
8. Copy both of these codes using the snippets.



Conclusion
Google tag manager is used to track the user’s activity on your website. If you have a business-focused website, Google tag manager is very essential.
Hope this article has helped you to know the steps to add a Google Tag Manager to your WordPress site.


