Skype is one of the most preferred communications app in the whole world, that specializes in providing voice call services and video chat. Thus, many WordPress users want to know how to add the Skype share button in WordPress.
Let’s see, how to add a Skype button in WordPress.
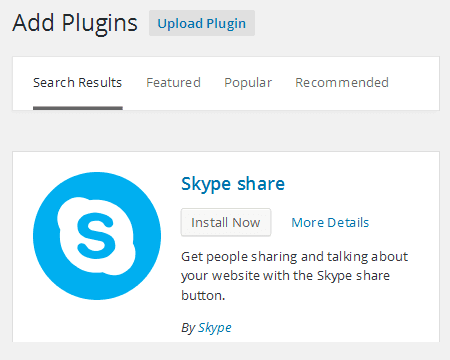
First of all, you need to install and activate Skype share plugin.

Once the plugin gets activated, go to Settings, and click on the Skype share button.

Now, click on Settings to configure the plugin.
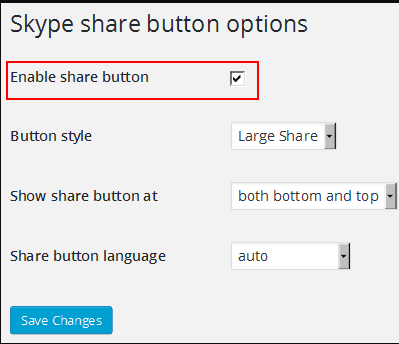
In order to permit the Skype share button, remember to tick the Enable share button option.

You can select a style for the Skype button from the options available in the drop-down menu :
• Large Share
• Small Share
• Circle Icon
• Square Icon

Select the location on an article, where you want to display the Skype share button from the options available for Show share button at :
• bottom of the article
• top of the article
• both bottom and top
Skype share can auto-detect the language of your WordPress website. In case it doesn’t, then select the preferred language manually through Share button language :

Click on Save Changes, to save all the settings.

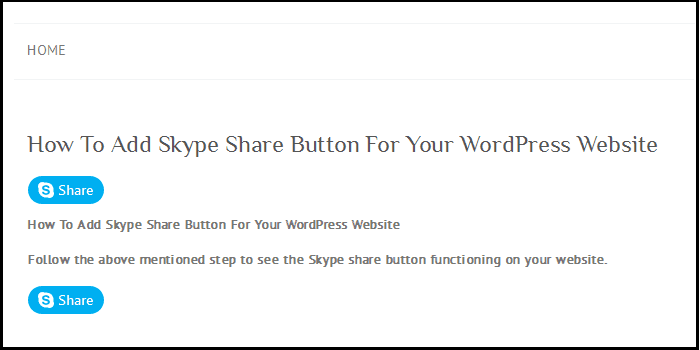
After completion, you will get a message mentioning the Skype share button is functioning on your website.

How to manually add Skype share in WordPress template ?
To manually add Skype in your theme files, follow the below code instructions.
First, you need to add the following script in the head section of your file. To do this, you can either edit your header.php file or by properly adding scripts by using Enqueue scripts.
<script>

// Insert this code in the head section of your HTML file

(function(r, d, s) {

    r.loadSkypeWebSdkAsync = r.loadSkypeWebSdkAsync || function(p) {

        var js, sjs = d.getElementsByTagName(s)[0];

        if (d.getElementById(p.id)) { return; }

        js = d.createElement(s);

        js.id = p.id;

        js.src = p.scriptToLoad;

        js.onload = p.callback

        sjs.parentNode.insertBefore(js, sjs);

    };

    var p = {

        scriptToLoad: 'https://swx.cdn.skype.com/shared/v/latest/skypewebsdk.js',

        id: 'skype_web_sdk'

    };

    r.loadSkypeWebSdkAsync(p);

})(window, document, 'script');

</script>
After this, add the following code to your single.php, loop.php, index.php, page.php, category.php and archive.php for the time it is placed within the post loop.
<div class='skype-share' data-href='<?php

the_permalink(); ?>' data-lang='en-US' data-text='<?php

the_title(); ?>' data-style='large' ></div>
If you want change the data-style from large to small, circle or square.
Also, you can use your desired language.
In short, the above code will allow a user to share the individual post, with the post title as the message.
Also Read :


