Introduction
A Secure Sockets Layer (SSL) certificate is necessary for securing the communication of your website. It encrypts data transmitted between your server and visitors’ browsers, hence protecting sensitive information like passwords and credit card details. CyberPanel is a powerful control panel available with robust VPS hosting servers that makes it easy to install a free SSL certificate.
Essentials
- While major providers offer preset CyberPanel, make sure you cross-verify whether your VPS has CyberPanel installed and updated with access to its dashboard.
- Make sure the domain you’re adding to CyberPanel isn’t already in use on another platform.
Prerequisites
Before learning to install an SSL certificate using CyberPanel, you need to have the following:
- A domain name pointed to your CyberPanel server.
- A CyberPanel account with administrative privileges.
Step-by-Step Guide
1. Pointing Your Domain to CyberPanel Server
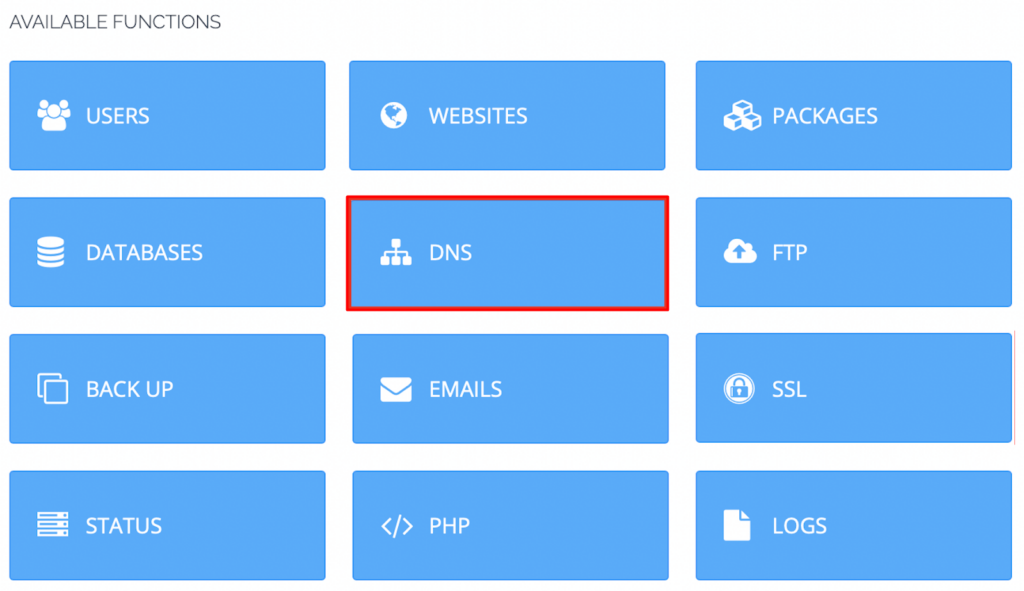
In order to point your domain to your CyberPanel server, you will need to modify the DNS and nameserver records for your domain. This is usually managed through your domain registrar, where you purchased your domain.
Steps:
- Log in to Your Domain Registrar:
- Open up the control panel of your domain registrar.
- Locate the section for managing DNS.

These nameservers usually look like ns1.yourprovider.com and ns2.yourprovider.com. Update all the nameserver records, usually two or more, with the new nameservers. Note that it may take up to 48 hours for the DNS changes to propagate on the internet. In the meantime, your website might be inaccessible.
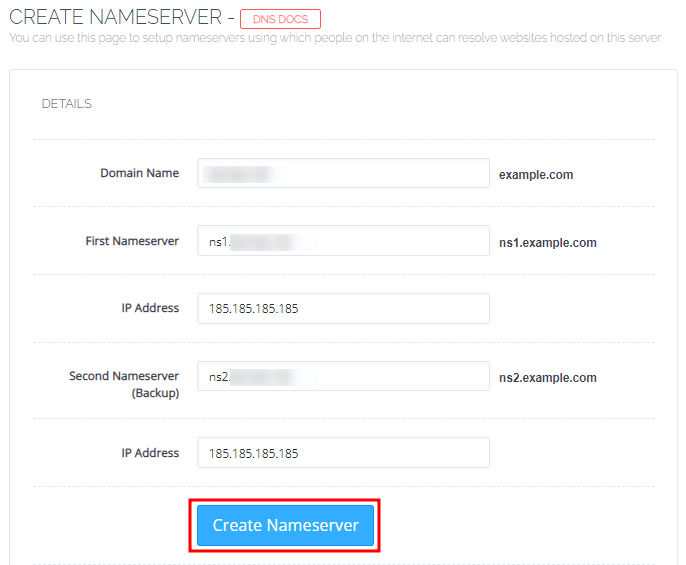
Next, a form will pop up; fill it out with the required information.
- Domain Name: Your chosen domain name
- First Nameserver: Set up a name for the first nameserver; as discussed before, a nameserver name looks something like ns1.yourprovider.com.
(where the .yourprovider.com is your domain name)
- IP Address: Give the IP address of your VPS CyberPanel.
- Second Nameserver: Set up a name for the second nameserver, in this case, ns2.yourprovider.com.
- IP Address: Input again your VPS IP address.
Once this is complete, click Create Nameserver to save the created nameservers.

2. Install A Free SSL Certificate
Here are the popular free SSL certificate providers: Let’s Encrypt, Certbot, and more.
Steps:
- Copy the CSR code generated at the step above and request your provider of free SSL to obtain one. They might provide the exact procedure, which is specific to them.
- Installing the SSL Certificate:
- After receiving your free SSL certificate. Just go to your CyberPanel admin dashboard.
- Go to the SSL section and find the “Manage SSL” section.

5. Find the domain for which you want to install SSL and proceed to “Issue SSL.”

6. Click on the Install SSL button.
If required, fill out the following details:
- Domain Name: The domain name for which you got the certificate.
- Certificate: Paste the certificate file.
- Private Key: Paste the private key file.
- Certificate Chain: Paste the certificate chain file if you have one.
7. Click Install SSL.
3. Force HTTPS
To make sure all traffic is redirected to HTTPS, you can configure CyberPanel to force HTTPS.
Steps:
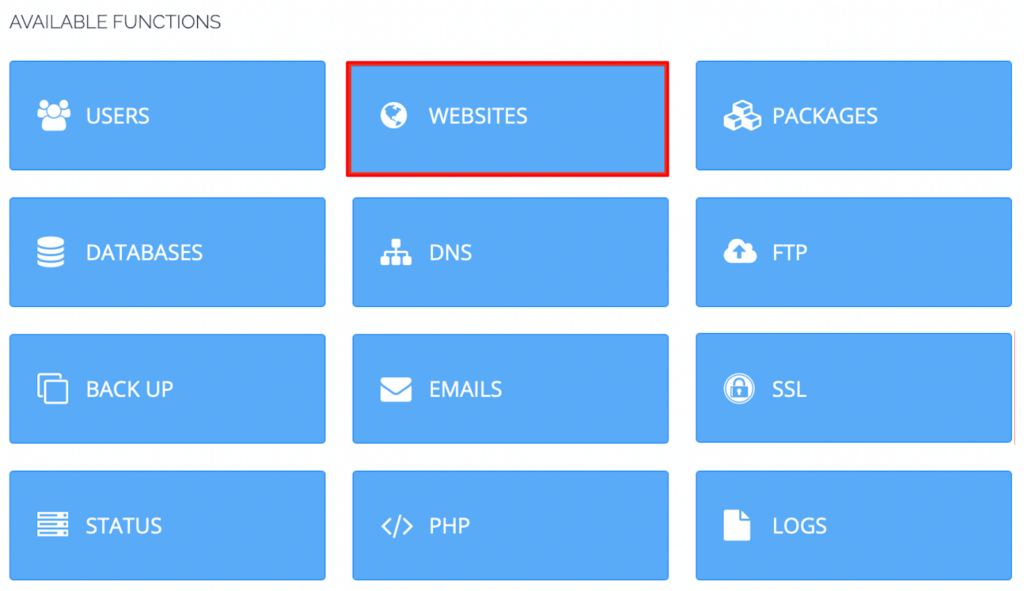
1. Go to the Websites section.

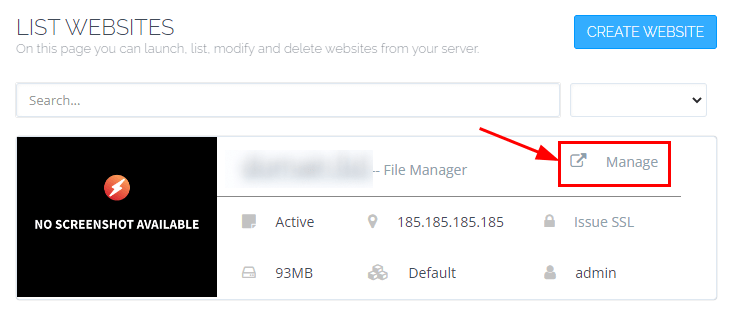
2. Choose the domain for which you issued the SSL certificate.

3. Go to General Settings and click Rewrite Rules in the Configurations section:

4. Go to the drop-down and select Force HTTP → HTTPS:

5. Once you’re done, click Save Rewrite Rules.
These are the steps on how you can install a free SSL certificate on your CyberPanel server. This will surely help enhance the security level of your website and hence make visitors trust your site.


