Watch this video for a step by step process on how to Install Node.js On cPanel Server Via WHM
In the latest v80 release of cPanel, they have introduced the support for Node.js. Earlier cPanel did not provide any support for Node.js. It had to be either manually installed on the server or by purchasing Cloud Linux if they provided the Node.js support.
Node.js is an open-source, multi-channel JavaScript runtime environment that is used for creating a different assortment of applications. in light of the fact that Node.js is not a complete JavaScript mechanism, it is true that many of its important modules are created in JavaScript. Node.js is primarily used for hosting several types of applications like the ghost blogging platform.
The requirements of cPanel’s NodeJS package are mentioned below:
- CentOS 6 or 7, Red Hat® Enterprise Linux® (RHEL) 6 or 7, or Cloud Linux™ 6 or 7 OS
- EasyApache 4
- Require root-level access.
Pre-installation settings for installing a Node.js application:
Before you start, you need to make sure that your web host has installed the below mentioned EasyApache4 RPMs on your server:
- Click on the ‘Customize’ option in EasyApache4.
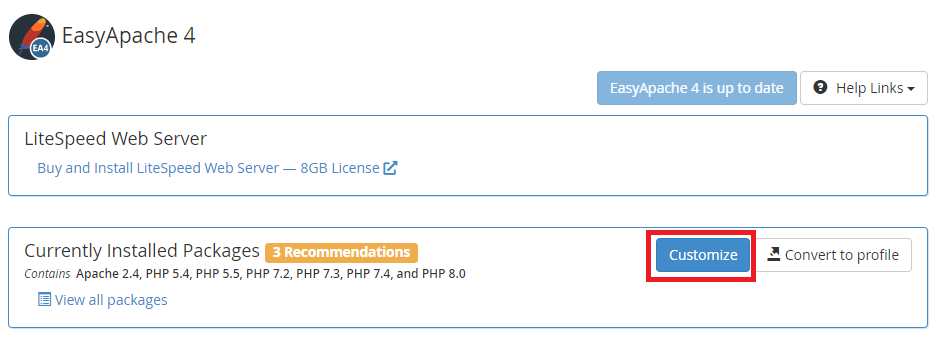
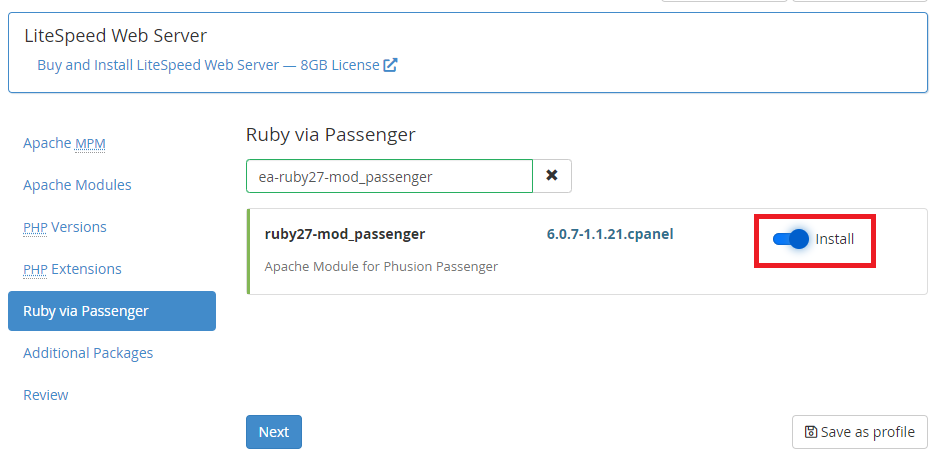
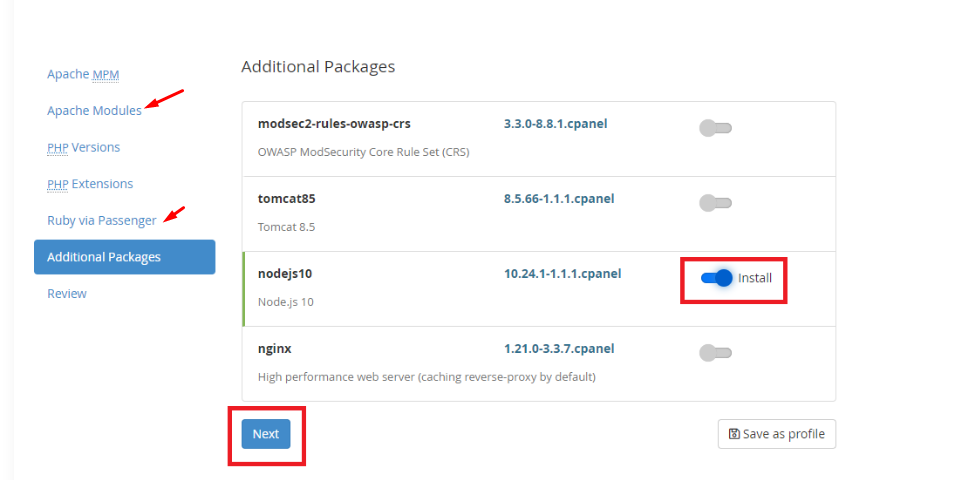
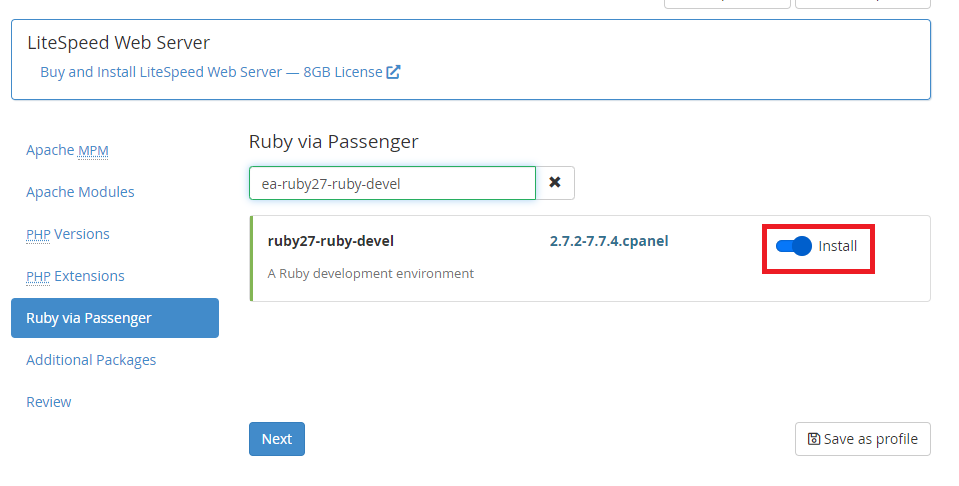
Proceed to ‘Apache Modules’ and ‘Ruby via Passenger’ for installing the following pre-requisites:

Pick A Node Js Hosting Plans for Better App Deployment!
Install the following RPMs:
- ea-ruby27-mod_passenger
- ea-apache24-mod_env

- ea-nodejs10
- ea-ruby27-ruby-devel
The installation process of Node.Js:
Method 1
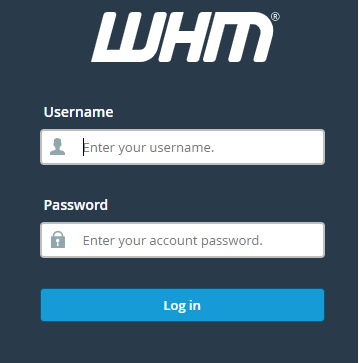
- Login to WHM with root access.
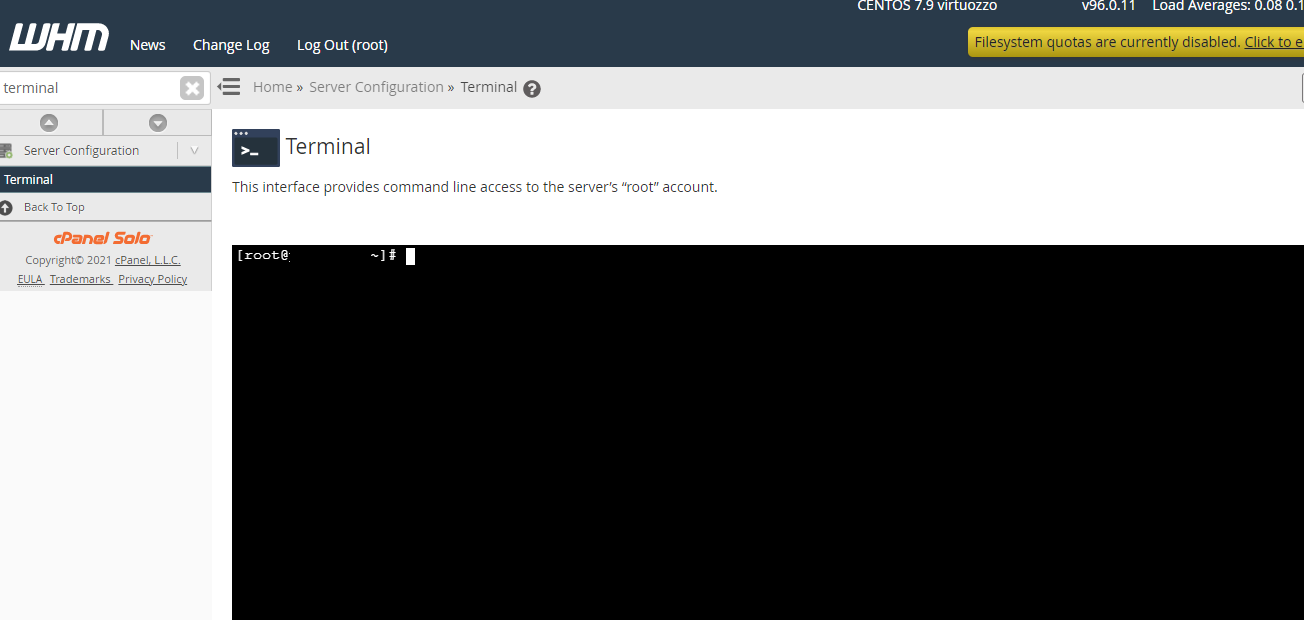
- From the left side search bar, look for the ‘Terminal’ and click on it.

- Terminal window will get open on the screen.
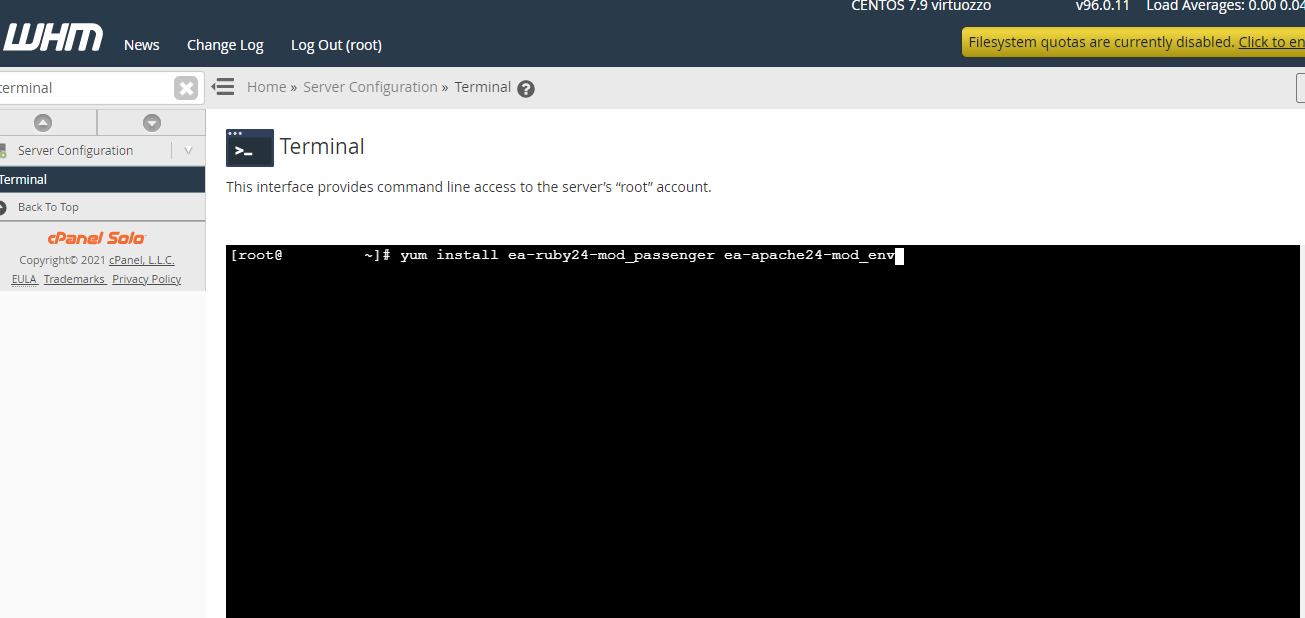
- To install ruby 24 mod passenger, type this command yum install ea-ruby24-mod_passenger ea-apache24-mod_env and press Enter.
- Now, it will ask for the confirmation in that type “y” and hit Enter. You will get a success message.
- To install node.js, type this command, yum install ea-nodejs10 and press Enter.
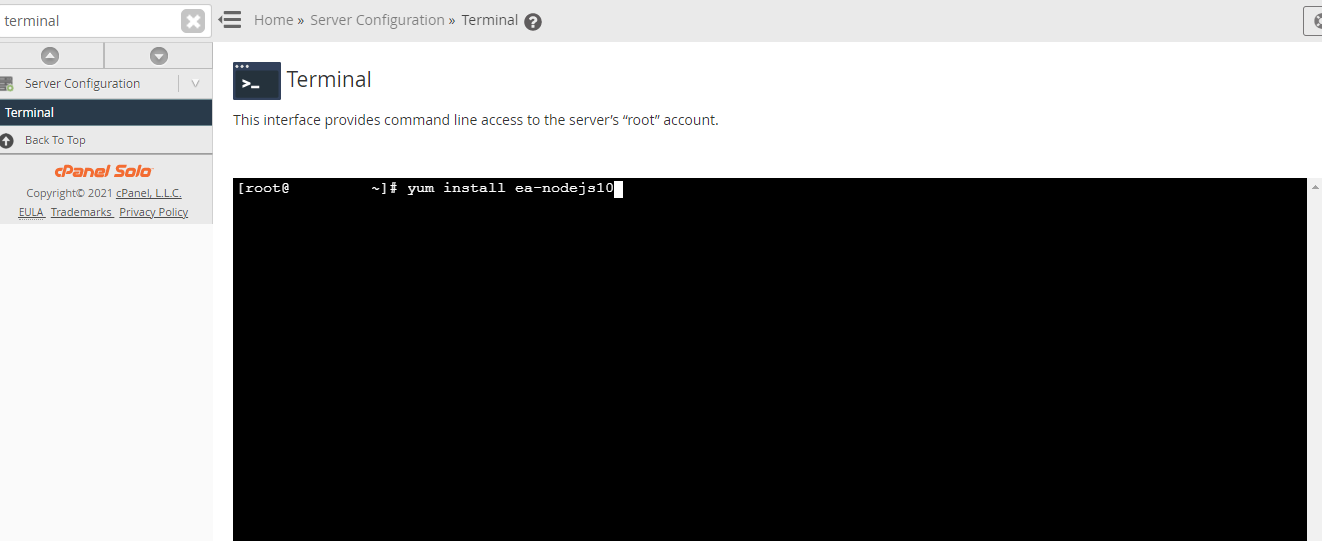
- Now, it will ask for the confirmation in that type “y” and hit enter.
- You will get a message as node.js installed successfully.
Method 2 (UI)
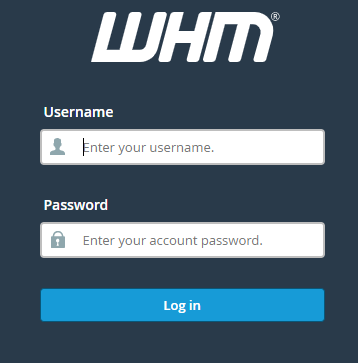
- Login to WHM through root login.
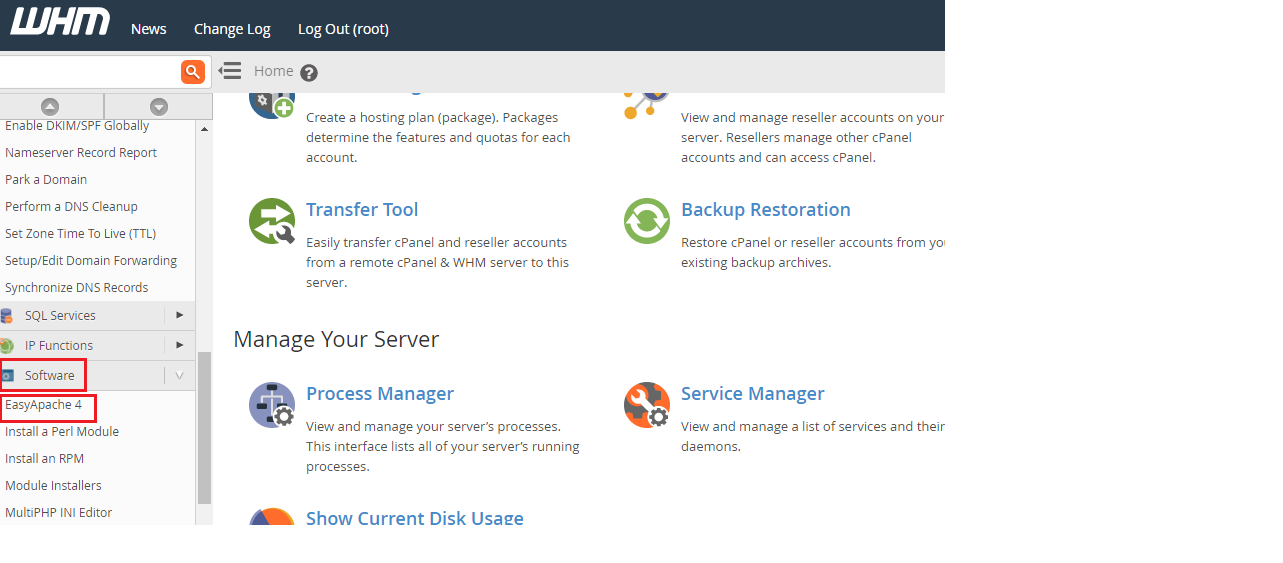
- Click on ‘EasyApache4’ in the Software section.
- Click on the ‘Customize’ option for installing new packages.

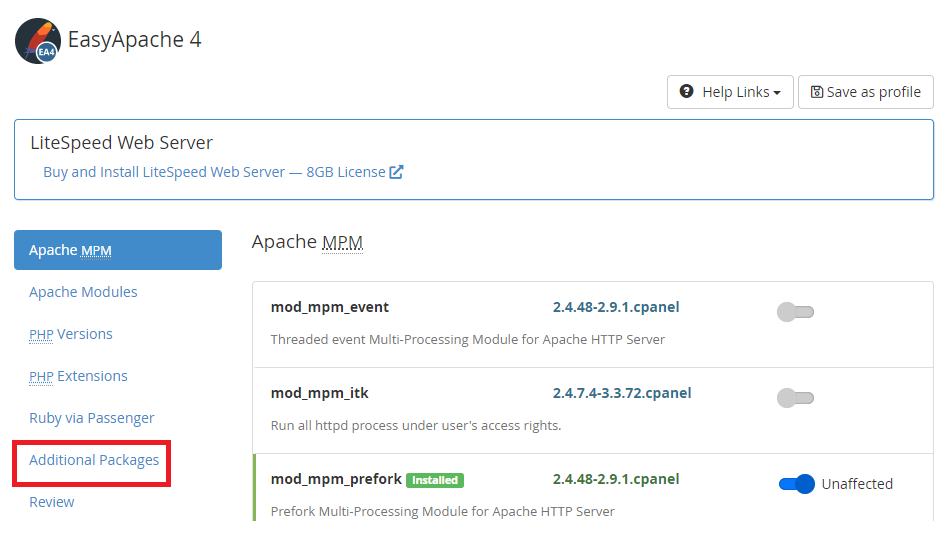
- Next, you need to click on ‘Additional Packages’.
- Toggle the button next to the Nodejs10 package and click on ‘Next’.

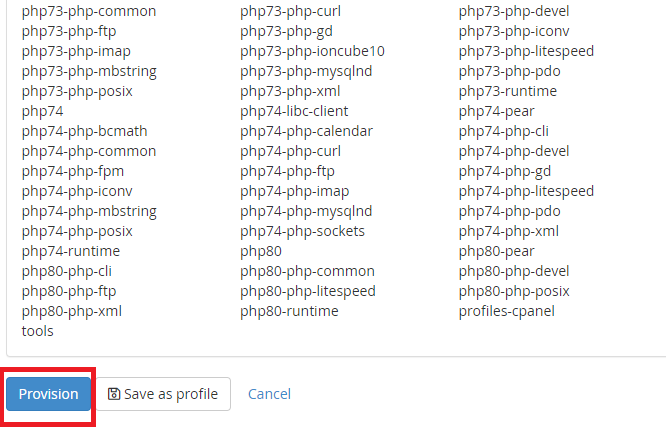
- In the next window, an overview of all the packages that will be installed will be shown. Ensure that there are no packages listed in the third column. If everything looks good, click on ‘Provision’ for starting the installation process.
After this process, the cPanel users can install the Node.js web applications through:
- Cloning through the Git version of cPanel.
- Creating a new application through the ‘Application Manager.
You can get in touch with the support team if you need any assistance in implementing the above process.


