Node.js is an open-source JavaScript runtime environment. It helps in creating scalable applications which can be hosted on Nodejs hosting. Node.js is accessible on Unix, Linux, macOS, and Windows. Windows is a popular operating system that many web developers use. For any developer, the installation process is a challenging part and therefore we have created this guide.
In this article, we will be explaining how to install Node.js on Windows. We believe beginners will get valuable insights on it.
Setting up the Node Development Environment
There are different ways to install Node.js on a computer. The approach varies for different Node environments in the system because there is a different package installer in it. Either you can copy the source code and run in a command prompt and compile the application. Or you can clone the GIT repository in all three environments and then install on your system.
Downloading and Installing Node.js on Windows
To set up Node.js on your Windows system, follow these steps to download and install the Node.js installer from the official Node.js website:
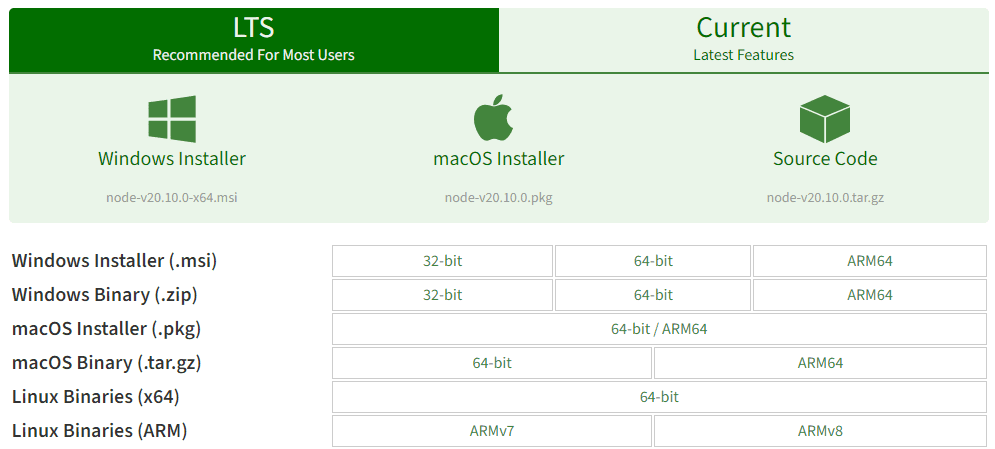
Downloading the Node.js ‘.msi’ installer.
Visit the official site of Node.js (https://nodejs.org/en/download/) and download the .msi file as per your system environment (32-bit & 64-bit). Installing the .msi installer is essential before proceeding further into the installation process on Windows.
Running the Node.js installer
Once the .msi installer is installed, install the node.js installer on your PC with the following steps.
Double click on the .msi installer.
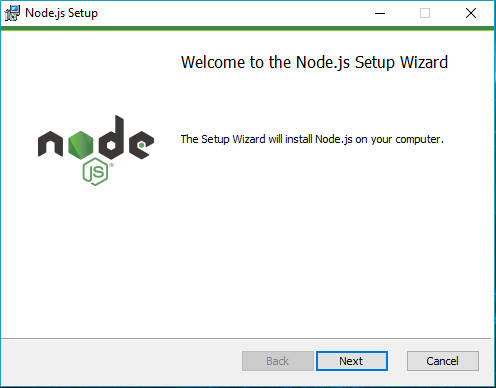
The Node.js Setup wizard will open on your system.
- In the Node.js Setup Wizard, click on “Next.”
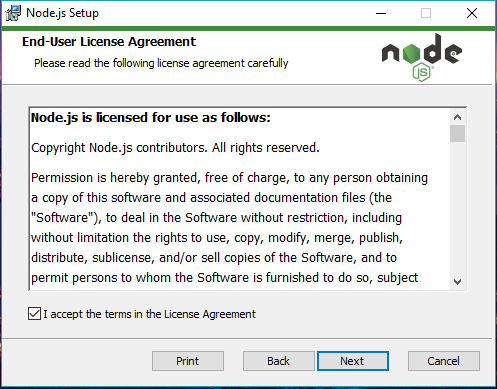
- You will be prompted to accept the End-User License Agreement (EULA) after clicking “Next”.
- Select the check box of “I accept the terms in the License Agreement” and Select “Next.”
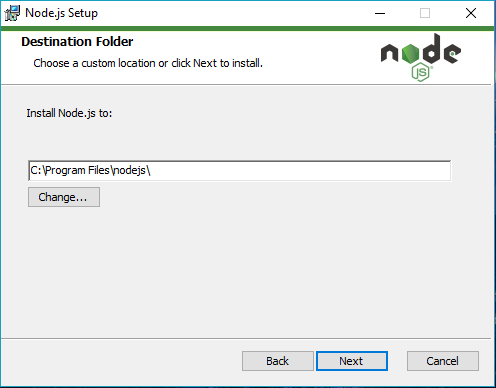
- Choose the right destination folder where all Node.js files will be installed. Click “Next.”
- Customize the setup and proceed further by clicking “Next.”
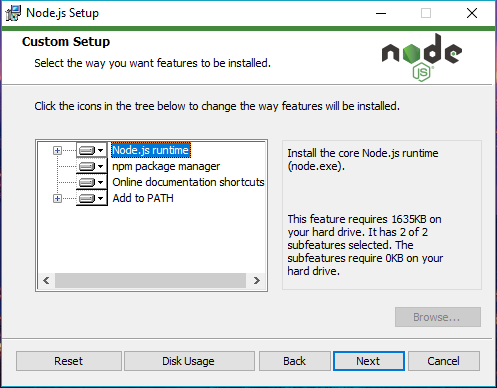
Now, you are ready to install Node.js on your PC.
- Installer will give the “install tools for native modules” prompt. Select “Install”
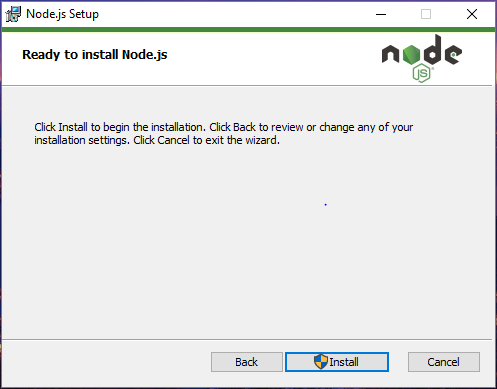
Don’t close the installer window while the installation process is going on.
- Click on “Finish” once the Node.js setup is completed.
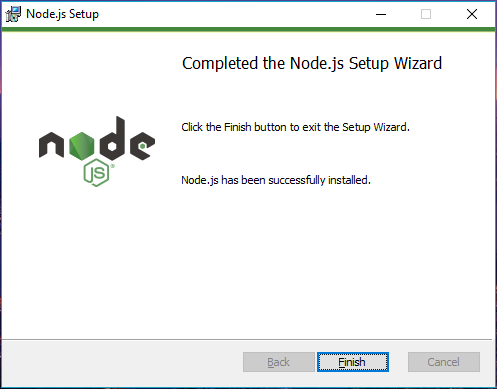
Verification
It is essential for website owners to check whether Node.js installation is successfully completed or not. For this, run the following command in command prompt or Windows PowerShell.
C:\Users\Admin> node –v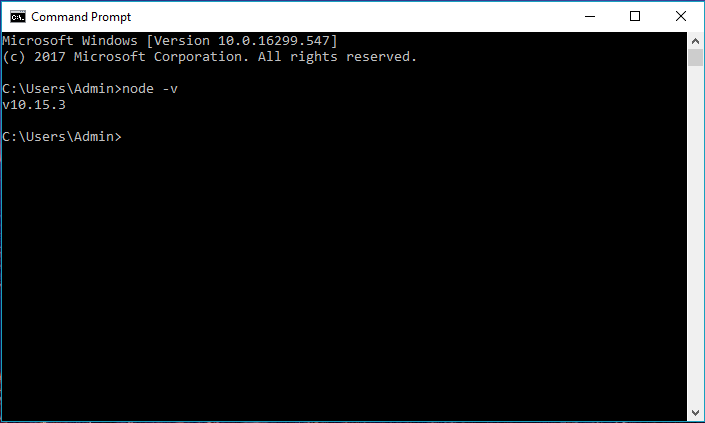
If it is successfully completed, then the command prompt will print the installed version of node.js.
Or else, you have to manually enter the node path if it was not found. An error message will occur if you didn’t receive it.
Adding to the path:
While installing through the .msi installer, the Windows installer will take care of the system variables for you.
The system variable path for node.js should be set as follows if you install it using any other format:
PATH : C:\Users\{username}\AppData\Roaming\npm C:\Program Files\{path to the nodejs folder}for example:
PATH : C:\Users\admin\AppData\Roaming\npm C:\Program Files\nodejsNote: The PATH is only loaded when a new command line session is launched, so restart the command line after adding it to the PATH.
Updating the Local npm version.
After Node.js is installed, update your local npm version (if necessary) – Node.js’ package manager. To update npm quickly, run the following command
npm install npm –global // Updates the ‘CLI’ client System Requirements for Node.js Installation on Windows
Before knowing the setup process, let’s review the prerequisites for running Node.js on your Windows system. To ensure a seamless installation and achieve optimal performance, verify that your system meets the following specifications:
- Operating System: Windows 7 or later
- Processor: 1 GHz or faster
- RAM: 512 MB or more
- Disk Space: 200 MB or more
If you are a Window OS user seeking to install Node.js on your system, follow this guide and the given configuration for a streamlined process.


