You can easily install an SSL certificate for Plesk with the following steps:
Note : Before you proceed with the steps, you will have to purchase an SSL certificate for your website. If you still haven’t purchased the SSL certificate yet, you can buy it here.
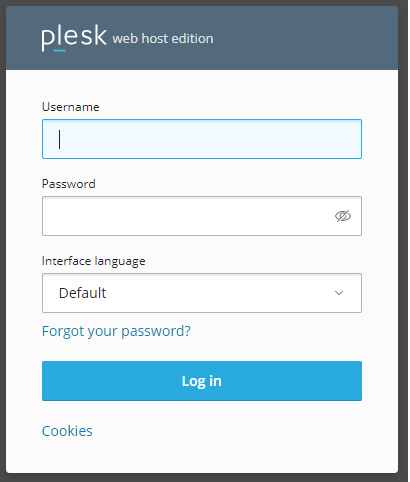
- Login to your Plesk account.
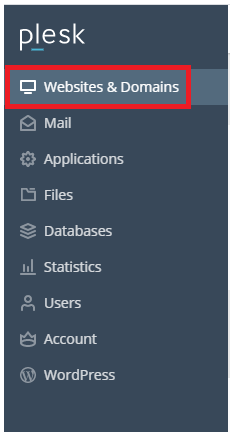
- Click on the ‘Websites & Domains’ option on the left corner.
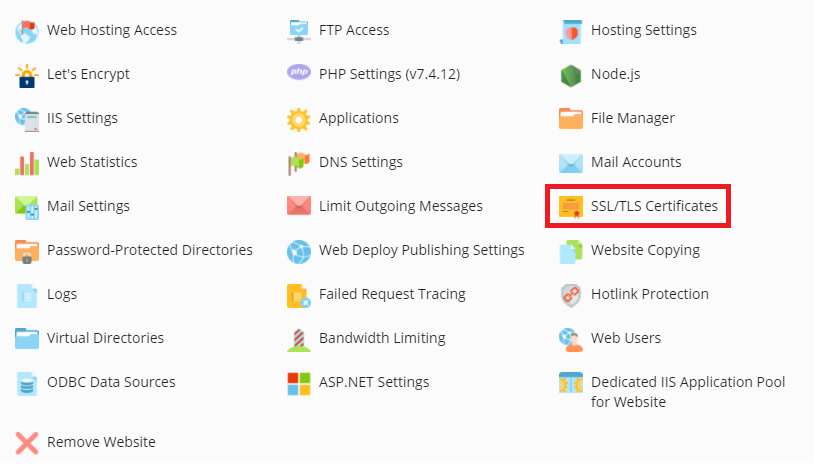
- After you click on this section, you will see a domains management screen. Here, click on the ‘SSL/TLS Certificates’ option.
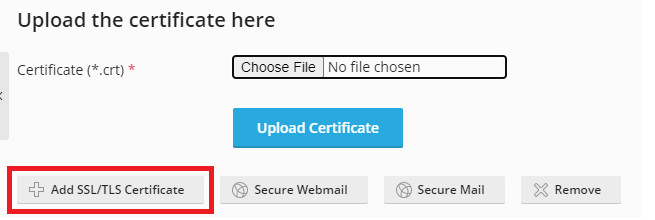
- When the SSL/TLS Certificates page opens, you will see an option for uploading a .*crt SSL Certificate file.
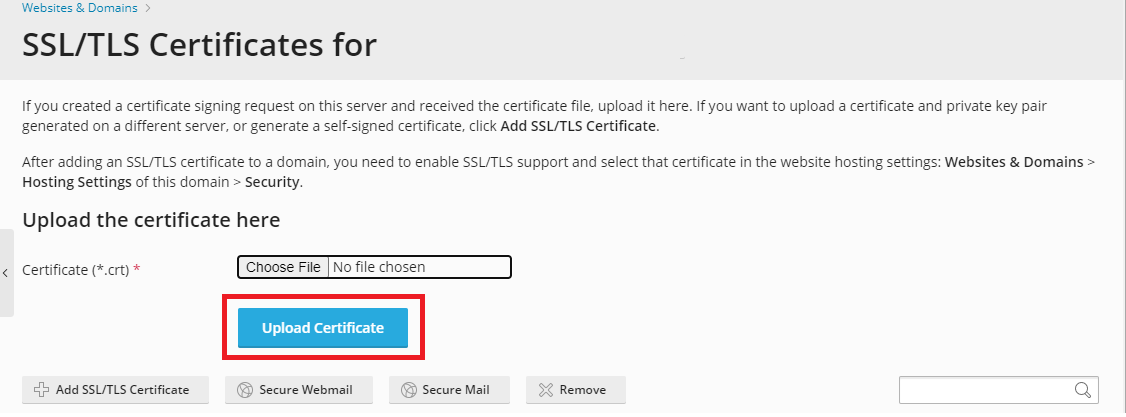
- If you wish to upload an SSL certificate along with a private key pair that were created on a different server, or if you wish to generate a self-signed certificate, click on the option – ‘Add SSL/TLS Certificate’.
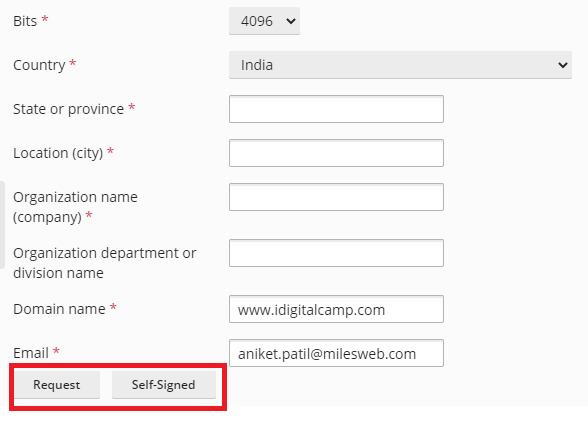
- You will be navigated to a different screen. The top section of this screen will enable you to create a request for a certificate. In order to buy a certificate from your web hosting company, or for generating a self-signed certificate through Plesk, you will have to fill the necessary information and then click on the desired option – ‘Request’ or ‘Self-Signed’.
- The ‘Upload the certificate files’ section will enable you to upload certificates and the private keys. You need to click on ‘Choose File’ to select the file that you wish to upload.
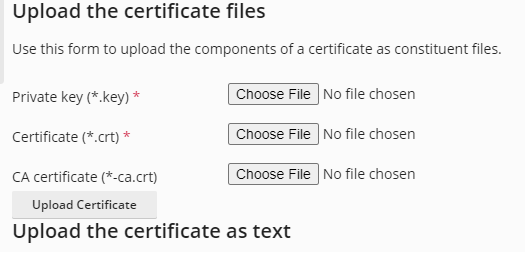
- When the upload is completed, click on ‘Upload Certificate’.
- You can also upload your SSL certificate as text.
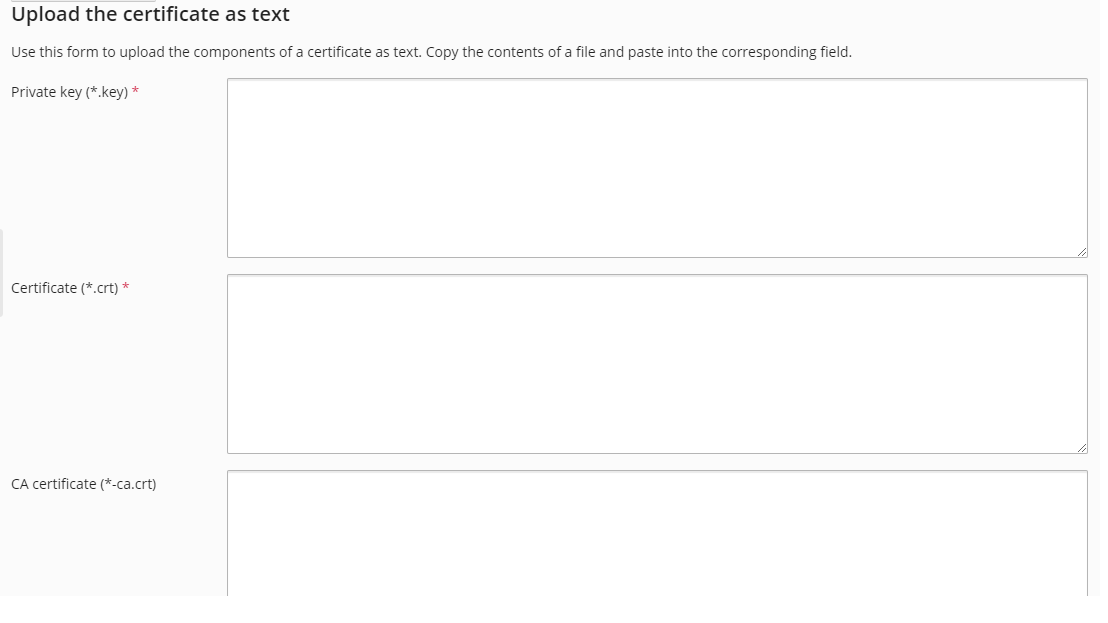
- If your SSL certificate is stored as a text file, go to the ‘Upload certificate as text’ section. Here, you can copy and paste the certificate and the private key text in the respective fields. Once you have entered the txt files, click on ‘Upload Certificate’.

- When your certificate is created, go back to Website & Domains and click on the option – ‘Hosting & Settings’.
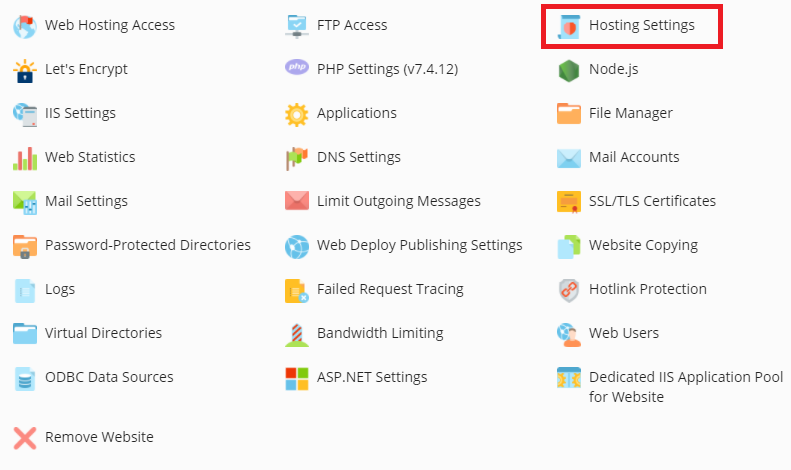
- You will be taken to the settings page, here, find the ‘Security’ section and check the box – ‘SSL/TLS support’.

- Below this option, you will find the certificate drop down box, select your certificate from this drop down box and click on ‘Ok’.

Your SSL certificate will now be installed through the Plesk control panel.


