You can add additional features and functionality to your website through third–party applications. This article provides information on installing third-party software applications through the Plesk control panel.
Searching & Installing An Application
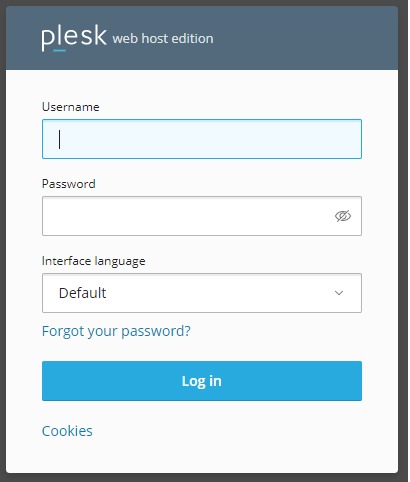
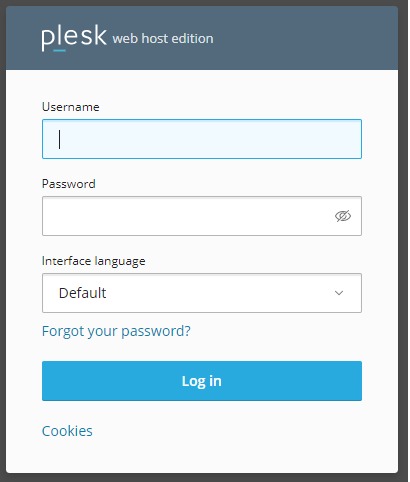
- Login to Plesk.
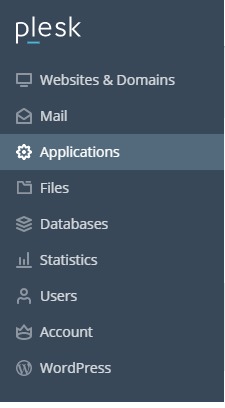
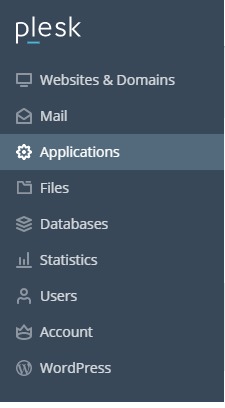
- In the left sidebar, click on ‘Applications’.
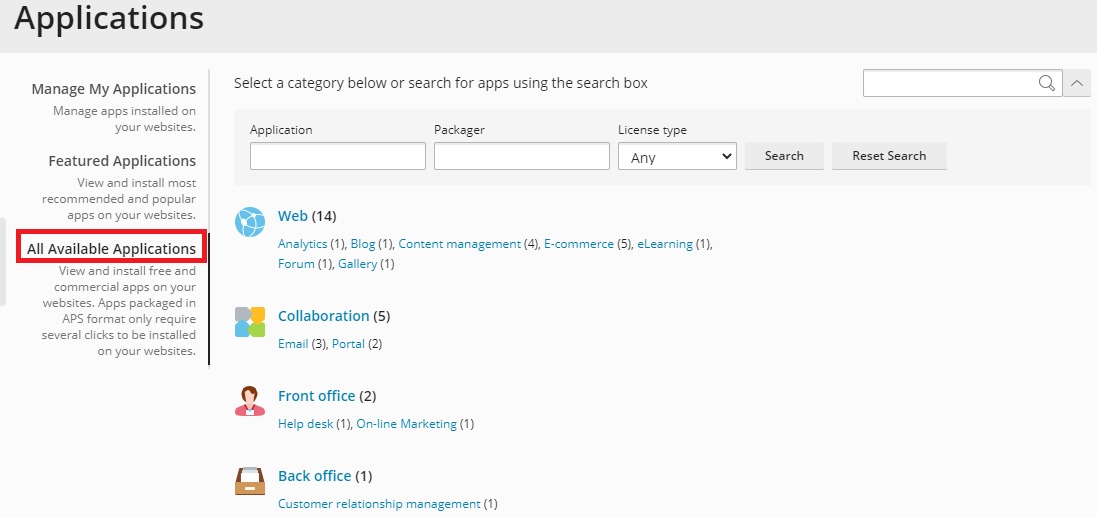
- On the Applications page, click on the option – ‘All Available Options’. This section will show all the applications including free and paid that can be installed.
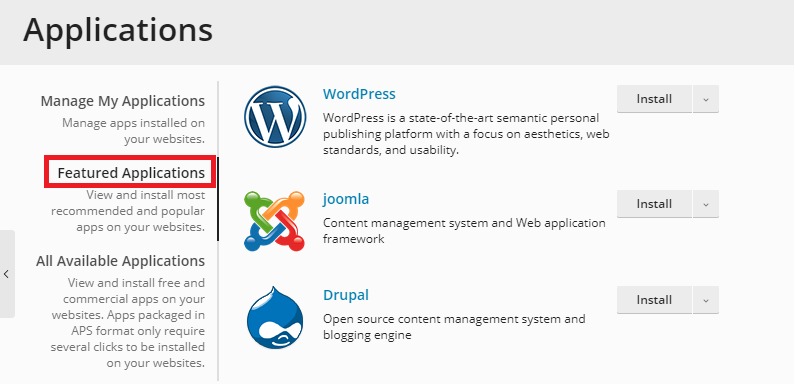
- You can check the ‘Featured Applications’ section to find out about the most popular and recommended applications.
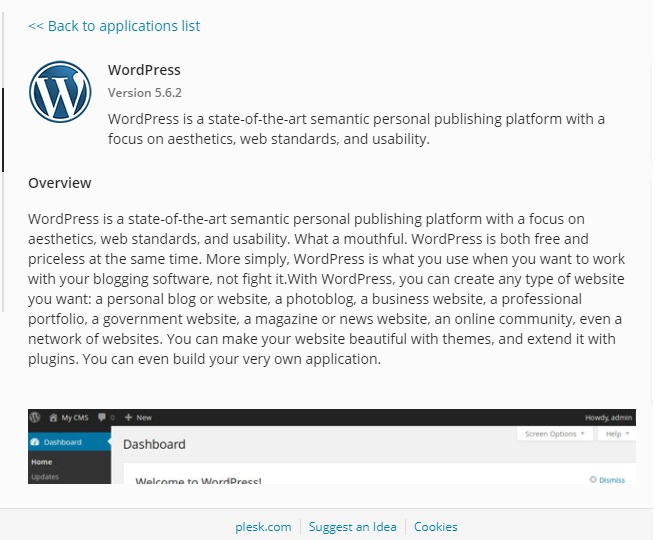
- To get more information about an application click on its name.
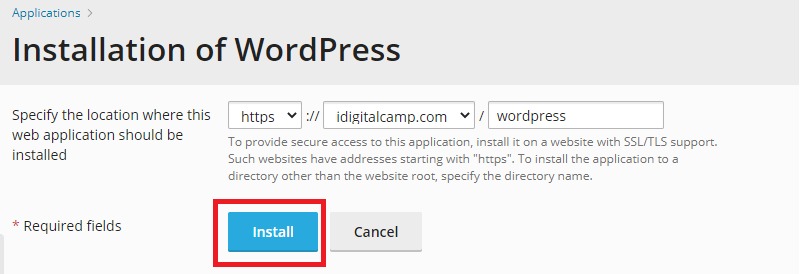
- For installing the application, click on ‘Install’.
- On the installation page, enter the information in all the fields and click on ‘Install’.
Plesk will install the application.
Managing The Applications
Follow the steps mentioned below for managing the applications that you have already installed:
- Login to Plesk.
- In the left sidebar, click on ‘Applications’.
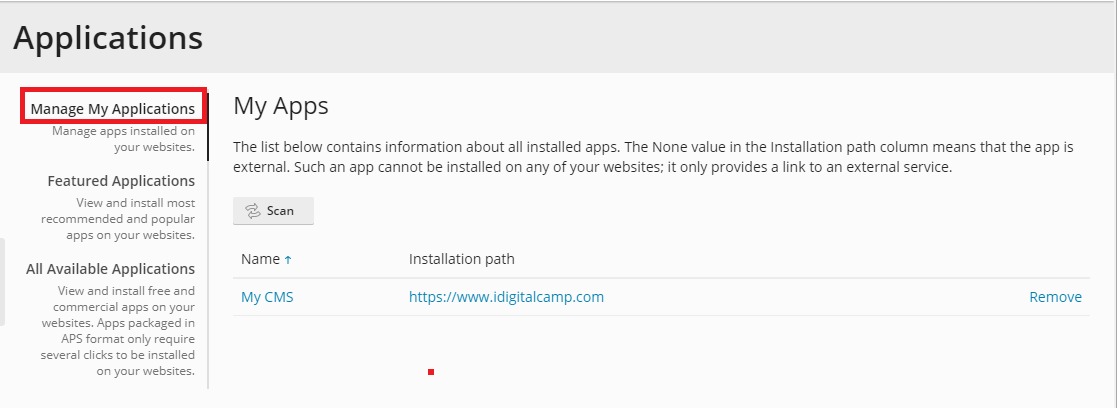
- On the Applications page, click on the option – ‘Manage My Applications’.
- You will be directed to the ‘My Apps’ section, here click on the application name that you want to manage.
- You can configure the following options on the applications page:
- For changing the application settings, click on ‘Change Settings’.
- For deleting an application from your account, click on ‘Remove’.
- For accessing the administrative page of the application, Go to >> ‘Administrative access entry points’ >> ‘Administrative interface’.
- In order to view the public-facing site, click on ‘Site’ under ‘Public access entry points.

