Migrating an MSSQL database server requires moving the data from the source SQL server to the destination SQL server with careful planning for minimal downtime and data accuracy. Below is a step-by-step guide to help you carry out the migration using SQL Server Management Studio (SSMS).
Prerequisites:
- Both source and destination SQL servers must be active.
- Have login credentials with the required permissions.
- Download SQL Server Management Studio (SSMS) if not already downloaded.
Steps to Migrate an MSSQL Database Server
Step 1: Connect with the Source SQL Server
- Open SQL Server Management Studio (SSMS).
- Within the Connect to Server window, type in the required source server authentication information along with the necessary IP/Hostname.
- Click Connect to form the connection.
Step 2: Choose Database Pending Migration
- On connecting, check the Databases node and expand it to see all your databases. List all the databases on the server. Locate and pick the database that needs to be migrated.
Step 3: Start Export Data Wizard
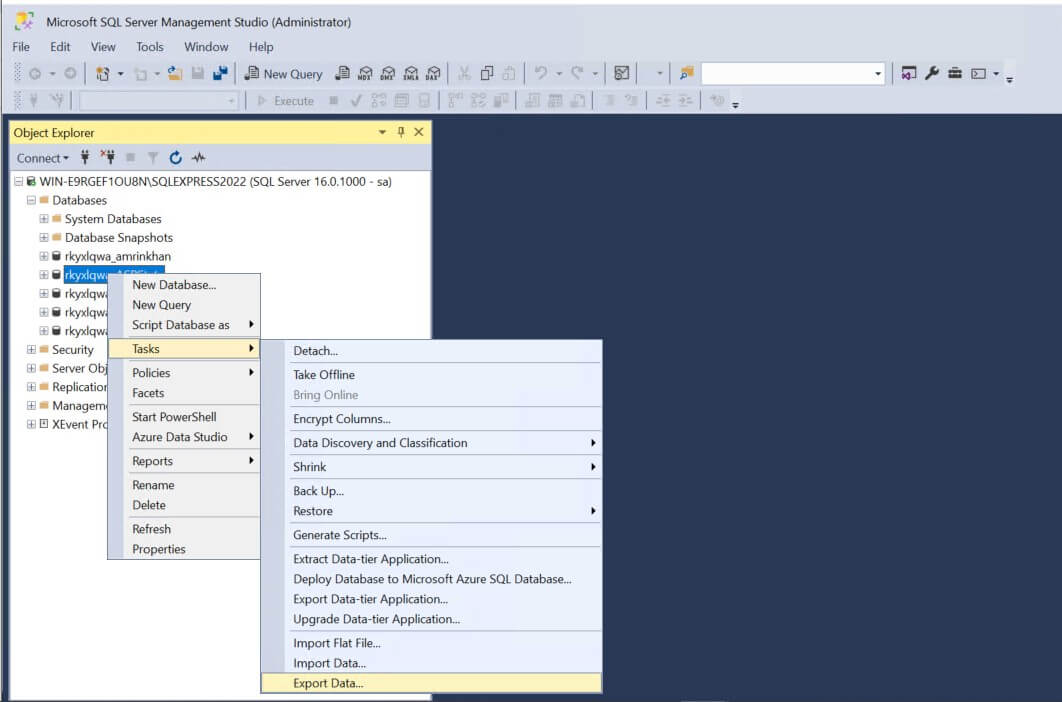
- Pick the database and right-click on it.
- Navigate to Tasks > Export Data.
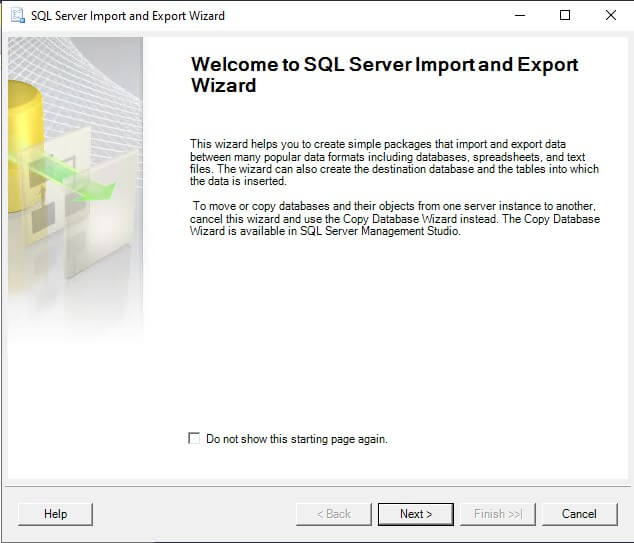
The SQL Server Import and Export Wizard will open. Click Next to proceed.
Step 4: Configure the Data Source
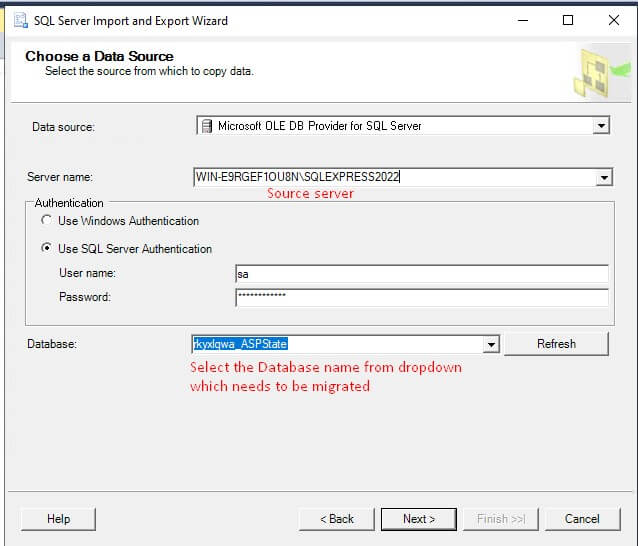
- Under the Choose a Data Source section, choose your desired data sources (Microsoft OLE DB Provider for SQL Server) as the source provider.
- Enter the IP/Hostname of the source server.
- Enter the authentication credentials (SQL Server authentication or Windows authentication with the necessary credentials as username and password).
From the following Database dropdown, choose the database to be migrated.
Step 5: Configure the Destination Server
After you choose the database to migrate, click Next. Another prompt will be shown to specify the destination server.
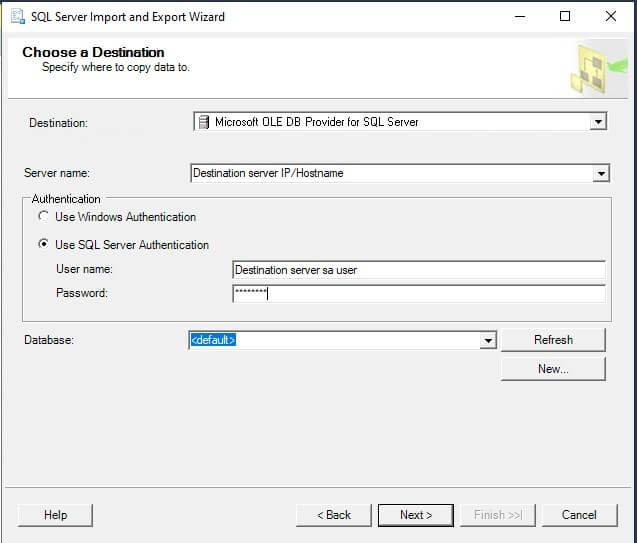
- Under Choose a Destination, select Microsoft OLE DB Provider for SQL Server again.
- Enter the destination server’s IP/Hostname and authentication details.
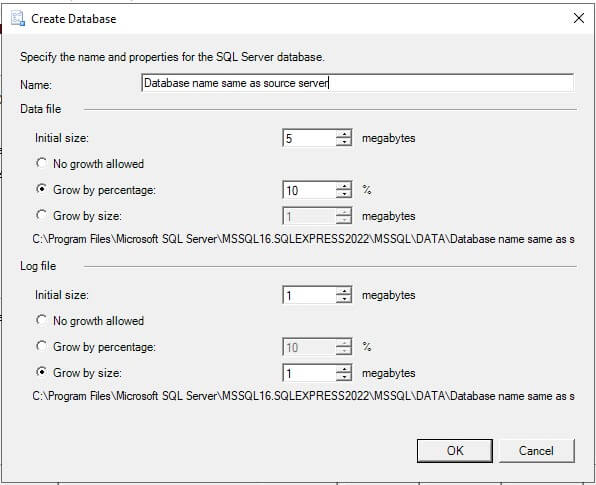
- Click New and specify a database name (ensure it matches the source database name).
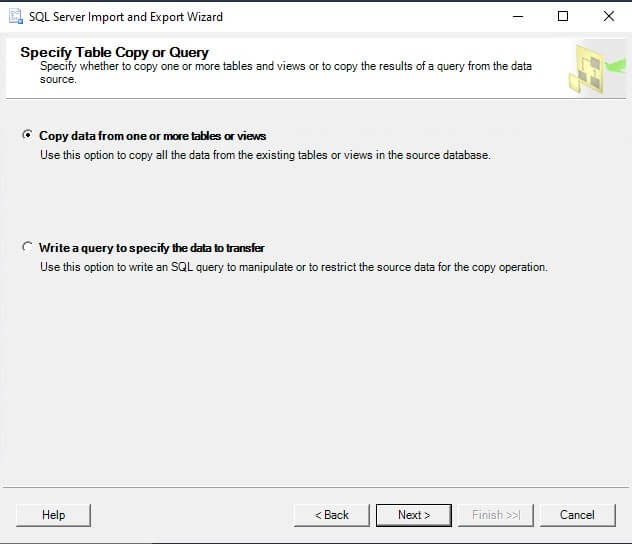
Step 6: Choose The Data Transfer Method
- In the Specify Table Copy or Query section, select Copy data from one or more tables or views.
- Click Next to continue.
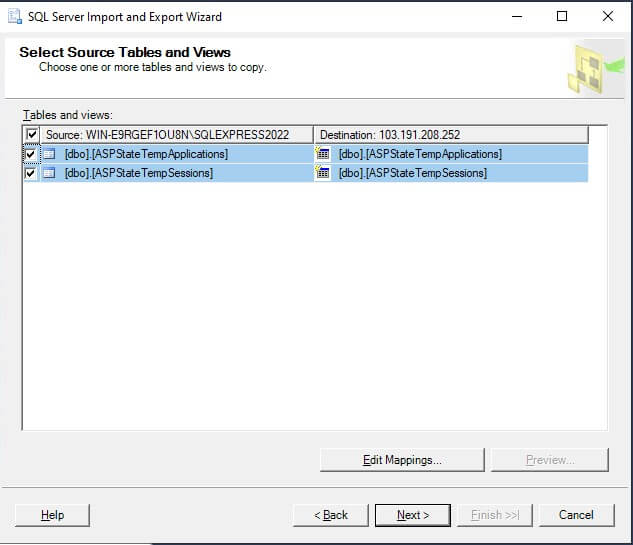
Step 7: Select Tables and Views for Migration
- On the Select Source Tables and Views page, check all tables and views to be migrated.
- Click Next to proceed.
Step 8: Complete the Migration Process
Once you verify everything, click Next.
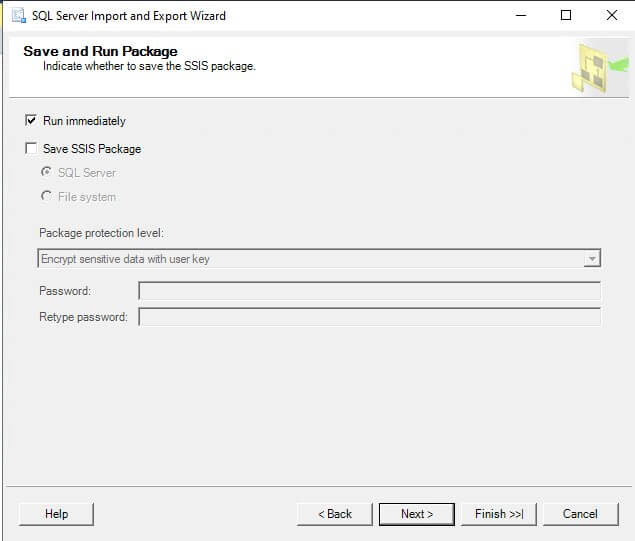
- It will show the Save and Run Package (keep the default settings >>> Run Immediately).
- Click Next to enter the last stage.
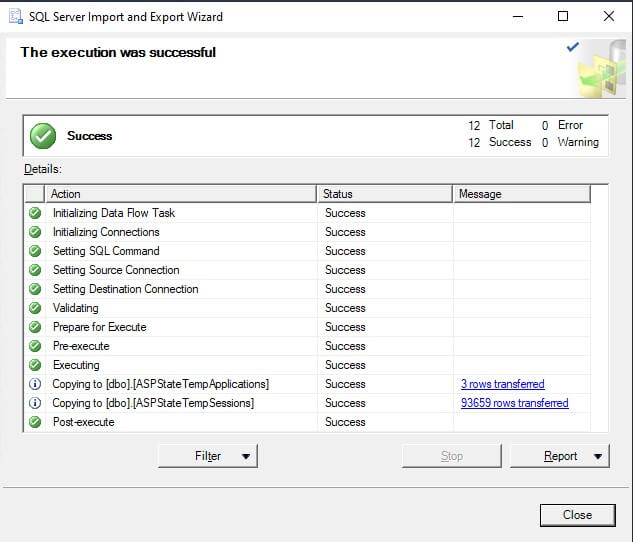
- Lastly, click Finish to start the migration process.
The system will initiate the transfer of data. Upon completion, a Success message will show up.
Step 9: Confirm The Migration
- Connect to the destination SQL Server using SSMS.
- Expand the Databases node and check whether the migrated database is present in the expanded list.
- Execute testing queries to check if the data is migrated properly.
Migrating an MSSQL database server requires one to follow all the step-by-step rules. Any minor change may affect your data and its safety. Hence, it’s always essential to verify whether the migrated database operates precisely. It secures your data and offers you seamless operations.


