The steps mentioned below will guide you to register your private nameservers for domains registered at GoDaddy.
Before getting started with the process make sure you have access to the welcome email that MilesWeb has sent you which consists login details of your hosting account and nameserver IP address.
Steps to register private name servers for a GoDaddy domain:
- Sign in to your Godaddy Account
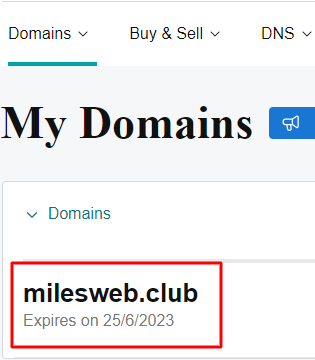
- From the GoDaddy’s dashboard, under My Account, click on the Domains section.
- Then select your domain to access the domain settings page.
4. On the Domain Settings page, click on Manage DNS.
5. Now select the Hostnames from the More menu.
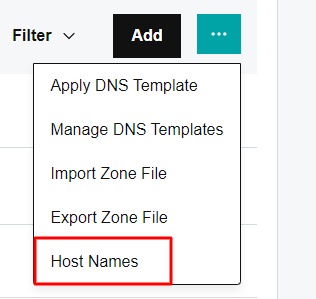
6. On the Hostnames page, click on Add button.

7. Now enter the Host name and IP address in the correct field.
8. In the Host text box, you will need to enter the hostname as ns1.
9. Next, under IP addressenter the nameserver IP address that is mentioned in the welcome email (you can find the nameserver IP address in the welcome email).
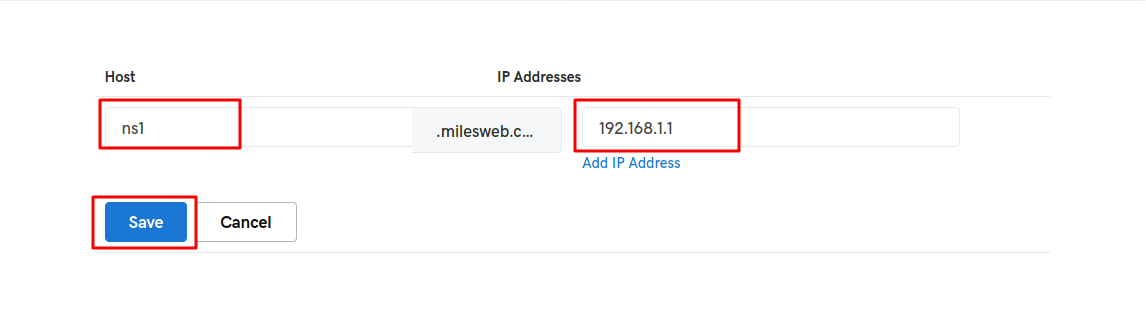
10. Once the hostname and IP address are entered click Save.
This is how you can register private name servers for a GoDaddy Domain!
Once you have registered the private nameservers, you can then set all of your domain names to use the private nameservers you just registered. The same steps can be performed even if your hosting provider is different than MilesWeb.
Also Read: How to Update Nameservers in GoDaddy?


