The process for configuring your FTP client for displaying hidden files for each FTP client is significantly different.
Below are the instructions for doing so by using several popular FTP clients.
Important: Use SFTP to connect (instead of FTP) since a secure connection to your server is ensured with it.
In case you are already connecting using SFTP, you might already see the hidden files. This completely depends on the client that you’re using.
Using FileZilla
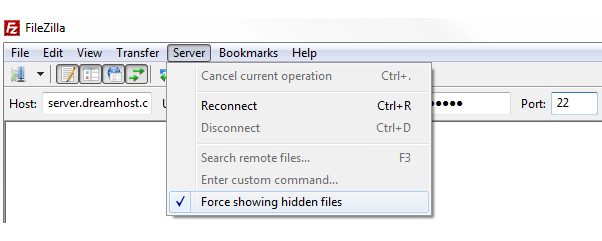
- In Filezilla, click on the Server tab in the menu bar.
- Check the “Force showing hidden files”.
Using CuteFTP 9.0
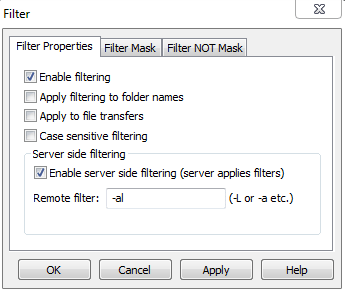
- In the server side window, right-click and select the Filter option.
- Select the Enable server side filtering (server applies filters) check box, under the Server side filtering.
- In the Remote filter field box, type ‘-al’.
- Click on the Apply button.
Using FireFTP
- Under FireFTP, click on the Firefox button > Web Developer > http://fireftp.mozdev.org/
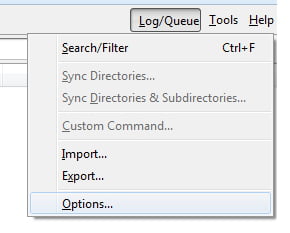
- Now, you are in the FireFTP interface. Then click on the Tools menu > Options.
- Navigate to the “General” section.
- Go to “File View” and check the box for “Display number of bytesd for file sizes”.
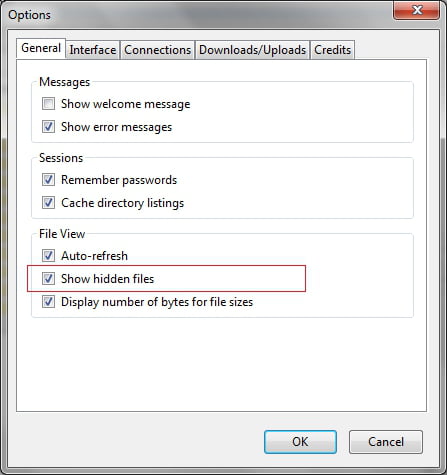
- Then click on OK to confirm.
Using Fetch
-
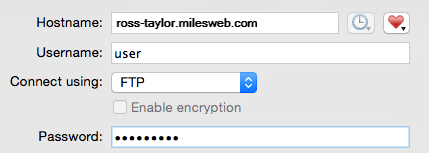
- When you open Fetch, it will display the following connection settings screen. Check below the example of connecting with a user named ‘user’ on the server charles-pickney:
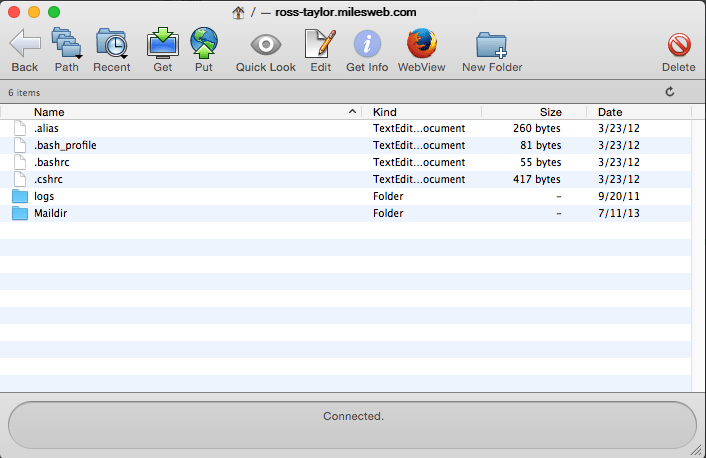
- After logging in, you’ll see the content of your web server:
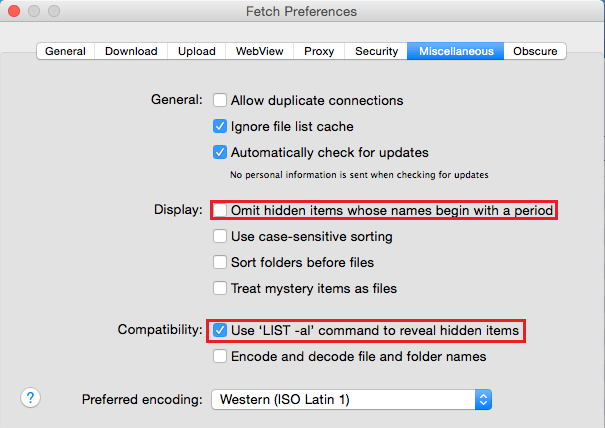
- Navigate to ‘Fetch > ‘Preferences’ for enabling hidden files:
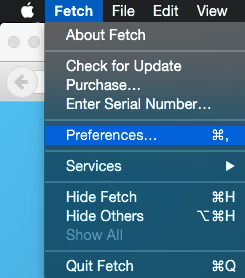
- Choose the ‘Miscellaneous’ tab.
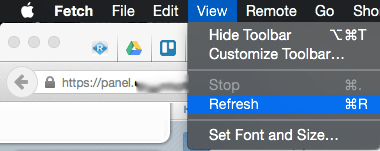
- Refresh your view by going to ‘View > Refresh’, after making this change:
- When you open Fetch, it will display the following connection settings screen. Check below the example of connecting with a user named ‘user’ on the server charles-pickney:
Using Transmit
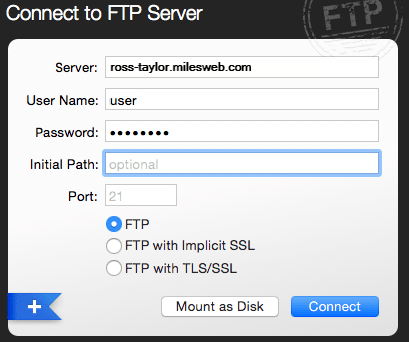
- After opening Transmit you’ll see your connection settings to the right. Below is a screenshot that has used an FTP user named ‘user’ and a server named ‘ross-taylor’:
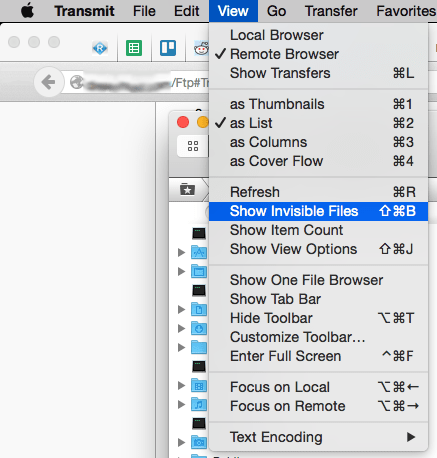
- You can enable hidden files once connected by going to the menu at the top and selecting ‘View > Show Invisible Files’:
Using FTP Voyager
- At the top left, select the Site Profiles Manager option.
- A window will get displayed on which you need to select Advanced Options.
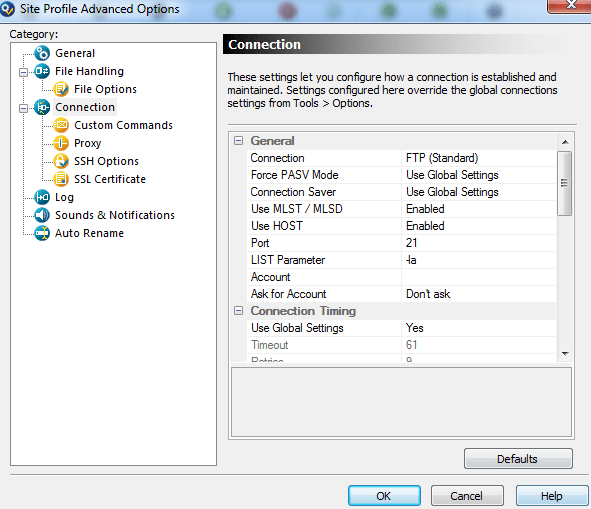
- On the Site Profile Advanced Options window, select the Connection tab.
- Go to the General column, type the following next to the LIST Parameter field:
[server]$ -la
- Click on OK.
In this way, you can display the hidden files on your FTP client.
Also Read: How to Create and Edit a File via FTP?
Also Read: How do I connect to an SFTP server with FileZilla for File Transfer?

