Overview
In this guide you will learn to install SitePad on cPanel.
Requirements
- A server with cPanel
- In case there is a firewall, then please allow access to download all packages from *.sitepad.com and *.softaculous.com
Note: Make sure you allow access to the below domains to your firewall as these are the servers through which your website will be published.
• us.sitepad.com (IP: 192.198.80.4)
• eu.sitepad.com (IP: 91.121.54.72)
Installing SitePad
Note: Prior to starting with the installation, enable IonCube Loaders. Check this guide to enable Ioncube cPanel. Please ensure that the Ioncube loader is selected for the backend copy of PHP. Now login to your server via SSH and enter following commands:
wget -N http://files.sitepad.com/install.sh
chmod 755 install.sh
./install.sh
Selecting the Editor Server
Note: This is an optional parameter and so, you can skip this parameter to let SitePad select the default server.
It is possible to select the region in which you want the editor for SitePad. Please pass the following parameter to the installer, for selecting an editor server : –editor_url=https://us.sitepad.com
Check the list of valid servers here : SitePad Servers
./install.sh --editor_url=https://us.sitepad.com
This setting can be changed later from SitePad Admin panel -> Settings page.
Re-branding
Note: This is an optional parameter and so, you can skip this parameter to allow SitePad to use default values.
In case you want to re-brand SitePad, you can pass the below parameters to the installer :
--brand_name=YOUR_BRAND (Only Alphanumeric characters without space are allowed)
--brand_logo=https://URL.TO.YOUR.LOGO.png (Only PNG image allowed. Dimensions : 100pxX100px)
--brand_url=https://BRAND.COM
The install command will look as below :
./install.sh --brand_name=YOUR_BRAND --brand_logo=https://URL.TO.YOUR.LOGO.png --brand_url=https://BRAND.COM
This setting can be changed later from SitePad Admin panel -> Settings page.
Access SitePad
Then navigate to : WHM > Plugins (Add-Ons on older versions than 11) > SitePad Website Builder.
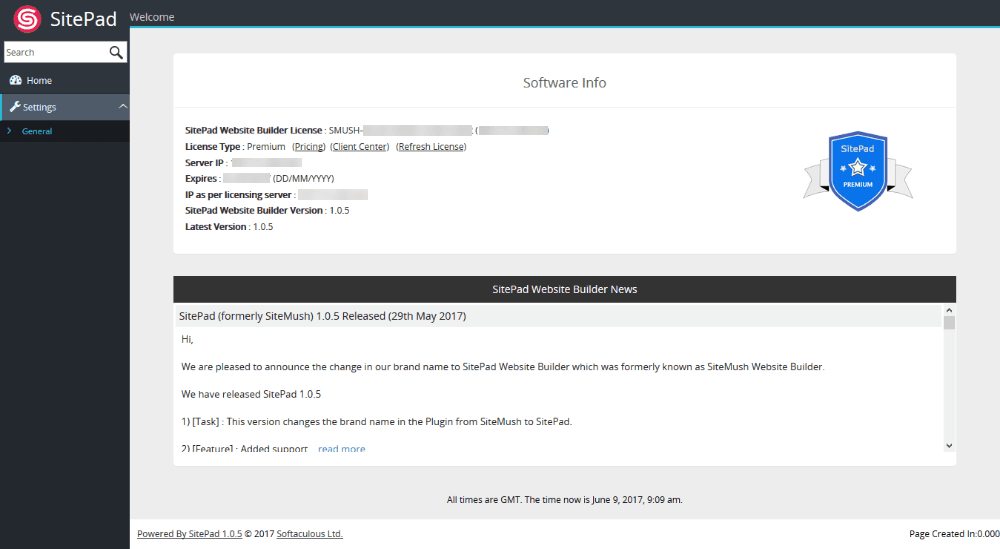
If the installation is successful, the following webpage will open:

With this, the installation of SitePad is completed!
Avoid SitePad to Use 3rd Party PHP
To avoid SitePad from using 3rd Party PHP binary, simply pass a parameter which willlet SitePad to use cPanel’s default PHP binary.
wget -N http://files.sitepad.com/install.sh
chmod 755 install.sh
./install.sh --nocpphp
In this way, you can install SitePad in cPanel easily.


