Overview
This article will help you to Create and Manage all your backup files in Webuzo. It is very simple to create and restore backups in Webuzo. After completing the backup or restore process, the system sends a notification to the Admin email address (if set) with the name of the backup file on success or encountered error(s).
It is possible to either create a new backup file or restore, delete, or download an existing backup. The backups are stored in /var/webuzo/backup directory.
Below are the screenshots that show how to create and manage backups from the panel.
Navigate
The first step is to navigate. You can access the backup files from Webuzo Enduser Panel > Server Utilities > Webuzo Backup.

Full Backup
A full backup process takes the backup of the following:
- User Home Directory
- Domains
- Cronjobs
- Mail Files (If Exim is installed)
- User Databases (If MySQL is installed)
- DNS files (If BIND is installed)

Home Backup
Here you can easily create or restore a backup of only the Webuzo user’s home directory.

Data Backup
Here you can either backup or restore user created Databases. This will work if and only if you have an instance of MySQL that is installed and running on your machine.

- With this utility, you cannot backup or restore MongoDB files.
Mail Backup
From the Mail Backup, you can backup and restore your emails. This utility works only if you have Exim installed on your machine.

Logs
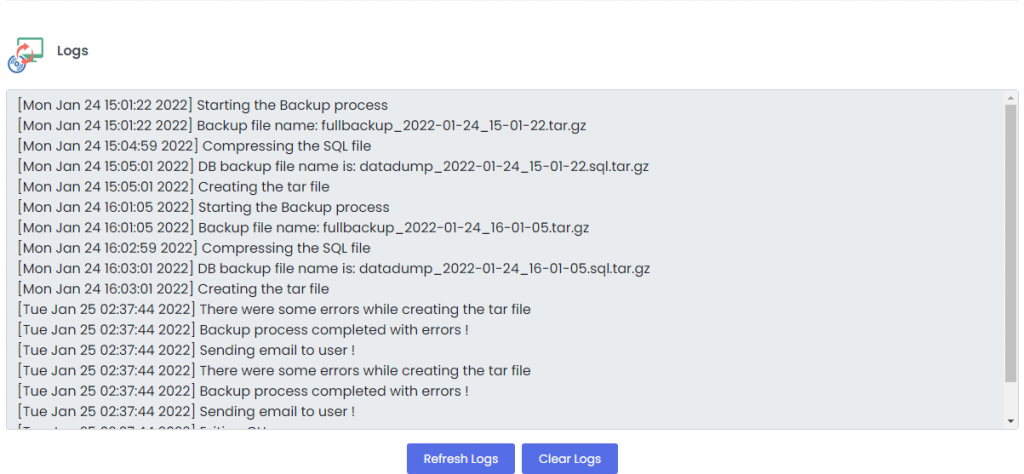
You can view Logs for both the backup and restore process directly from the panel, as shown below. If you need, you can even clear the logs using the “Clear Logs” button.

And you are all done! This is how you can take backups in Webuzo.


